Showing posts with label congratulations. Show all posts

Friday, May 15, 2020

AECP Level 2 Beautiful Details

Back again today with another project for my level 2 certification at Altenew. The videos for this class were so much fun to watch and I learned a lot of new techniques. For this card I chose to color in my leaves with my artist markers to add some details.  It took me a couple of tries but I think I finally got what I was looking for. 


I added a piece of patterned paper and then lined both sides with some golden edge washi tape. I wanted to make sure my flower wouldn't blend in since I didn't color it in. 


I did add a touch of grey coloring to give a little depth to my flower. I finished by adding the sentiment embossed in antique gold and the antique gold sequins.


THANKS FOR STOPPING BY!!
Saturday, April 4, 2020

Congratulations


I had a lot of fun making this card. I must confess that I stamped it with two different sets. The first set just didn't work well for me. I couldn't figure out the coloring and I changed sets. 

I decided on wallpaper art stamp set. I used my misti to create the bunch of flowers and the masks for the stamp set so I could make them look like an arrangement. I'm still new to the artist markers so don't look to closely at the coloring (lol). Pictured are the marker colors I used. 


Here is a closer look at my card. The dimension is crazy high. I've never layered nesting dies but I will most definitely be doing it again. I can't wait to give my circles and squares a try!


And a better view of all the dimension. So cool. I added some sequins at the end to give a little sparkle. 


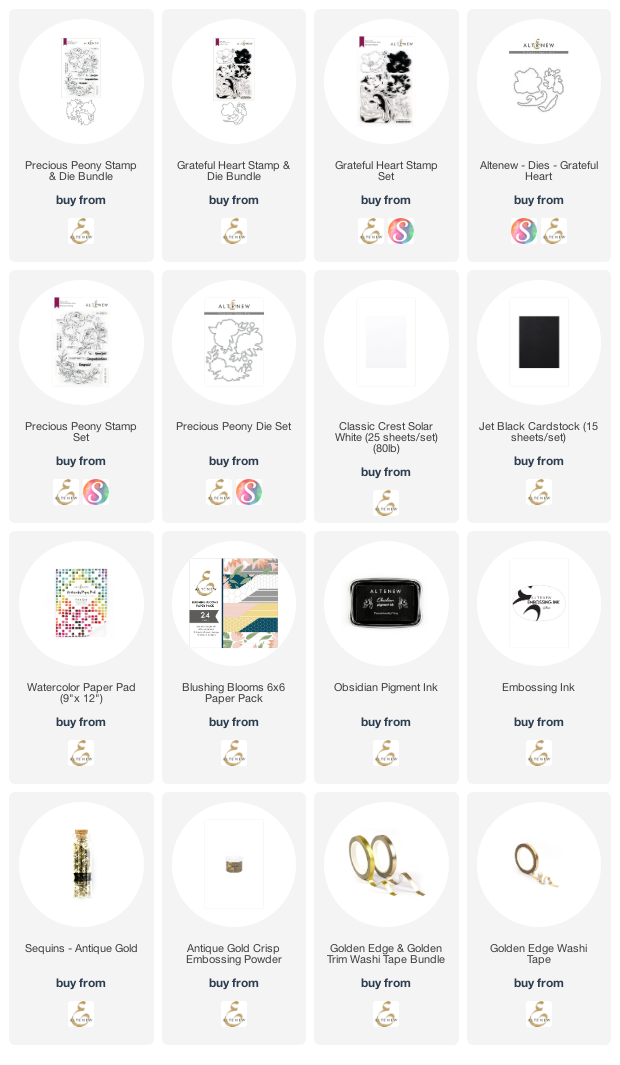
Supplies: Altenew unless otherwise stated
(below are affiliate links at no cost to you)
CS: Neenah white cardstock
ACCESS: tinseltown sequins-Catherine Pooler

Saturday, January 19, 2019

Congratulations Gift Card Holder

I have a co-worker whose wife is expecting any day now.  We wanted to give him a little gift for the baby so we decided on a gift card and I have some baby announcements I made a while ago that I'm going to give them.

I used the same YouTube video that I used for the last gift card holder.  The biggest difference is that I added it to a card base so everyone could sign the inside.


Here is the completed card.  I inked all the edges to create a softer look.  I'm loving how this turned out.


 I wanted to give a bit of a closer look at the embellishments and embossing as the above picture doesn't show it to well.


Here is the gift card holder pulled out a bit.  I adhered the band with sticky strip to give it extra hold.


Here is the gift card holder. I put my business card inside to show how the gift card would go. 


THANKS ~ FRESHLY MADE SKETCHES #673

  Hi everyone! Today, I'm sharing a fun card I made using Freshly Made Sketches, sketch #673.  I have been working hard the last few mon...