Tuesday, April 28, 2020

Beautiful bleaching

Good morning everyone! I am here with my first project for level 2 of the Altenew Academy program. I am so happy to have passed level 1 and I have a new badge to show!!


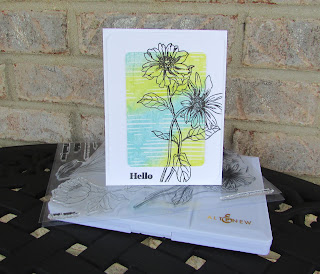
The first class is the Beyond Basic Backgrounds. I thought I knew a lot about card backgrounds but I learned several new ones during this video.  The one I was most leery about was the bleaching. In the past it was using actual bleach and hoping you didn't ruin your stamps in the process. 


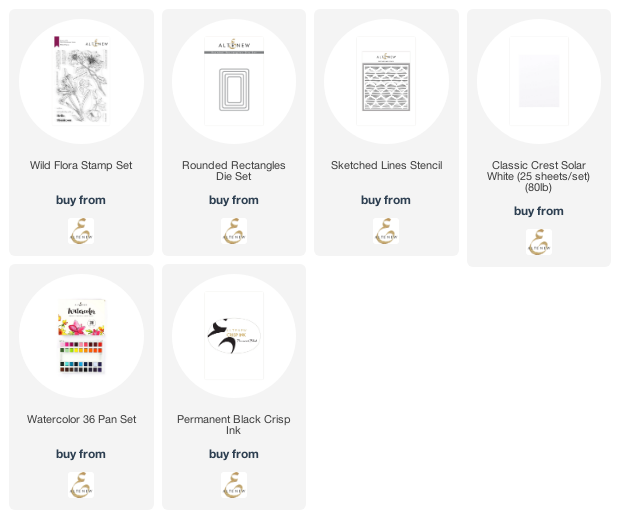
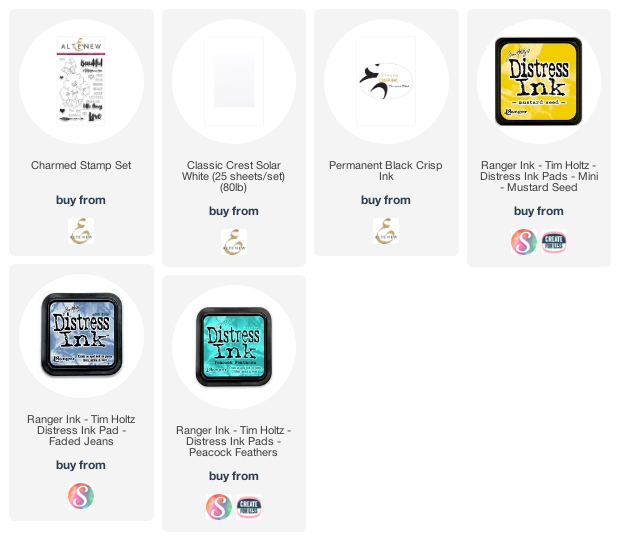
I'm happy to say that we didn't use bleach! We used distress ink, water and a stamp. Who knew? I've had these inks for quite some time and never thought I could use them that way!! I used the charmed stamp set for my bleaching and the sentiments as well. 


Here are some close-ups. I used some gold washi tape down the one side and then attached my finished panel. 


I love how the "bleaching" is subtle and doesn't take over the background of the card. There's just a hint of white popping through. 


THANKS FOR STOPPING BY!!

Monday, April 27, 2020

Demystifying Mixed Media Day 6


I can't believe it's the last day already (well, yesterday was). I had so much fun in this class and the techniques were amazing! This card used the die cut alphabet left over from day 5. What a great way to use up these pieces. I did need to die cut a few more so I just did the whole alphabet!


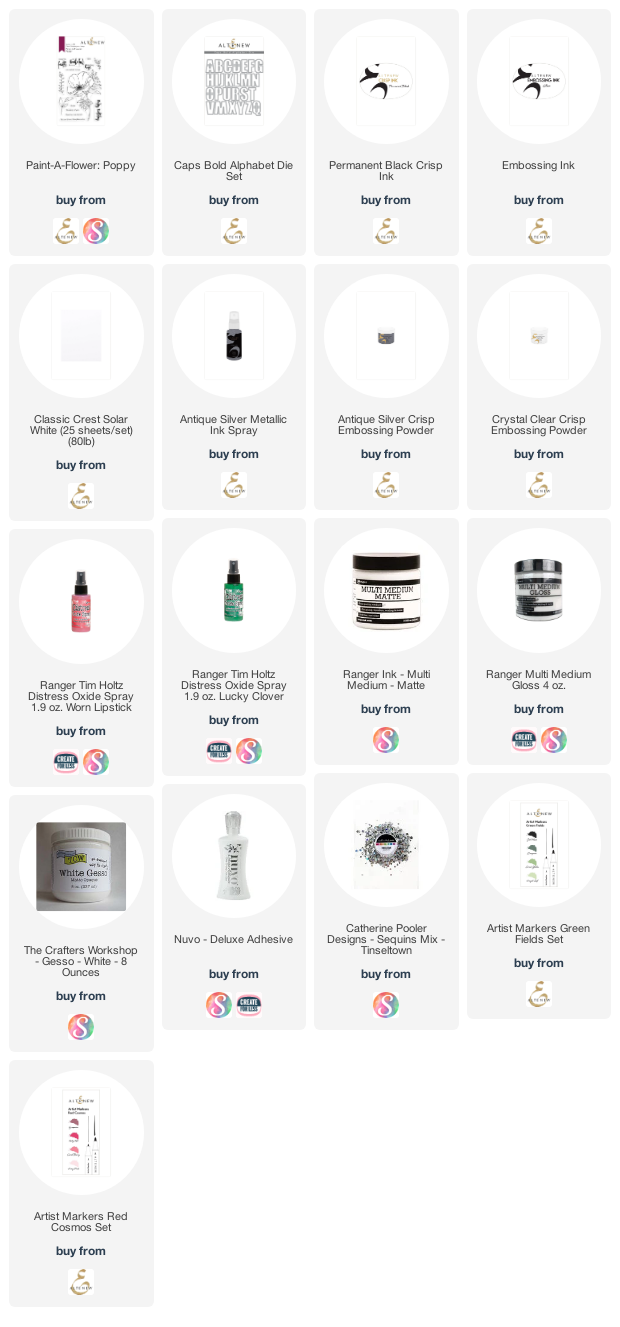
I used paint a poppy as my focal and fussy cut it out. I love using the artist markers to color, now that I kinda know what I'm doing. For the sentiment I embossed it twice in platinum embossing powder to get the nice shine you see below. 


I did have a hard time getting my paint to dry over the embossed background, but I put to much embossing powder. Next time I will go in with a much lighter hand. This card dried overnight in order for me to be able to touch it. 


I used worn lipstick oxide spray for my base color and heat set it. When it was dry I used embossing ink over the panel and embossed in crystal clear embossing powder. I then sprayed both antique silver spray and lucky clover oxide spray on top. This was the layer that took all night to dry lol. 


A closer look at my colored images. I did cut the stem and bottom leaf off so it fit better onto my card. I added a few tinseltown sequins and the card is complete!!


THANKS FOR STOPPING BY!!

Below are affiliate links at no cost to you. 

Saturday, April 25, 2020

Demystifying Mixed Media Day 4


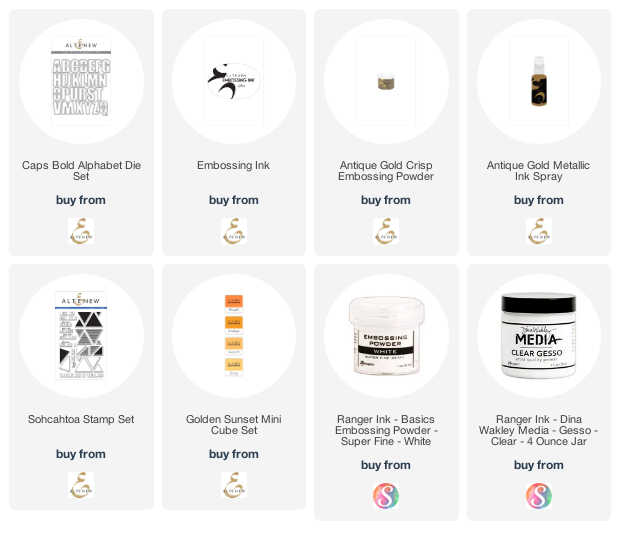
So, as promised, here is day 4 of the Altenew Mixed Media class. This class is all about inlay die cutting.  I had a lot of fun creating this background. I even had my older son help me pick out the paint color to add. 


I used caps bold alphabet dies to create my lettered background. I have been eye balling this set for quite some time and finally purchased them. I have so many ideas for this set.  


I used the antique gold shimmer spray on this when I was adding the color to the background. It's so fun to watch it the ink move around and combine with the spray.


Here's a closer look at all the different elements going on. I have marigold ink, antique gold spray, green pop acrylic paint and antique gold embossing powder. 


THANKS FOR STOPPING BY!!


Demystifying Mixed Media Day 5


Hi everyone! You may notice that I skipped over day 4 of this class. I was waiting for an order and it finally arrived last night so that will be coming soon. 

Today's class was about decoupage and watercolor.  I changed up the colors a bit and did some darker oranges. I have been doing light and bright and I really wanted to add in the antique gold shimmer spray.  

I ended up having to make two cards. When I went to emboss my image on the first one it was still slightly wet and I lost half the flower image. That's okay though. I'm still going to keep it and mail it out. 


The second one came out better in the embossing area but I used a darker orange that the first card and wish I'd kept with the original two colors. 


This shows the color difference between the two. The first one uses the colors orange cream and autumn blaze and the second used orange cream and firebrick.


Here's a couple of close ups of the coloring. I tried to get some of the shimmer so I hope you can see the detail. In person it is so pretty and has some much shine to it. 


THANKS FOR STOPPING BY!!

Thursday, April 23, 2020

Demystifying Mixed Media Day 3


Welcome to day three of Altenew's Demystifying Mixed Media class. I can't give enough praise for this class. I'm learning so many new things and using stuff in my stash that I haven't had the bravery to do so yet. 

I started with using the watercolor brush markers to create the watercolor effect on the background. This was a lot of fun and I learned that you need to dry the ink in between applications so you get the watercolor effect. Otherwise it's just color on color. 


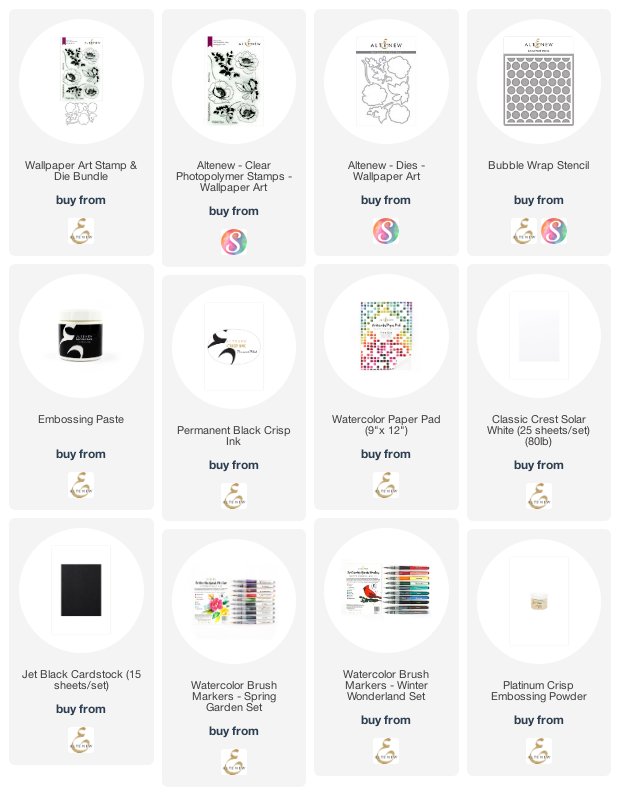
The next step was to use embossing paste with one of the marker colors to create the background. I used sea breeze from the spring garden set to get the beautiful blue color. Once I mixed and then added through the stencil I sprinkled in some platinum embossing powder and heat set it


I then stamped the two smaller flowers and the two open leaves images from the wallpaper art stamp set and colored them in using autumn blaze, emerald and citrus burst watercolor brush markers.


I love the bold colors and how saturated the colors are. You can use a watercolor brush and water to create a softer color but I really wanted these images to pop off my card. I used black cardstock as my base to help make the watercolor panel stand out. 


Here are a few close ups for you.


I used dimensional tape behind both flowers. I used liquid glue on the leaves and part of the larger flower to adhere it to the front of the card.


I am really loving how the embossed background stands out from the yellow watercolor. I so enjoyed making this card and have several other backgrounds to play with, as I had extra watercolor and embossing paste. 


Here's another card I made using one of the extra panels. I chose to use the winter wonderland set of watercolor brush markers for this card. 

Links below for products used in this post

THANKS FOR STOPPING BY!


Wednesday, April 22, 2020

Demystifying Mixed Media Day 2


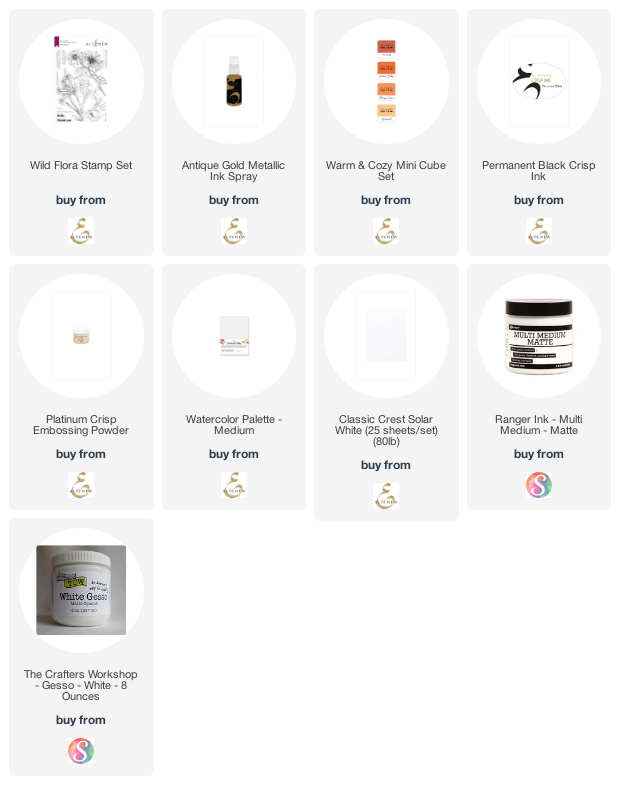
Hi and welcome to day two of my Altenew online class projects. Today's class was all about using gesso on your project. I've used it before on layouts but never on a card. I had a bit of an issue with the paper shredding as I was smoothing the gesso out. I think I need a heaver cardstock like 110lb. I was using 80lb.

The final project came out great and I'm very happy with it. I used the 36 pan watercolors again today in ocean waves and citrus burst. They came together quite nicely. I even got a little green when they mixed for added depth. 


I used the wild flora stamp set first on my base layer and then after I cut my painted panel with a rectangle punch I put it over the bottom layer in my misti and stamped it again. I used a corner rounder on the base piece to keep them cohesive. 


I used the remaining painted piece from the cut out and mounted white cardstock over it and adhered it inside the card. I like that they match. 


Here are a couple of closer pictures of the front panel


The gesso gives the appearance of extra texture but it's actually quite smooth.


THANKS FOR STOPPING BY!


Disaster Area...

OR CREATIVE GENIUS?!

How many times have you started a project with a nice clean work space and ended up with maybe a 12" square to work with? I can't tell you how many times I've just pulled a few things out and ended up with a ton of stuff on my desk and no where to work.

When I was finishing up my Level 1 final project for Altenew I took a few pictures of my work surface. Sometimes I work really well this way and other times, like this day, it makes me super stressed.


As you can see I had stuff EVERYWHERE! I think I was so stressed because I had a deadline and I was having a hard time finding things. 


I think this was the cleanest part of the whole area only because I wasn't using anything on this side anymore.


THANKS FOR STOPPING BY!

Tuesday, April 21, 2020

My Blood Type Is...Coffee


Hi everyone! I'm back with another card creation. Have you ever had an idea in your head and when you went to create it, it just wasn't going the way you hoped?  I had that with this card. 

I knew I wanted to use the set from Honey Bee stamps but once I pulled it out and started working I couldn't get a clear image of my finished project. I'm all about stamps these days that deal with coffee. Not sure why but I'm finding myself drawn to them. 

For this card I used two different stamp sets and three different die sets. Once I started getting things going it came together quite nicely.

I started by using a coffee ring embossing folder and sponging ink over it. This is usually my go to for when I want to add some ink to paper. 


I used my Altenew artist markers to color and shade in my cups and then cut a rectangle using a stitched die cut. Another one of my favorite techniques is direct color to paper. I used it on the rectangle to get the brown colored cardstock to back my coffee cups. 


Here are a couple of close ups. I added the black splatter at the end instead of digging out embellishments that I wasn't sure would even go with the card. 


THANKS FOR STOPPING BY!!

QUICK & EASY CHRISTMAS CARDS

  Hi everyone! I wanted to share a quick post on how I made my Christmas cards this year. I have been so busy lately with school, work, and ...