Showing posts with label watercolor. Show all posts

Sunday, January 31, 2021

ALWAYS & FOREVER DAY 5 STENCILS UNLEASHED


Hi everyone! I have a fun stencil card I created for 


I am having so much fun creating with my stencils and all the different mediums Nicole has shared with us. Today's card is using the flowing hearts stencil. I laid it over watercolor paper and applied limestone ink with a blending brush.


Once I had my base down (it is super light so I can paint). I pulled out my 36 pan watercolor set and started painting in the design. I used the crimson on the outer edge and coral berry for the inside. Using a very fine paint brush I traced around the edges and then painted the middle. 


I then took the on point stencil and using limestone ink again I stenciled it onto my background panel. After it was where I wanted it I stamped some leaves from the leaf canopy stamp set. I also stamped and cut out some in green behind my heart. 


I add a sentiment from sentiment strips and cutting it out with the coordinating die set featured sentiments dies. I finished off the the card using some enamel dots in rock and red cosmos collections. 

All Supplies From Altenew:


Tuesday, December 15, 2020

HELLO THOUGHT OF YOU WATERCOLOR BACKGROUND CARD


  Hi everyone! Diana here with you today to share a fun holiday hello card. This card started out as a traditional Christmas card but as I started working on it I knew I wanted a large sentiment so it changes just a bit. 


I started by stamping my desired images with versamark ink onto watercolor paper, then adding platinum embossing powder, and heat setting. then I sprayed my panel liberally with water. 


I used my altenew watercolor brush markers to color in my images first. Spraying the water first helps the ink move more freely on the image. 


 I then watercolored the background to give more texture. I went ahead and added my gold string trim. I did end up with a small splotch but no worries, my sentiment will cover that up. 


For my sentiment I watercolored another piece of paper in the reds I used on my flowers. I then die cut the large hello. 


I then cut two more from white cardstock to give some dimension. This also helps keep the sentiment sturdy. 


Using liquid clue I adhered all three pieces together and adhered them to the front of my card. I stamped a secondary sentiment on white cardstock and die cut it out.


A little closer look at the watercoloring. I am loving the large hello. 


I finished my card by adding Ornament Mini Dew Drops around my sentiment and on the sentiment strip. 


Supplies:


THANKS FOR STOPPING BY!!


Wednesday, July 29, 2020

DAY 5~EXPLORING WATERCOLOR MEDIUMS

Hi everyone! I created this card for day 5 of the Watercolor Medium class. This class was all about no line watercoloring. Something I have a very hard time doing.  

I think for a first time try it didn't turn out to bad. I will be practicing this more and share what I create as I go. 

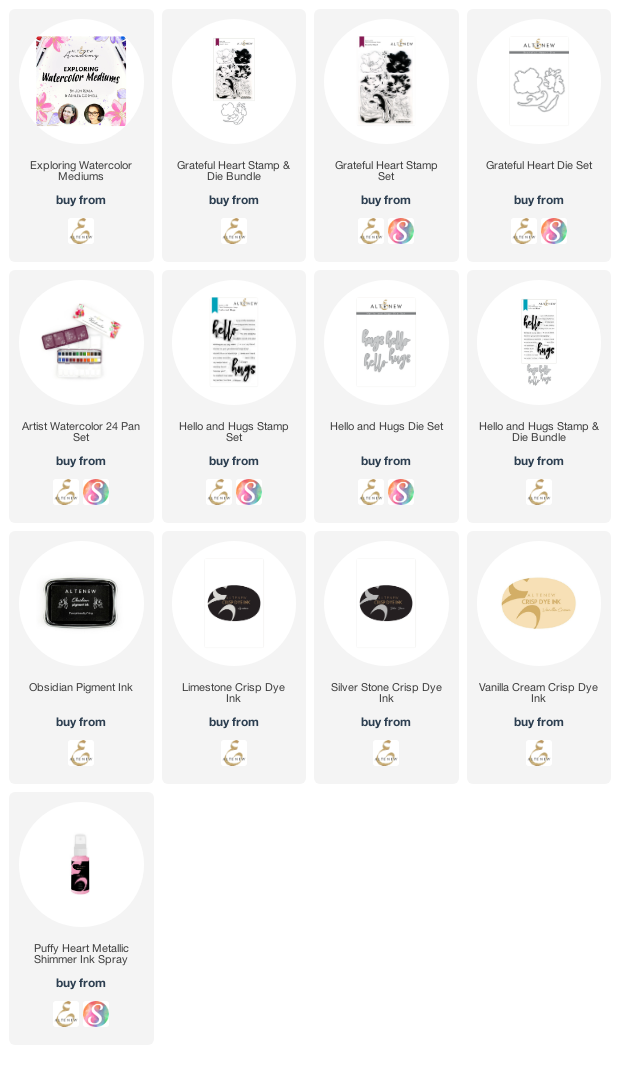
Today's card is using a great flower set called Grateful Heart. This was a simple image and made the process a bit easier for me.


We started the lesson with some gradient work to help us color in our image. I've done this before but never in an image, only as a background.


It's a bit rough but overall I'm pretty happy with my flower. I can't wait to give it a try with a different color and see what comes of it.


I wanted a bit more color so I added a strip at the bottom blending shades of purple and lapis lazuli to create a gradient strip for my sentiment to sit on. 


I added some splatters to the background using puffy heart metallic shimmer spray.


I wanted some shadow behind the main image so I used a flower cluster image from the same stamp set and stamped it in limestone ink. 


THANKS FOR STOPPING BY!!

Saturday, July 25, 2020

DAY 3~EXPLORING WATERCOLOR MEDIUMS

Hi everyone! Back again with another card from


I'm really enjoying this class. I just realized that I skipped making a project for day two so I'll be heading back and getting that going.  But for today here is a card I created using the Altenew watercolor brush marker refills. 


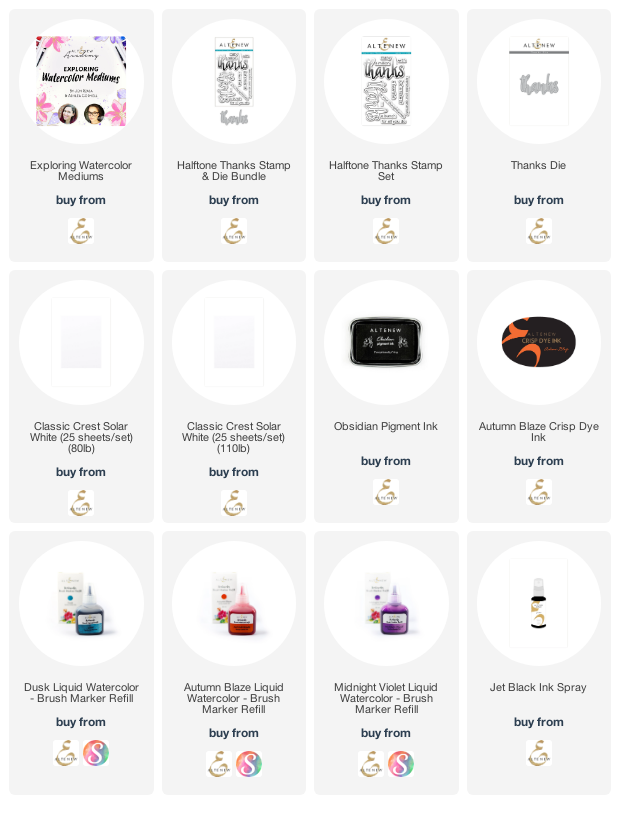
I've never used my refills before so when I saw that this is what we were doing on day three I was excited to get them out and get going.  Using a piece of acetate, dropping a few drops of three different colors, spritzing it with water and then laying it over my panel of white cardstock and smooshing it down I got this awesome effect. 


I did re-wet my acetate panel and smoosh it down one more time to get some extra color on the panel. Once that dried I added some jet black ink spray splatters to finish off the panel. 

THANKS FOR STOPPING BY!!

Product affiliate links at no cost to you

Wednesday, June 3, 2020

Watercolor and Distress Fun

Over the past couple of days I've been watching some Tim Holtz Q&A videosm and using some products that I've not really had the chance to play with. It's been so much fun!!  

I also took a virtual class with Altenew and we did some watercoloring and I couldn't wait to create another card using the techniques from the class. It was a lot of fun and really helps to get the creative juices flowing. 


I don't know about you but since I've been home for the last couple of month's I've noticed my creativity is starting to dry up and I'm having a hard time coming up with new things. 


I'm loving the fading of the blue watercolor on this card. It makes the flowers look like they are floating in water. 


I added some glitter from winx of stella but the picture doesn't do it justice. It's so pretty in person. 


This card is made using a stamped piece left over from the class I took.  I didn't like the way the sentiment stamped so set it aside. With using the oxide inks on here it helped mask what I didn't like. 


I, now, can't even tell what I didn't like lol.  I used the oxides on my craft mat and sprayed with water to get them moving. I then laid my cardstock piece in the mixture and then dried it. I repeated this several times so I could get a nice blend. 


After that was dry I sprayed a stencil with water and laid the wet area over my cardstock and "rubbed" off the excess ink and water with a paper towel. It gave me a great lift on the stencil and the texture created is wonderful. 


THANKS FOR STOPPING BY!!

Saturday, May 9, 2020

AECP Level 2 Creative Watercolor Media


I love, love, love doing wet to wet watercoloring. The effect you get is amazing and it takes no time to get one of a kind images every time. I just finished up my next class for Level 2 certification over at Altenew and this Creative Watercolor Media class was a lot of fun!


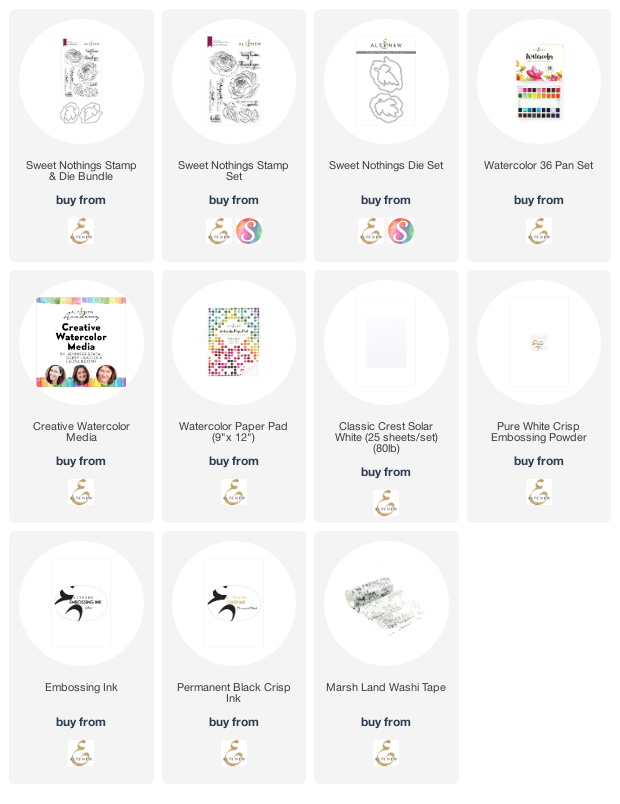
The instructor used re-inkers but I don't have any at the moment so I used my 36 pan watercolor set. I didn't get quite the movement she did but I am very happy with the way these flowers turned out.


She made a beautiful large panel that she cut down into two card fronts. I was trying for that but didn't get the colors to run to well and it left a lot of white space on my watercolor paper. So I decided to die cut them with the matching dies and create my card that way.


I added some left of washi from another project to the left side and then added the flowers and leaves. I did use foam adhesive of the full flower to give a bit more depth. I have quite a few left over flowers and can't wait to give them a try on a layout!


THANKS FOR STOPPING BY!!

Thursday, April 23, 2020

Demystifying Mixed Media Day 3


Welcome to day three of Altenew's Demystifying Mixed Media class. I can't give enough praise for this class. I'm learning so many new things and using stuff in my stash that I haven't had the bravery to do so yet. 

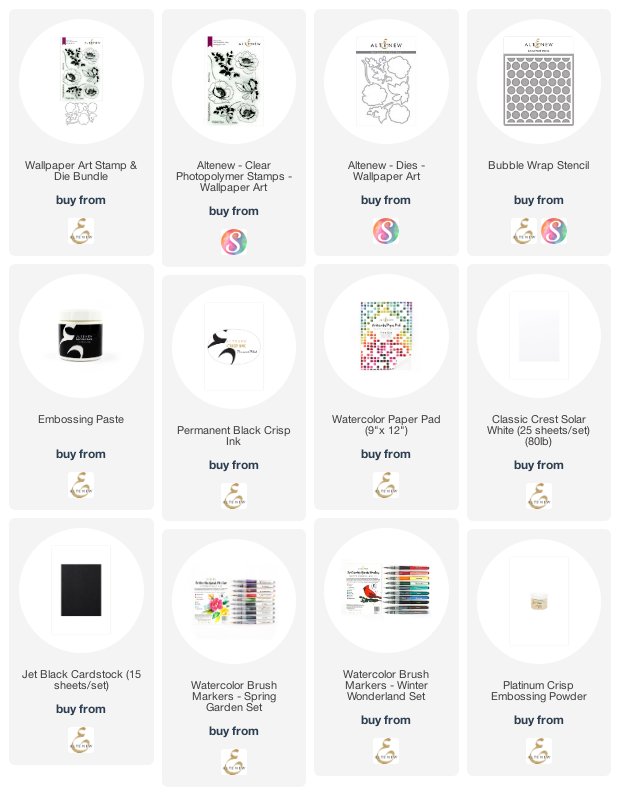
I started with using the watercolor brush markers to create the watercolor effect on the background. This was a lot of fun and I learned that you need to dry the ink in between applications so you get the watercolor effect. Otherwise it's just color on color. 


The next step was to use embossing paste with one of the marker colors to create the background. I used sea breeze from the spring garden set to get the beautiful blue color. Once I mixed and then added through the stencil I sprinkled in some platinum embossing powder and heat set it

I then stamped the two smaller flowers and the two open leaves images from the wallpaper art stamp set and colored them in using autumn blaze, emerald and citrus burst watercolor brush markers.


I love the bold colors and how saturated the colors are. You can use a watercolor brush and water to create a softer color but I really wanted these images to pop off my card. I used black cardstock as my base to help make the watercolor panel stand out. 


Here are a few close ups for you.


I used dimensional tape behind both flowers. I used liquid glue on the leaves and part of the larger flower to adhere it to the front of the card.


I am really loving how the embossed background stands out from the yellow watercolor. I so enjoyed making this card and have several other backgrounds to play with, as I had extra watercolor and embossing paste. 


Here's another card I made using one of the extra panels. I chose to use the winter wonderland set of watercolor brush markers for this card. 

Links below for products used in this post

THANKS FOR STOPPING BY!


THANKS ~ FRESHLY MADE SKETCHES #673

  Hi everyone! Today, I'm sharing a fun card I made using Freshly Made Sketches, sketch #673.  I have been working hard the last few mon...