Thursday, July 30, 2020

DAY 6~EXPLORING WATERCOLOR MEDIUMS

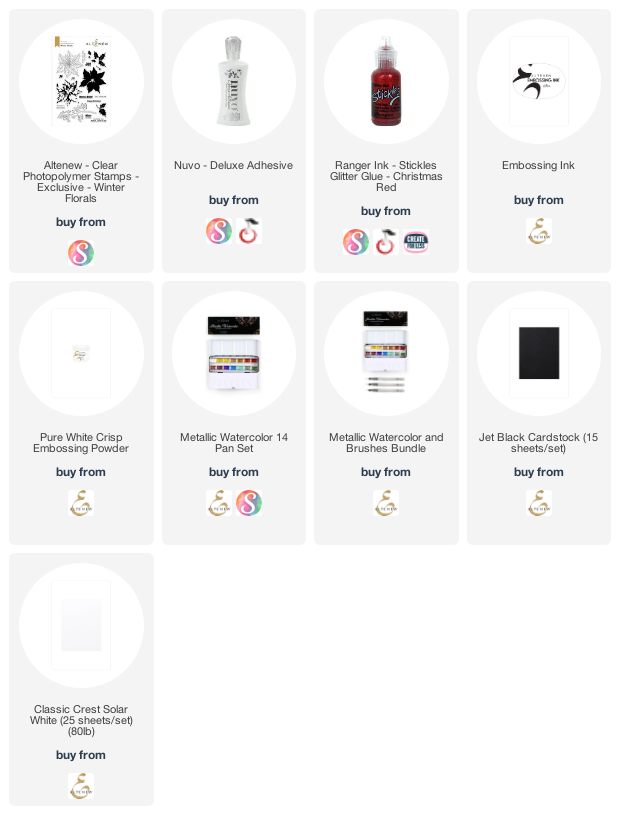
Hi everyone! Today's card is created using black cardstock, metallic watercolor paint, and embossing.

So sad that this is the last day for this class. I had a lot of fun learning some new techniques and honing others.This is the first time I've watercolored on black cardstock and I have to say it was so much fun!


I wasn't sure at first with the image I chose. I was having some issues with the paint just sitting on top of the embossed areas but I soaked up some of the extra and it started to fill in. 


I originally was going to do one flower and the sprig but when I started to put the card together it just didn't look full enough. I needed more lol. So I stamped to more flowers and got coloring. 


I chose to cut the sprig apart and adhere it behind the floral images. I like how this looks so much better. 


I added some Xmas red stickles to give a bit of shine and bling. At first I wasn't to sure they were going to stand out but once they dried they added just the touch of shine I was looking for. 


THANKS FOR STOPPING BY!!

Affiliate links at no cost to you
Wednesday, July 29, 2020

DAY 5~EXPLORING WATERCOLOR MEDIUMS

Hi everyone! I created this card for day 5 of the Watercolor Medium class. This class was all about no line watercoloring. Something I have a very hard time doing.  

I think for a first time try it didn't turn out to bad. I will be practicing this more and share what I create as I go. 

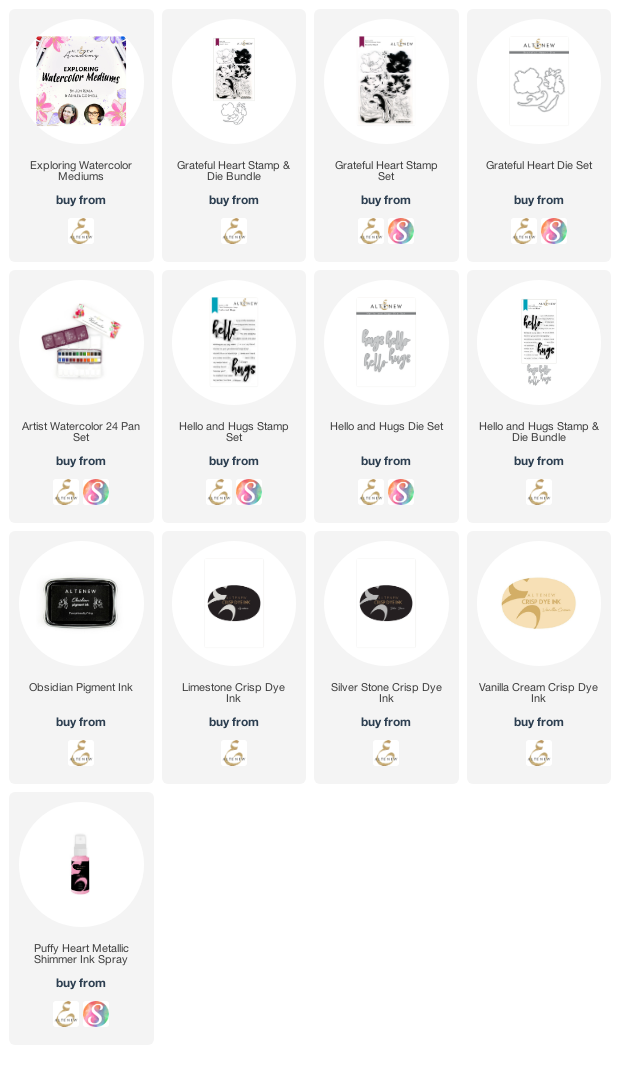
Today's card is using a great flower set called Grateful Heart. This was a simple image and made the process a bit easier for me.


We started the lesson with some gradient work to help us color in our image. I've done this before but never in an image, only as a background.


It's a bit rough but overall I'm pretty happy with my flower. I can't wait to give it a try with a different color and see what comes of it.


I wanted a bit more color so I added a strip at the bottom blending shades of purple and lapis lazuli to create a gradient strip for my sentiment to sit on. 


I added some splatters to the background using puffy heart metallic shimmer spray.


I wanted some shadow behind the main image so I used a flower cluster image from the same stamp set and stamped it in limestone ink. 


THANKS FOR STOPPING BY!!

Sunday, July 26, 2020

Always & Forever

Hi everyone! I'm back with another great layout challenge from

This weeks challenge is to use stamps on your layout. We want to see them as the feature of your layout. 


My stamp focus is using the new Altenew/Pinfresh Studio collaboration sets celebrate today and celebrate us. These are perfect for this old wedding photo of my grandparents. 


I stamped the large cluster onto water color cardstock and used my Altenew artist markers to color in the images. For the celbreate us image I used several different shades of Altenew pinks. 


I fussy cut the large flower image from the patterned paper so help break up the grey/white background. I love how this helps frame the photo and helps it really stand out. 


THANKS FOR STOPPING BY!!

Saturday, July 25, 2020

DAY 3~EXPLORING WATERCOLOR MEDIUMS

Hi everyone! Back again with another card from


I'm really enjoying this class. I just realized that I skipped making a project for day two so I'll be heading back and getting that going.  But for today here is a card I created using the Altenew watercolor brush marker refills. 


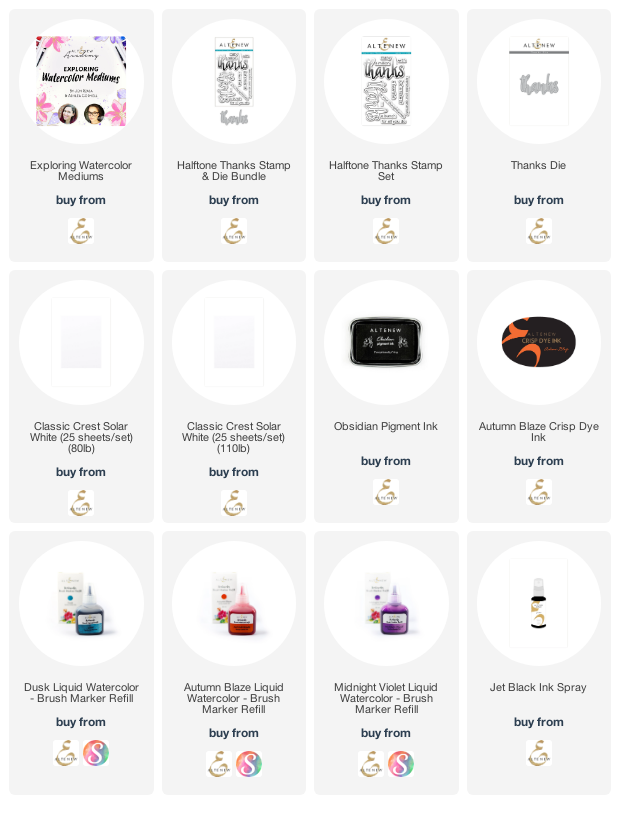
I've never used my refills before so when I saw that this is what we were doing on day three I was excited to get them out and get going.  Using a piece of acetate, dropping a few drops of three different colors, spritzing it with water and then laying it over my panel of white cardstock and smooshing it down I got this awesome effect. 


I did re-wet my acetate panel and smoosh it down one more time to get some extra color on the panel. Once that dried I added some jet black ink spray splatters to finish off the panel. 

THANKS FOR STOPPING BY!!

Product affiliate links at no cost to you

DAY 1~EXPLORING WATERCOLOR MEDIUMS

Hi everyone! I'm here today sharing a project for an Altenew class I'm taking


I've taken a few of these watercolor classes and I still learn new things!! For example: stamping in watercolor. I've never tried this before and love the effect it has.

Unfortunately, somewhere between making it and taking the photos the card got bent :(


It looks like a regular stamped image but the ink was spritzed with water before stamping to give the watercolor effect. 


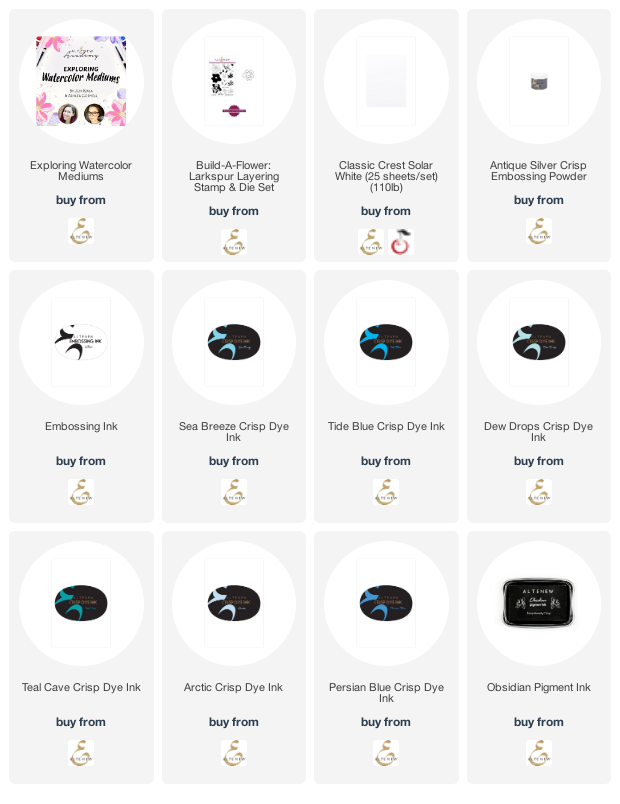
Once I stamped all three images I stamped the outline image in embossing ink and added antique silver embossing powder. I finished it by adding the sentiment in obsidian black ink.

THANKS FOR STOPPING BY!

Product affiliate links at no cost to you

Friday, July 24, 2020

Love Happiness

Hi everyone! Welcome back for another great challenge over at


This weeks challenge it to create a summer wedding project. Who couldn't use one?

I used a cute wedding couple that I purchased and colored them in. I fussy cut them out so that they would "pop" off my card.


I used an Altenew heart die to create the background in three different, soft colors of cardstock. I then added some silver glitter washi tape to the edge and added a thin strip of the light purple cardstock. 


I didn't realize until I uploaded the photos that these two look a little sunburned. I guess they forgot the sunscreen before heading down the isle!!


Now it's your turn. Create your project and share over on the blog.

You can find this cute The Big Day image from Paper Nest Dolls. 

THANKS FOR STOPPING BY!!

Wednesday, July 22, 2020

Back to School and Flowers To

Hi everyone!! Welcome back to another great challenge over at


As always the theme is ANYTHING GOES

We have some great sponsors:


Prize: $10 Store Voucher


Prize: 3 digi images of the winners choice

I used two images from Fred She Said this challenge. I chose APPLE FOR TEACHER first and then saw  TULIP BOUQUET and I knew I wanted that one to!!

My first card uses APPLE FOR TEACHER 


And here is my second card using TULIP BOUQUET


I'm entering these in the following challenges:

Corrosive Challenge  Anything Goes
Crafty Catz Challenge Anything Goes
Lemon Shortbread  Anything Goes 


Now it's your turn! Get crafting and share with us over at PENNY'S PAPER-CRAFTY BLOG

THANKS FOR STOPPING BY!!!

Tuesday, July 21, 2020

Belated Birthday...

Hi everyone! Welcome back. I have a new project for 


Today I'm sharing a card I made using ink blending.  This is one of my favorite techniques as I seem to always be able to create with it and not make mistakes lol. 


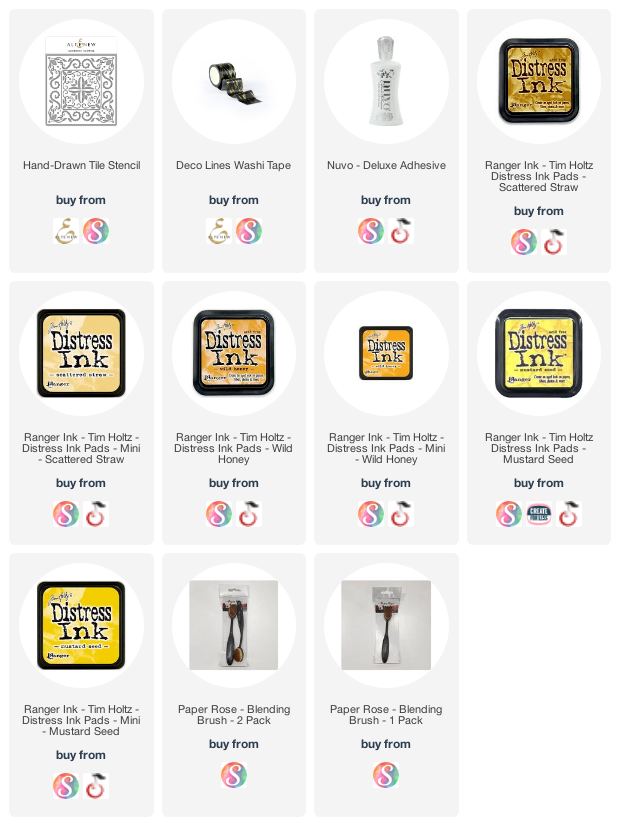
I started with using the hand-drawn stencil from Altenew and three shades of yellows from Tim Holtz distress ink line. I used the lightest color in the center and worked my way out using the medium color and then the darkest. It blends seamlessly and creates a nice muted effect for my background.


I used the washi tape and a thin strip of mustard colored cardstock on the left had side of my panel to help ground it. I did use the scattered straw color on my card base to get a matching color background for my panel. 


I popped the panel up using fun foam to give some dimension to the card and it helps highlight the slight distressing along the edges. 


I added the DARK VANILLA DEW DROPS using liquid glue and then adhered my sentiment using foam dots. I did take the scattered straw ink and ran it across the edges of the strip to help it stand apart from the base more. 


THANKS FOR STOPPING BY!!!

Wednesday, July 15, 2020

I'll Have A...

Hi everyone! Welcome to another fun challenge over at


The theme this week is Male. I obviously didn't see that when I picked out my image to create with lol

Our Sponsor for this weeks challenge is


Prize: 4 digi's of winners choice

I used JJ-Coffee To Go  and as I mentioned above I didn't pay to close attention to the male theme. 
Please don't follow in my footsteps. Use a MALE theme so you can qualify for the prize.  


I started out using this wooden tag from Tim Holtz. I added gesso to the base so I could add color. I used several different colors of his alcohol inks to create the background. 


I then added some blue ink to crackle distress and added it to the tag through a stencil to create the circle background.  Once I colored this amazing image I cut it out and adhered it over the background. 


I love the texture the crackle distress gives along with the coffee embossing folder at the bottom. I finished it off by adding some matching ribbon and stapling the strands together. 


Now it's your turn!! Show us your Male themed projects and enter to win the amazing prize!!

THANKS FOR STOPPING BY!!

QUICK & EASY CHRISTMAS CARDS

  Hi everyone! I wanted to share a quick post on how I made my Christmas cards this year. I have been so busy lately with school, work, and ...