Showing posts with label design team. Show all posts

Wednesday, September 29, 2021

THANKS CARD WITH THE PAPER SHELTER

 Hi everyone! Today we have a fun challenge over at 

Our sponsors for today's challenge is:

The Paper Shelter

(prize: 3 digi images of winners choice)

Twinkle Lane Designs

(8 pound store voucher)

For my card I got to use Owl Whisperer from The Paper Shelter. I decided to use the colored image as well as the background paper that was provided. 


I kept the card pretty simple. I embossed a white panel with a 3D cloud embossing folder and ink blended. I added the background paper and colored image. 


For the thanks I did a direct paper ink to create the purple sentiment. I love this as you can get the exact color you want without having to buy new paper. 


THANKS FOR STOPPING BY!!


Sunday, June 20, 2021


Hi everyone! Diana here today sharing a fun junk journal page. I've had this Dina Wakely journal form a while now and wasn't sure what I wanted to do with it. I had it and some Rinea foil out on my table and thought why not!

I started by adding some clear gesso to the page to help the different mediums stick and to protect the back side of the journal page. 

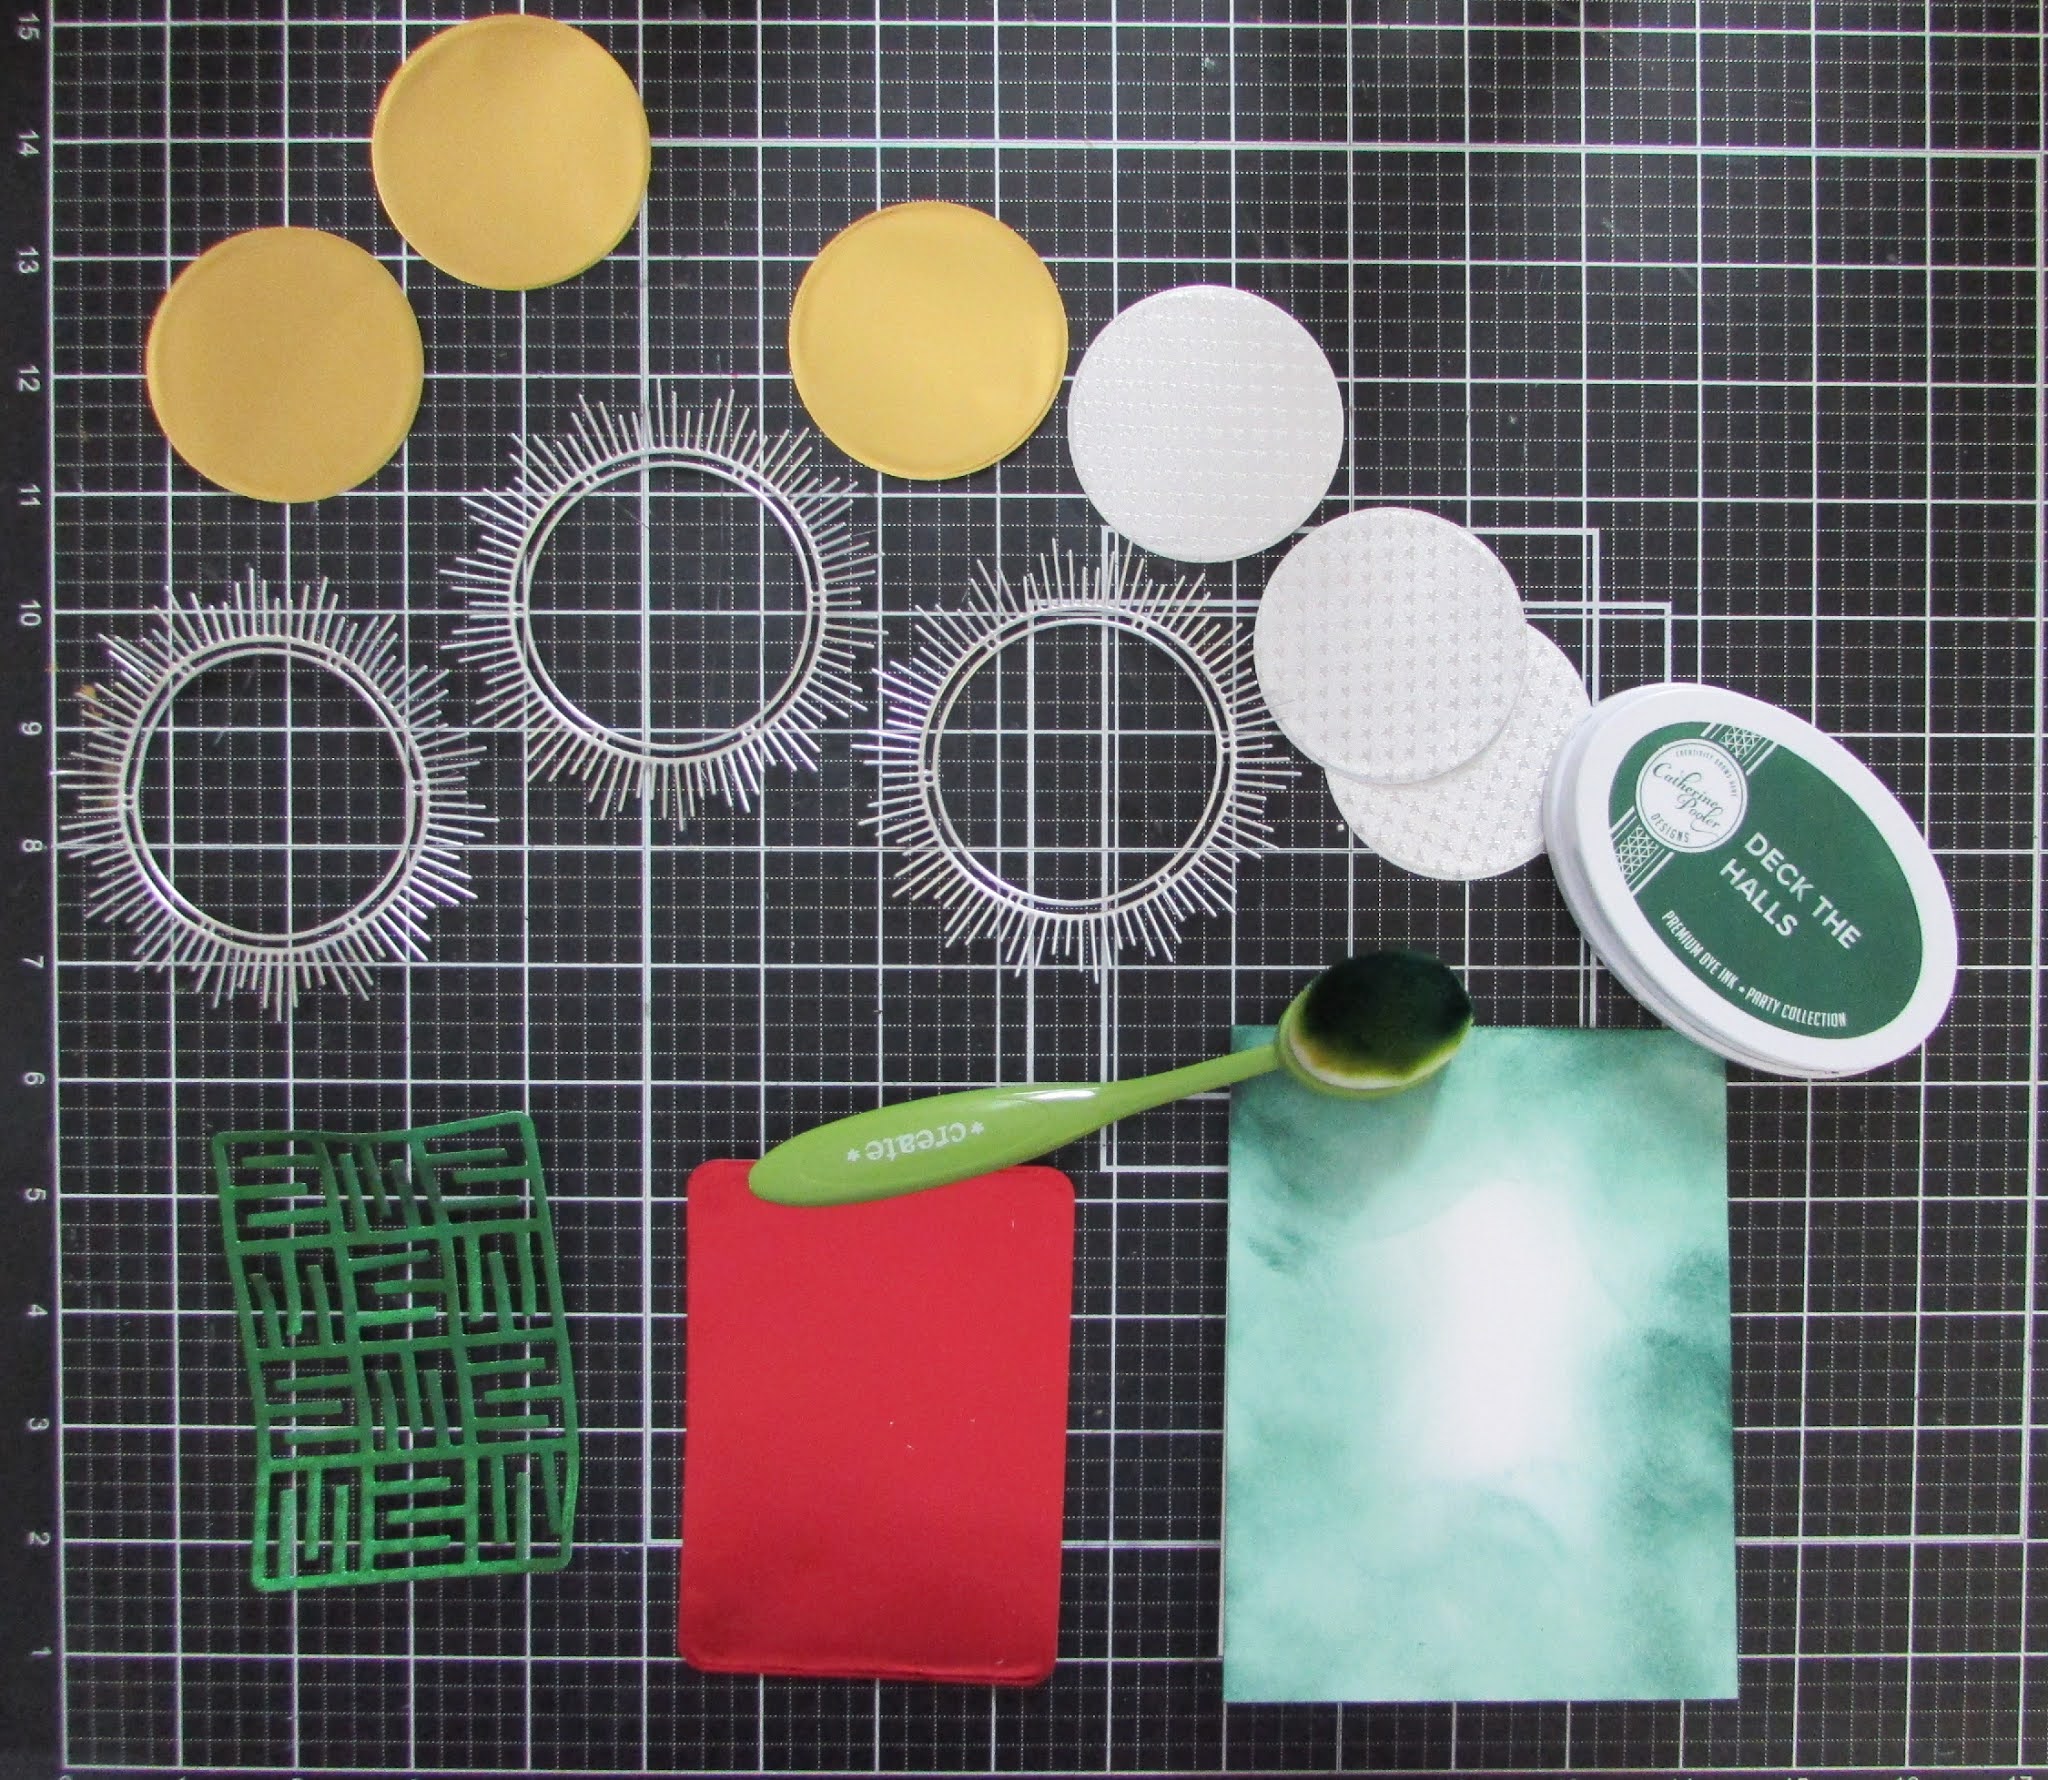
Once I spread that over the page and let it dry I pulled out the colors of foil from the misfits pack and started to tear strips.

Over the top of each layer of foil I added I used distress collage medium to adhere them to the page.

Once I had all the foiled pieces where I wanted I started adhering down some tissue paper saying squares. I did trim some down as I didn't want them to completely cover the foiled areas 

I really like the idea of mixed media projects but never seem to know where to go with them. I just started adding different things like spray inks and embossing glaze to add dimension and color without adding tons of bulk. I used a number stencil and ink spray for my next step.

I then added some distress embossing glaze to the wet sprayed areas and embossed them. Being careful not to burn the tissue paper or foiled areas.

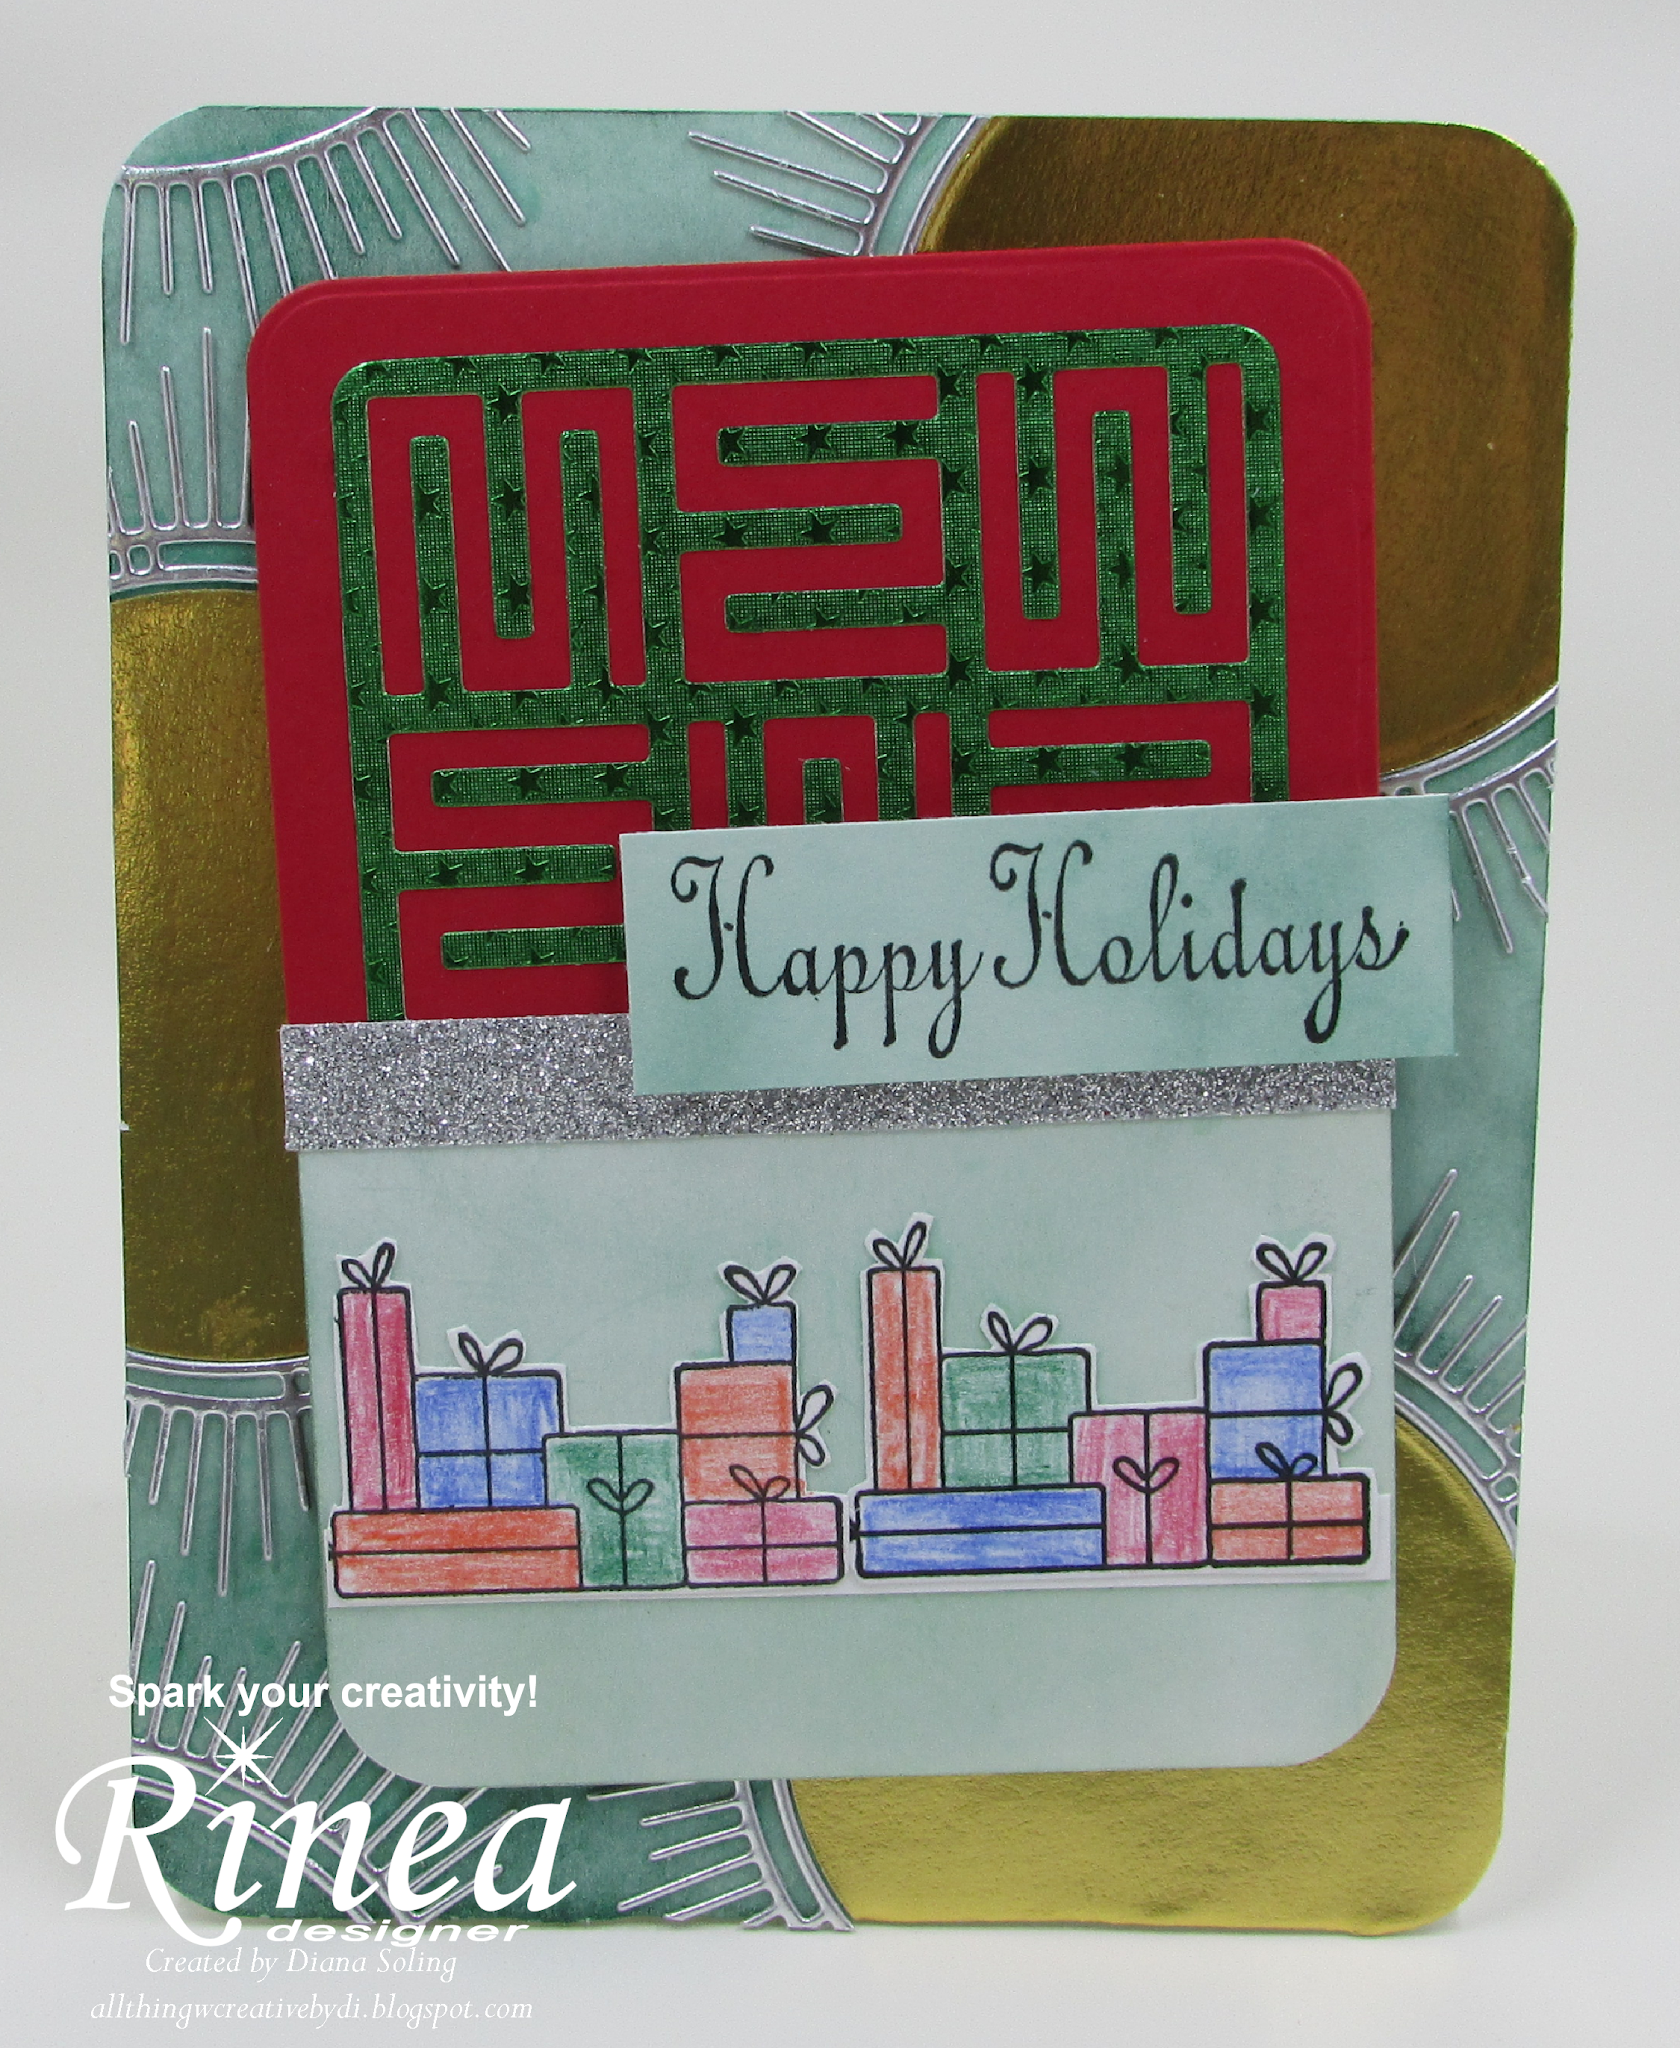
I absolutely love how it turned out! I can't wait to start using other products that I have to add to this journal book!


Supplies:

Rinea Foil: misfits pack

Other supplies: gesso, collage medium, distress embossing powder, ink spray, splat box

Monday, June 7, 2021

FATHER'S DAY APRON CARD


Hi everyone! Diana here to share a fun card using Rinea earth tones variety pack and Honey Bee stamps and dies.. I was in need of a Father's Day card, so I made this fun BBQ apron card. 

I started by die cutting the apron pieces from Rinea foiled paper and the accessories from white cardstock. 

I then adhered all the pieces to the background cardstock panel that I stamped in two different shades of green/blue and inked the edges with the darker of the two.

I then started coloring all of my accessories with my copic markers. For the utensils I used the same three shades of grey. I used two shades of brown for the bristles. (I now realize I should have moved my glass mat).

I wanted to add some additional color so I added a catsup and mustard bottle. 

Next I stamped, heat embossed, and die cut the main sentiment for my card.

Finally it's time to put the whole card together!

Here's the completed card! 

Supplies: 

Rinea: Earth Tones Variety Pack

Other supplies:

Honeybee: apron die, apron bbq dies, kiss the cook stamps/dies

Wednesday, April 14, 2021

PUPPY LOVE


Hi everyone! Welcome back for another challenge at
We have three great sponsors for this weeks challenge:
Prize: 2 digi images of winners choice

Prize: 2 digi images of winners choice

Prize: 2 digi images of winners choice

For my project today I got the pleasure to use Woof You by all dressed up. i really loved getting to color this darling pooch. I pulled out a great set of stencils and a stamp set that I received in a kit from Hedgehog Hollow recently.


Using a light blue ink I blended over the stencils to create the fun paw and bone background. I needed a sentiment so I finished it with this cute love sentiment. I added a bit of the light blue to the outer edges of the dog panel to give a bit more depth.


I finished the card with some fun dew drop embellishments from The Robin's Nest. 


Wednesday, February 17, 2021

A FRIEND IS WHAT THE HEART NEEDS!

 Hi everyone! I'm here today with another great challenge at


Our sponsors for this weeks challenge are:


Prize: $10 store voucher

Prize: 2 digi images of winners choice

Today I'm sharing a card made with Puttin' On The Ritz by Jan's Digi Stamps. Penguins are one of my most favorite animals. I don't know when I fell in love with them but whenever I see an image using them I just have to have it. 


I really wanted him to look like he was walking up to a friend to hand over these beautiful roses. Adding the blue sky and green grass really helped me achieve it. 


Here's a bit of a closer look at the sky. I used distress oxide ink to create the muted color. 


Wednesday, November 25, 2020

ANGEL THANKS

 Back again with another fun challenge over at

As always anything goes

Our two sponsors this challenge are


Prize: 2 digi images of the winners choice


Prize: 3 digi images of winners choice

For my card today I used ANGEL LULU from Paper Nest Dolls. This image is so sweet. I really enjoyed getting to color her.


I used a fun border die set i have to create the outer scallop and then used the inner piece and my background. To help "ground" her I used a strip of paper in a grey shade and added some die cut banners to the right side.


I wanted to give a more angelic look so I fussy cut her out and popped her up using foam. I added her halo the same way. 


THANKS FOR STOPPING BY!

Friday, November 20, 2020

HAPPY HOLIDAYS RINEA COLLABORATION W/ CRACKERBOX & SUZY STAMPS

 Hi everyone! Back again today with our second collaboration with 


And


Today I have a fun and sparkling holiday card that's easy to make and can be changed to use what ever you may have on hand.


To create this card I started by die cutting all of my pieces and ink blending the base piece of my card using dark green ink and a blending brush. 


Next I adhered the silver spheres around the edges of the base and added in the gold circles.


I trimmed of the overhanging pieces and added some of the scraps to fill the background in a bit more.


I was originally going to use red/gold foiled paper as my first layer but wanted something a bit less shiny as I have so much amazing foil already. I used a sheet of red cardstock and re cut the base piece. 


I started arranging all of my elements. I did ink blend on the background of the sentiment and the presents so they'd blend in better. 


I added a lot of dimension to this card. Lately it just seems like all my projects need it lol. 


Supplies:
Crackerbox & Suzy Stamps: happy holidays, gift pile
Altenew: mid-century frame die, permanent black ink
Catherine Pooler: A-maze-ing mini cover plate die, deck the halls ink
Close to my Heart: milan color pencils, silver shimmer trim
Stampin' Up!: real red and whisper white cardstock

THANKS FOR STOPPING BY!!


THANKS ~ FRESHLY MADE SKETCHES #673

  Hi everyone! Today, I'm sharing a fun card I made using Freshly Made Sketches, sketch #673.  I have been working hard the last few mon...