Friday, August 28, 2020

SENDING LOVE

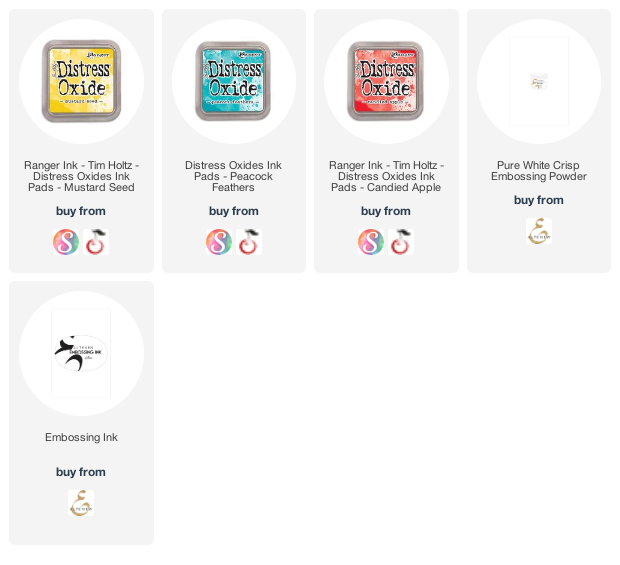
 Hi ! I'm hear today to share a fun card I made using distress oxide ink.  Now I don't have the new color just yet (it's ordered) but I figured I might as well play with my other colors. 

This is the card I came up with. I wish I would have chosen a larger image so I could have more of the blue color. I really love it and wanted more. 


Using my Taylored Expressions blender brushes I started out with the candied apple distress oxide and blended it down to cover the first third of the heart. 

I then followed it with peacock feathers ink blending it slightly into the candied apple. 

Finally I added the mustard seed making sure to blend it into the peacock feather. I did need to go back in with the blue as the mustard seed blended a bit to well lol. I finished it up by taking a cloth or paper towel and wiping the ink off the white embossed heart image. 


THANKS FOR STOPPING BY!!
Sunday, August 23, 2020

THE TASSEL WAS WORTH THE HASSLE

 Hi everyone! Welcome back to another great challenge over at

This weeks challenge is: Special Person; create a layout about a special person in your life. This maybe someone that has changed your life in some why or maybe it's a family member or special friend that you haven't been able to see for a while etc...

I choose to do a layout about my youngest son. He just recently graduated High School. This is something we weren't sure he'd be able to. He was diagnosed with Autism when he was nine after years of trying to get him help. Then adding to it he was also diagnosed with ADHD and anxiety. 

I took this picture of him right after he moved his tassel from the right to the left. He looks so grown up. I love how confident he is. 

This is the third page in a four page layout that I created using all the photos I took.  The first two are photos I took at home and the second two are of the actual ceremony. 

I found the title in the Cricut store and couldn't wait to use it. I love that it has different fonts that work so well together. 

I found these great apoxy flair buttons at SCRAPIN HAPPY STUDIO! She has such a wide variety and comes out with new styles all the time. Check it out!

THANKS FOR STOPPING BY!!

Friday, August 21, 2020

You're The Sweetest CAS

Hi everyone! Welcome back for another great challenge over at 


Today's challenge is a CAS (clean & simple) stamp straight onto card base....no added details....just colored stamped image!


Here is my project. I did stamp my image onto a panel and then adhered it to the card base. I didn't use any embellishments as I wanted the image to be the focal point. 


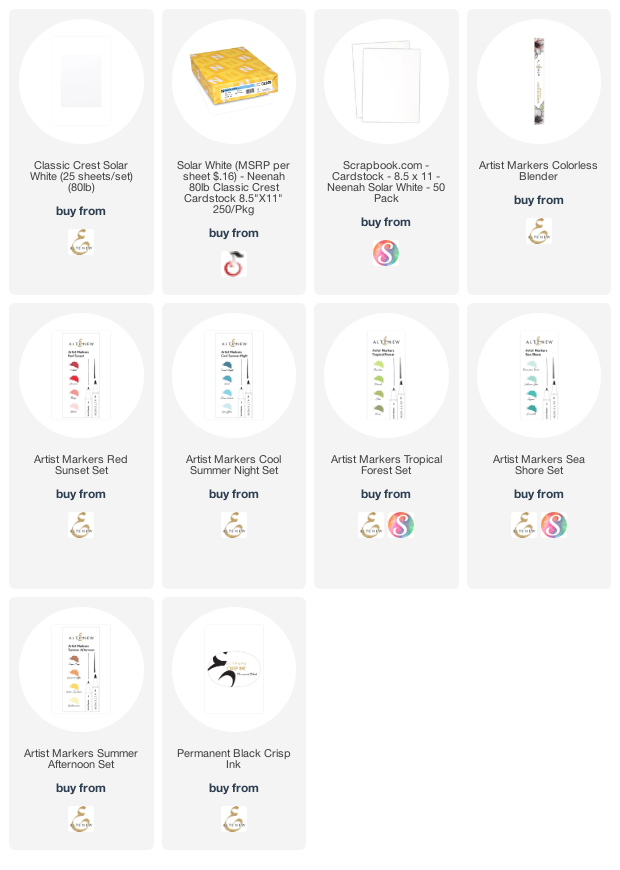
I used my Altenew artist markers to color in this amazing cupcake. I love how large this image is and that it fills the whole front of my card!!


A bit closer look at the coloring. I can't wait to make more of these in different colors.


THANKS FOR STOPPING BY!!!


Stamp set: 
Colorado Stamp Company: Big & Bold~Sweetest Friend Cupcake

Thursday, August 20, 2020

TREAT YOURSELF

Hi everyone! Back again with another foiled project for


I've really been having fun with this new product. I made a card for today using another cut file from the Cricut store as well as some of the flowers left over from my SUMMER BANNER

Today my project is a card. I used the same colors as my last project adding in a pink base layer. 


Step 1: Choose your frame, embellishments, foiled paper and cardstock. Also decide on any stamping or sentiments you may want.

Step 2: Cut your frame from desired foiled paper. I used the ruby/gold glossy foiled paper for my frame and then filled it in with the violet/violet starstruck foiled paper.

Step 3: Adhere the gold scroll frame to the top of the ruby frame. I used a sticker maker to do this but you can use liquid glue as well. 

Step 4: adhere the frame to the violet panel ( this panel should be a bit bigger than the middle). The cut file I used cut out all these pieces so they fit together well.

Step 5: Adhere the frame to the pink cardstock panel as shown below. 


Step 6: Take your flowers (or other images) and adhere them together using liquid glue around the center of each flower. This will give you the ability to "fluff" them. Add in a center that was left over from the cut ( I used a gold one)


Step 7: Trim off the excess flower edges to give a nice clean look to the card. 


Step 8: Using GHOST INK, stamp your desired image onto your violet panel.  I used the STARBURST stamp set. 


Step 9: I added a strip sentiment that I had lying around. I stamp extras sometimes so that when I need something a bit extra I can grab one and add it. 


THANKS FOR STOPPING BY!!

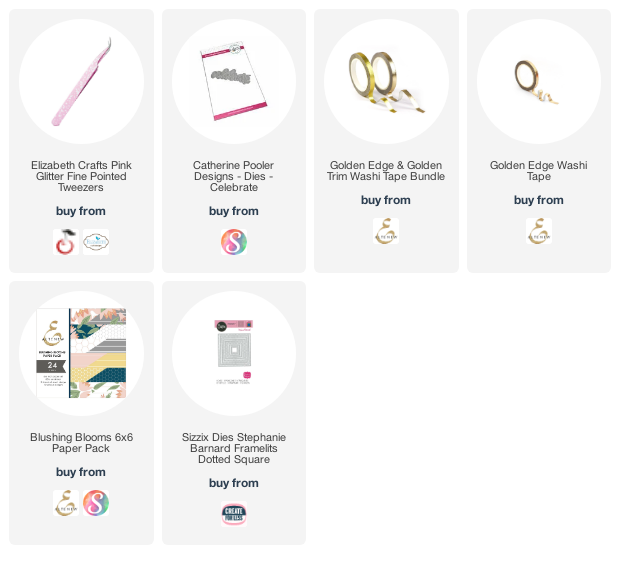
SUPPLIES:


Wednesday, August 19, 2020

Home Sweet Home Celebrate

Hi everyone! Welcome to another Anything Goes Challenge at 


We have two great Sponsors for this challenge and they are


PRIZE: 2 digi stamps of winners choice


PRIZE: 2 digi stamps of winners choice

My project today is using Dr. Digi's WELL EARNED REST.  I had a lot of fun creating this card. I used some new colored pencils I got from Amazon. They are amazing and color well. 


I wasn't sure how I was going to do this card so I colored the image and put it aside for a bit. I decided to use a square dotted frame die to cut the main image and then added some texture by tearing the edges. I added a bit of purple marker to the edge of the white piece to give a bit more interest. 


I am loving the cute little pup in the bed at the end. We sleep every night with one of our three pups in our room and we read together in bed so this stamp is perfect. 


I used celebrate as my large sentiment to add to the home sweet home. This will make a great new home card or a new pup card. 


THANKS FOR STOPPING BY!!!

Affliliate links at no cost to you:

Tuesday, August 18, 2020

DREAM BIG JOURNAL PAGE

 Hi everyone! I'm back again with another project for my design team spot over at


For this project I started out creating a large sunflower. Once I had it cut out on my Cricut I had no idea what I was going to do. I wanted to put it on a stick and make it a plant decoration but I didn't have any. 

So I decided on creating a junk journal page. I've never made one before and I don't have a whole lot on the page as I wanted the sunflower to be the center of attention but I'm loving the way it turned out for my very first try.

How I created this:

Step 1: Cut out desired shape from solid colored cardstock of choice. Next you'll choose another color or patterned paper to back the flower. Adhere them together and trim around edges.

Step 2: Use either distress ink in vintage photo or another brown you have on hand and add it to the image to give a little texture.

Step 3: Use the same brown ink on a 8 1/2 x 11" piece of white cardstock. 

Step 4: adhere the large cut out image to the left hand side of your page and trim off extras. You can then add some of the extra pieces to the corners as I did.

Step 5: Choose your embellishments. I used Robin's Nest dew drops and  two stamp sets from CLOSE TO MY HEART and fussy cut out the images once I stamped them. 


SUPPLIES: 

Robin's Nest Dew DropsWinter retreat dew drops, dark vanilla dew drops & chocolate dew drops

Stamp sets: Close To My Heart

Ink: nectarine, fern, ruby, glacier, and archival black (Close To My Heart), vintage photo distress oxide ink

Cardstock: orange, mustard, and white

THANKS FOR STOPPING BY!!

Sunday, August 16, 2020

YOU ARE ENOUGH

 Hi everyone! Welcome back to another great challenge over at 


Challenge is Dots and/or Stripes

Our sponsor"s for this week's challenge are:

PRIZE: 5 images 


PRIZE: Same images the design team used

I am running a bit late to the party this week. I started a new job and it's a big adjustment. That said for my project I used PUPPIES AND KITTENS

For the challenge I used Robin's Nest dew drops as my dots. I wanted the frame to be simple as to not take away from the image it's self. 


I left the image larger than I normally would so that I could hang it up in my craft room or frame it into an 8 1/2 x 11 frame and give it as a gift 


THANKS FOR STOPPING BY!!

Friday, August 7, 2020

OH MY! AND A LAYOUT CHALLENGE

Hi everyone! Welcome back to another great challenge over at


Today's challenge is a fun sketch challenge inspired by one of our design team members Rainny. 


For my layout I pulled out some old photos my son took of my hubby and youngest son a few years ago. He gave them some funny faces and even had my youngest steaming from his ears lol. I've been wanting to scrap these and was just waiting for the perfect layout. 


I did switch mine up a bit. I wanted my larger pieces to be the pictures and the smaller the title. I mostly used patterned paper. I kept the layout simple as the paper has a lot going on. 


THANKS FOR STOPPING BY!!


QUICK & EASY CHRISTMAS CARDS

  Hi everyone! I wanted to share a quick post on how I made my Christmas cards this year. I have been so busy lately with school, work, and ...