Showing posts with label crackerbox & suzy. Show all posts

Friday, November 20, 2020

HAPPY HOLIDAYS RINEA COLLABORATION W/ CRACKERBOX & SUZY STAMPS

 Hi everyone! Back again today with our second collaboration with 


And


Today I have a fun and sparkling holiday card that's easy to make and can be changed to use what ever you may have on hand.


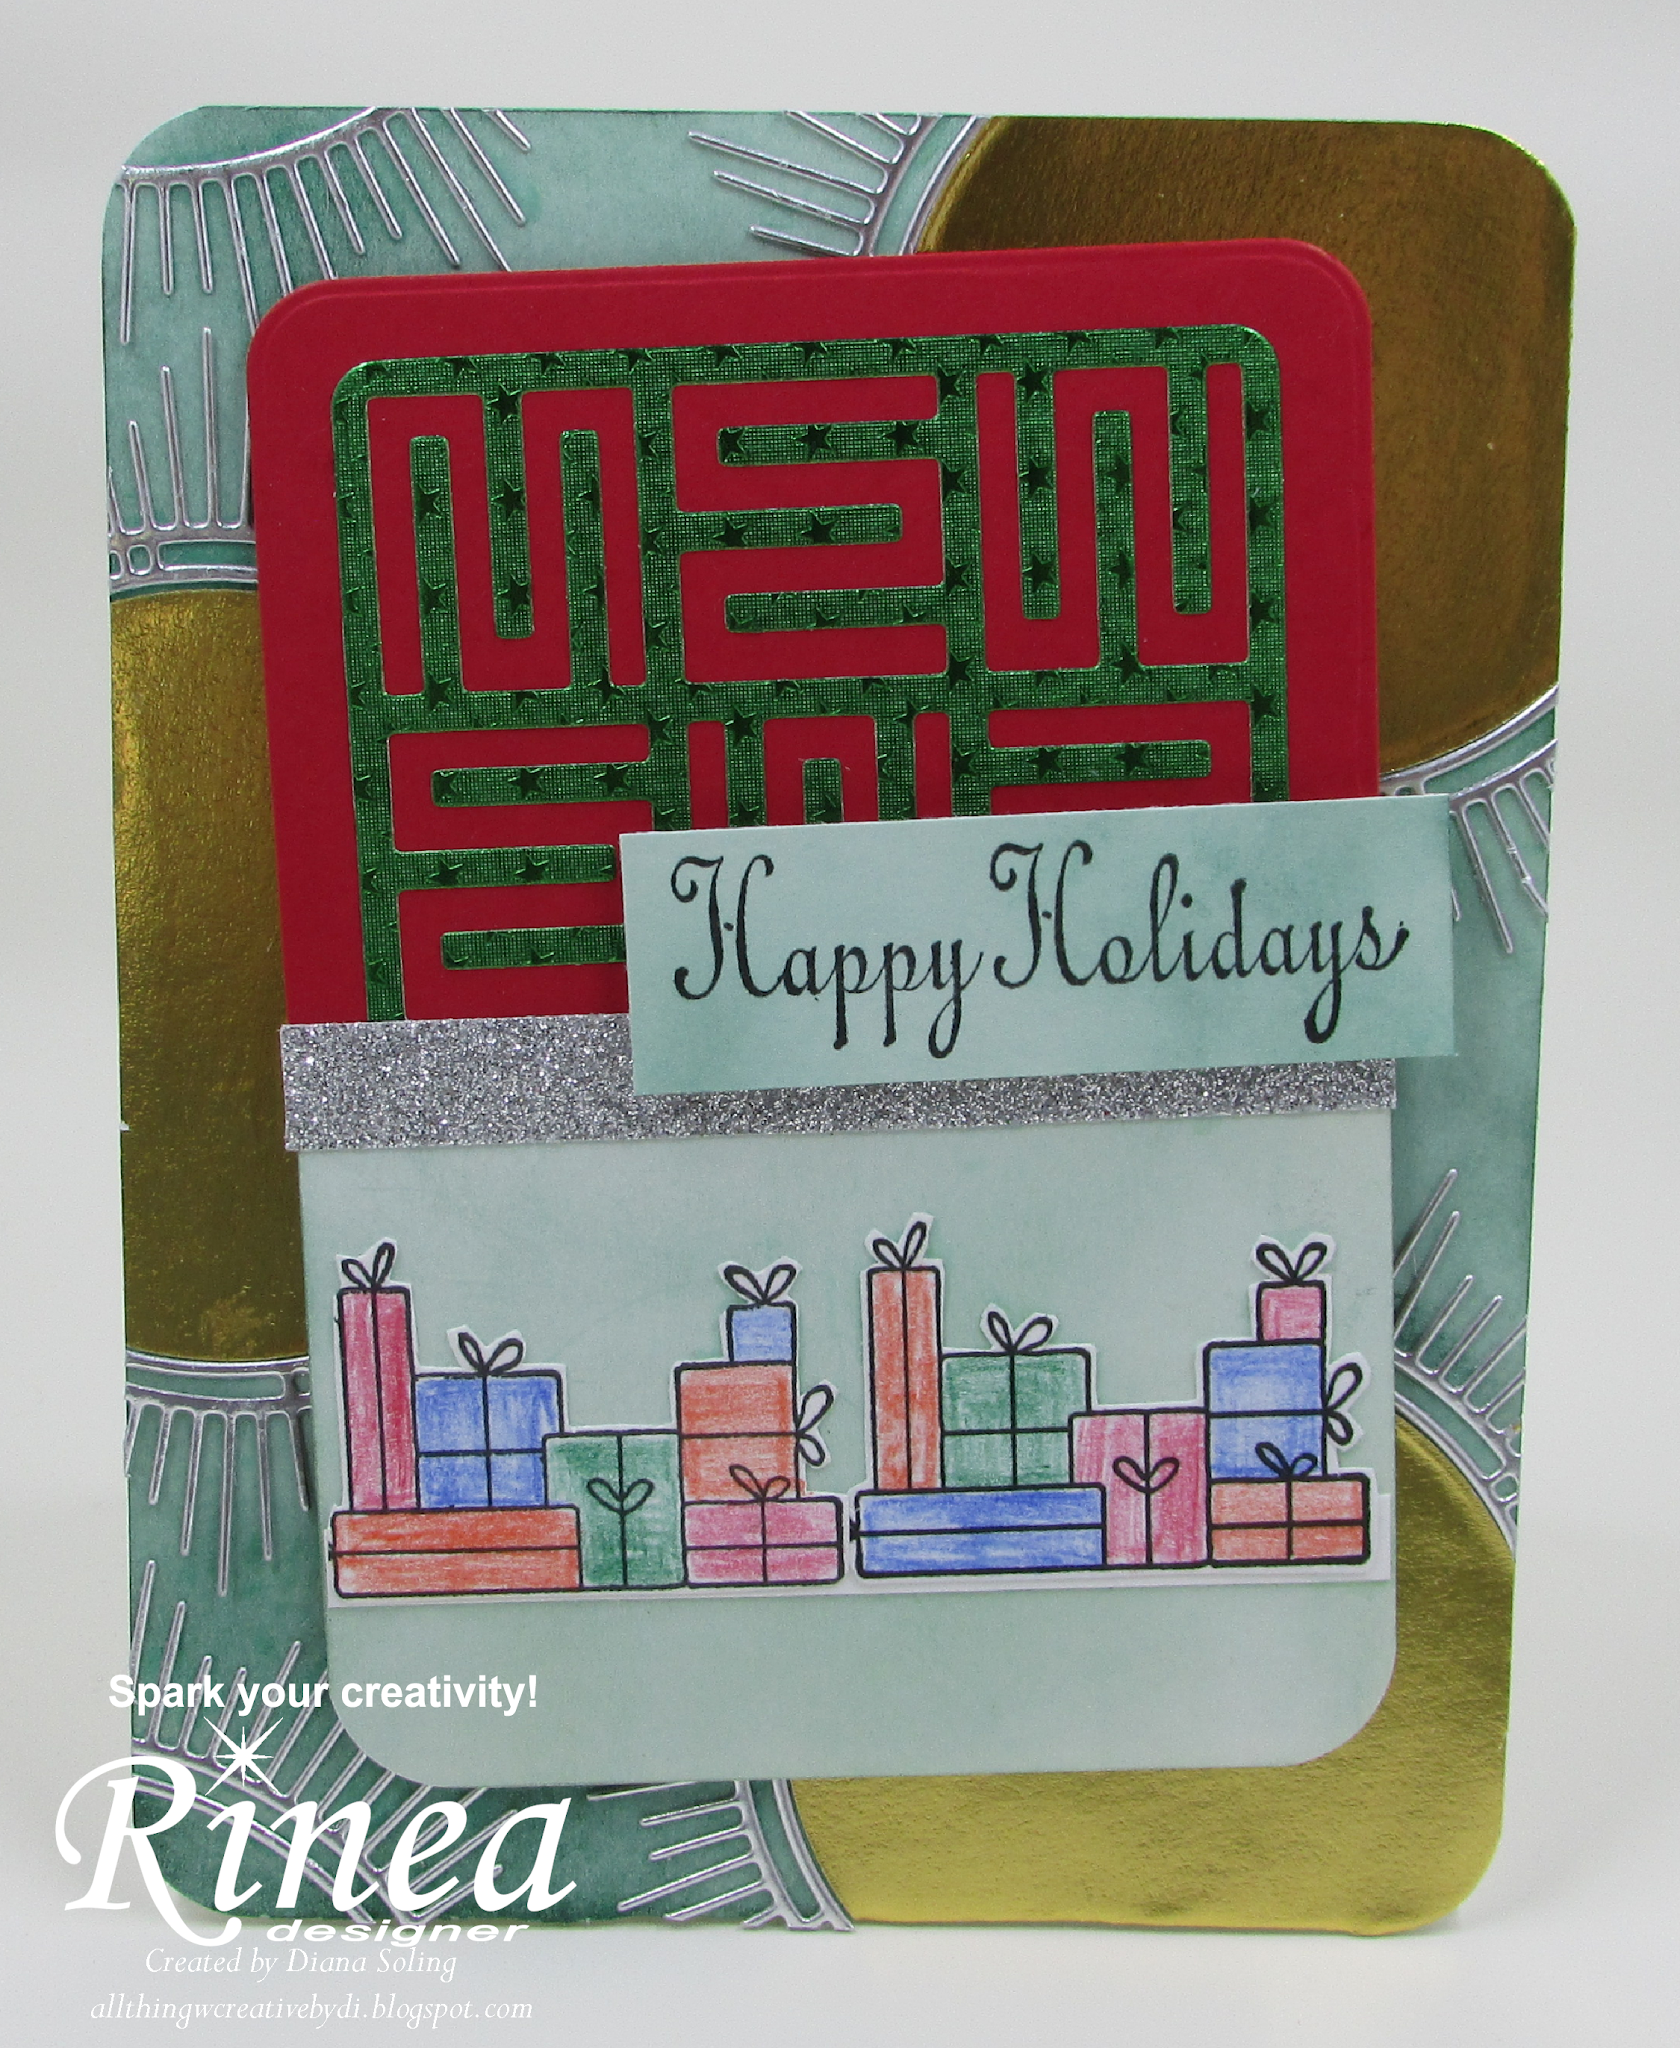
To create this card I started by die cutting all of my pieces and ink blending the base piece of my card using dark green ink and a blending brush. 


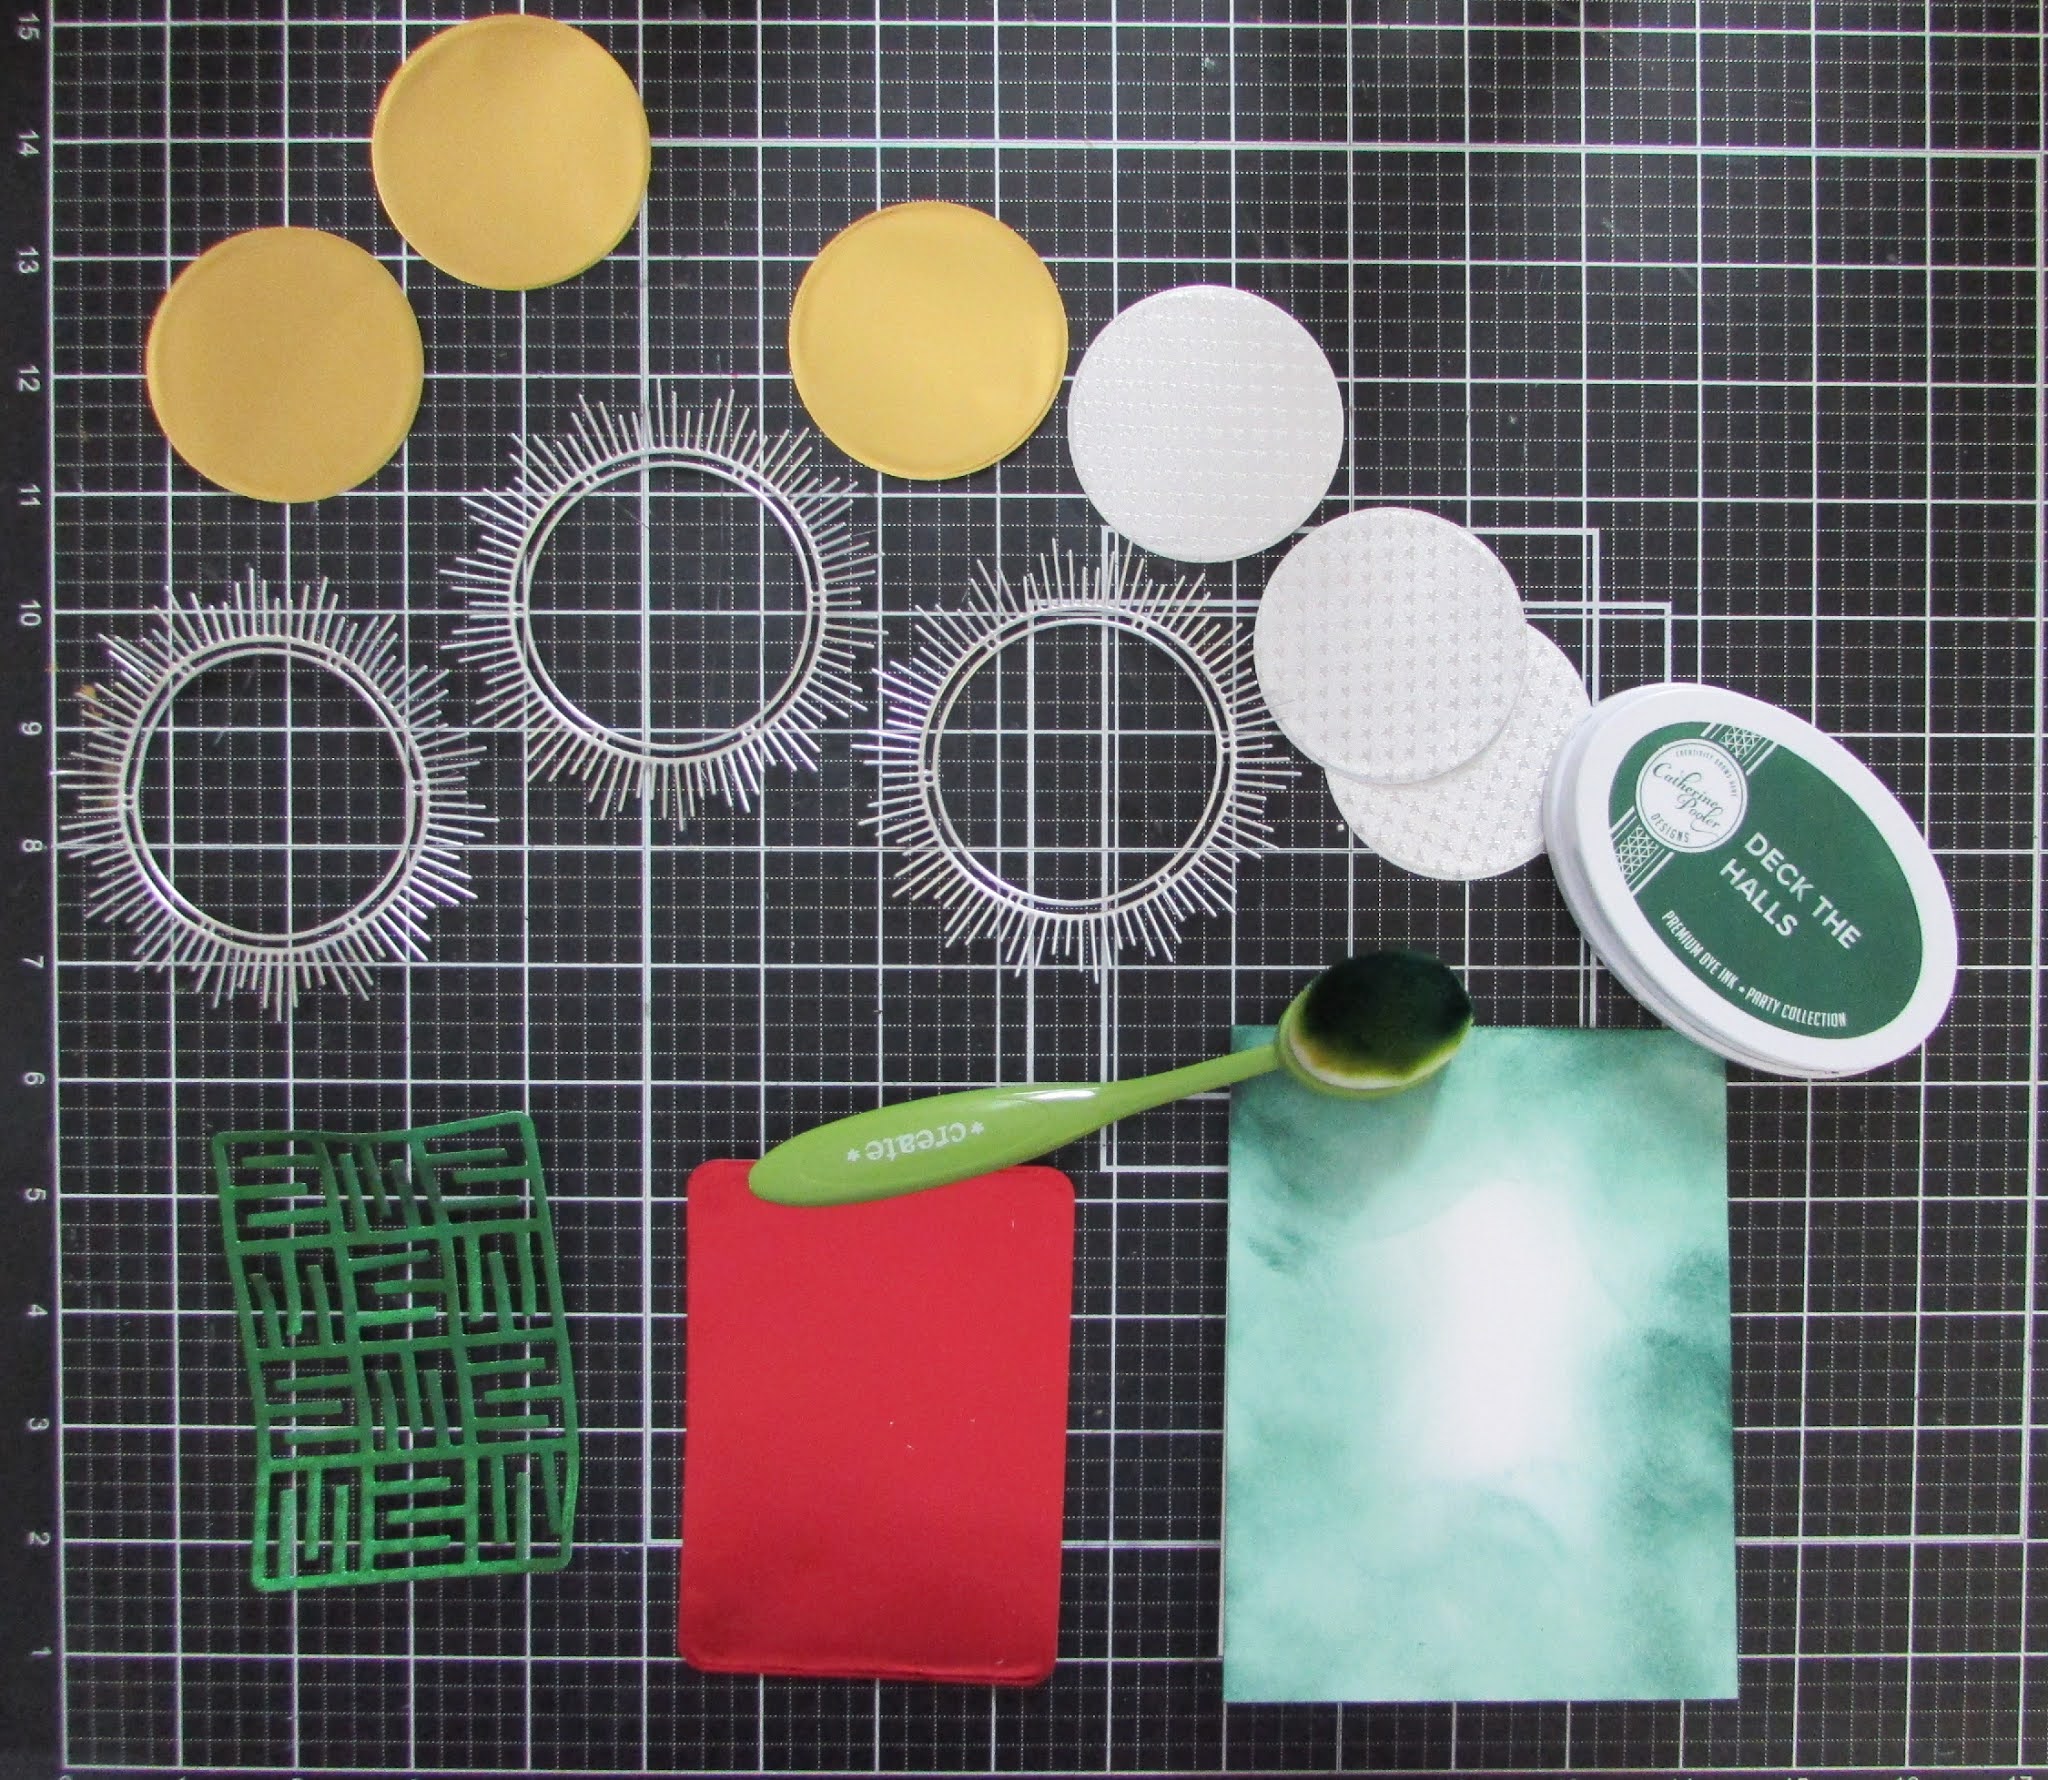
Next I adhered the silver spheres around the edges of the base and added in the gold circles.


I trimmed of the overhanging pieces and added some of the scraps to fill the background in a bit more.


I was originally going to use red/gold foiled paper as my first layer but wanted something a bit less shiny as I have so much amazing foil already. I used a sheet of red cardstock and re cut the base piece. 


I started arranging all of my elements. I did ink blend on the background of the sentiment and the presents so they'd blend in better. 


I added a lot of dimension to this card. Lately it just seems like all my projects need it lol. 


Supplies:
Crackerbox & Suzy Stamps: happy holidays, gift pile
Altenew: mid-century frame die, permanent black ink
Catherine Pooler: A-maze-ing mini cover plate die, deck the halls ink
Close to my Heart: milan color pencils, silver shimmer trim
Stampin' Up!: real red and whisper white cardstock

THANKS FOR STOPPING BY!!


Saturday, November 7, 2020

WINTER TAGS COLLABORATION WITH RINEA AND CRACKERBOX & SUZY STAMPS

 Hi everyone! I am so exited to share my projects with you today. Today's are a bit more special as we here at


are collaborating with


Before this collab I hadn't heard of Crackerbox & Suzy Stamps. I feel like I was missing out! They have some cute stamps and some snarky one's for us more smarty pants people. 


I started making my tags by die cutting two different tag shapes from white cardstock. For my images I put them all into my misti stamping tool and stamped them all at the same time in crisp black ink. 

For the first tag I used an embossing folder with ink on the inside top panel in a baby blue ink color. 


I then placed my first tag inside the folder.


 The effect you get by doing this technique is stunning. It makes the image/words stand out and puts just the right amount of color on the tag. 


I then took my Rinea foiled paper and cut out three shapes in three different colors. I glued them down using my liquid glue. 


Once I cut the edges off I added a few of them to other areas of the tag base.


I then set about creating the rest of my tag by adding my stamped images and sentiment.


For my second tag I used a snowflake embossing folder and embossed my foiled paper.  


I then took my tag base and glued it to the back.


I  then started to add more foiled paper to the front. Cutting the strip off the base and turning it over to get the gold strip. I also cut another tag shape from the silver foiled paper and adhered it on top. 


Once that was done I could start adding my image and sentiment. I wanted Santa to be the focal so I fussy cut around the sentiment to make it more stream lined. I used the same baby blue ink from above around all the edges. 


And here is the complete finished project. There are so many things you can do with these. You can add them to packages, scrapbook layouts, cards and so much more. 


Here are some close ups of both of the tags and a supply list

SUPPLIES:


 Teriffic Tags Die Set
Soda Top Nesting Dies
Permanent Black Crisp Die Ink

 Glacier Bay Sequin Mix
It's A Boy Ink Pad

Snowball Fight Embellishments
Dazzling Holidays Embellishments
 
OTHER SUPPLIES
white cardstock, snowflake embossing folder, Christmas word embossing folder. 


THANKS FOR STOPPING BY!!


THANKS ~ FRESHLY MADE SKETCHES #673

  Hi everyone! Today, I'm sharing a fun card I made using Freshly Made Sketches, sketch #673.  I have been working hard the last few mon...