Showing posts with label stencils. Show all posts

Sunday, July 4, 2021

STUNNINGLY STYLED STENCILS + 2 CARDS

 Hi everyone! I'm back today with projects for my third class in my level 3 Altenew Certification. I has so much fun learning different techniques for using my stencils. Things I never would have even considered. 


I always forget I have so many stencils and taking this class really helped me to see so many great ways to use them and get them out of the box. 


This first card was a fun. I ink blended the background over the stencil and then dry embossed it. I haven't dry embossed before and I'm glad it came out okay. I did have to purchase plates though as I didn't have the right sandwich for my machine.


This card has so much texture. I usually don't add so much dimension but this card just called for it. 


I wanted to make this next card because I really liked the technique of mixing the embossing paste with the watercolor brushes refills. 


I didn't think the colors would pop as much as they have on this card. I couldn't be happier with how this card came out. 


I used sunkissed, lagoon, and midnight violet re-inkers to create the stenciled area. 


I made such a mess with them but the colors melded together so well. I trimmed out the image once it completely dried.


I sprinkled silver embossing powder and heat set. When I started using my heat tool the colors started to get brighter as they dried. It was pretty neat to watch the color brighten. 


I finished the card with a embossed sentiment and some white satin sequins. This is a technique I will definitely be using again. Each stencil and color combo will give something different and fun!

THANKS FOR STOPPING BY!!

Sunday, June 6, 2021

MISS YOU FRIEND

 Hi everyone! I was watching today's Altenew Sketch Starters video with Nicole and couldn't wait to give it a try. I kept my card pretty close to how she did hers with a bit of a change. Here's the video. 


I started with using the canyon clay ink cube to make colored paper on the bottom half of the panel. I did start off by taping off the top to keep the color from going where it wasn't wanted. 


I used the feathered leaves stencil and embossing paste to finish off the bottom. While it dried I stamped out the images from Sweet Flowers using the new quite reflections ink cubes. Using the coordinating dies I cut out the images.


I didn't want to leave the top just white so I pulled out the gold string washi tape and covered the upper right corner then added a strip of gold foil .5" washi to lay in between the top and bottom corners. This adds some much need bling to the card. 


Using the mahogany bark ink cube I did more direct to paper and die cut out friend. Then I put it on my embossing ink pad and added translucent pearl glitter. Finishing it off with the miss you banner. 

THANKS FOR STOPPING BY!!

Tuesday, March 31, 2020

Stencil Cards


Who has tons of stencils in their stash? I do!! I have so many that it was actually hard to choose some for these projects. I love stencils but I tend to forget to use them.  With this stencil class on Altenew called Celebration Stencil Techniques it gave me some great new ideas.

My first card is a stencil overlaying a watercolor background. I had a lot of fun making this one. Just adding the watercolor using two inkpads was so cool. I never thought to use ink pads! This picture shows the watercolor background getting the stencil inked over it. 


I really like how the watercolor shows through the inked stencil image and gives just a bit more depth to my finished card. I colored the images with my artist markers ink similar and contrasting colors so they'd really pop off the card. 


Here's a closer look. I added a sentiment to vellum in embossing ink and then embossed with white embossing powder. This has been one of my new favorite techniques. 


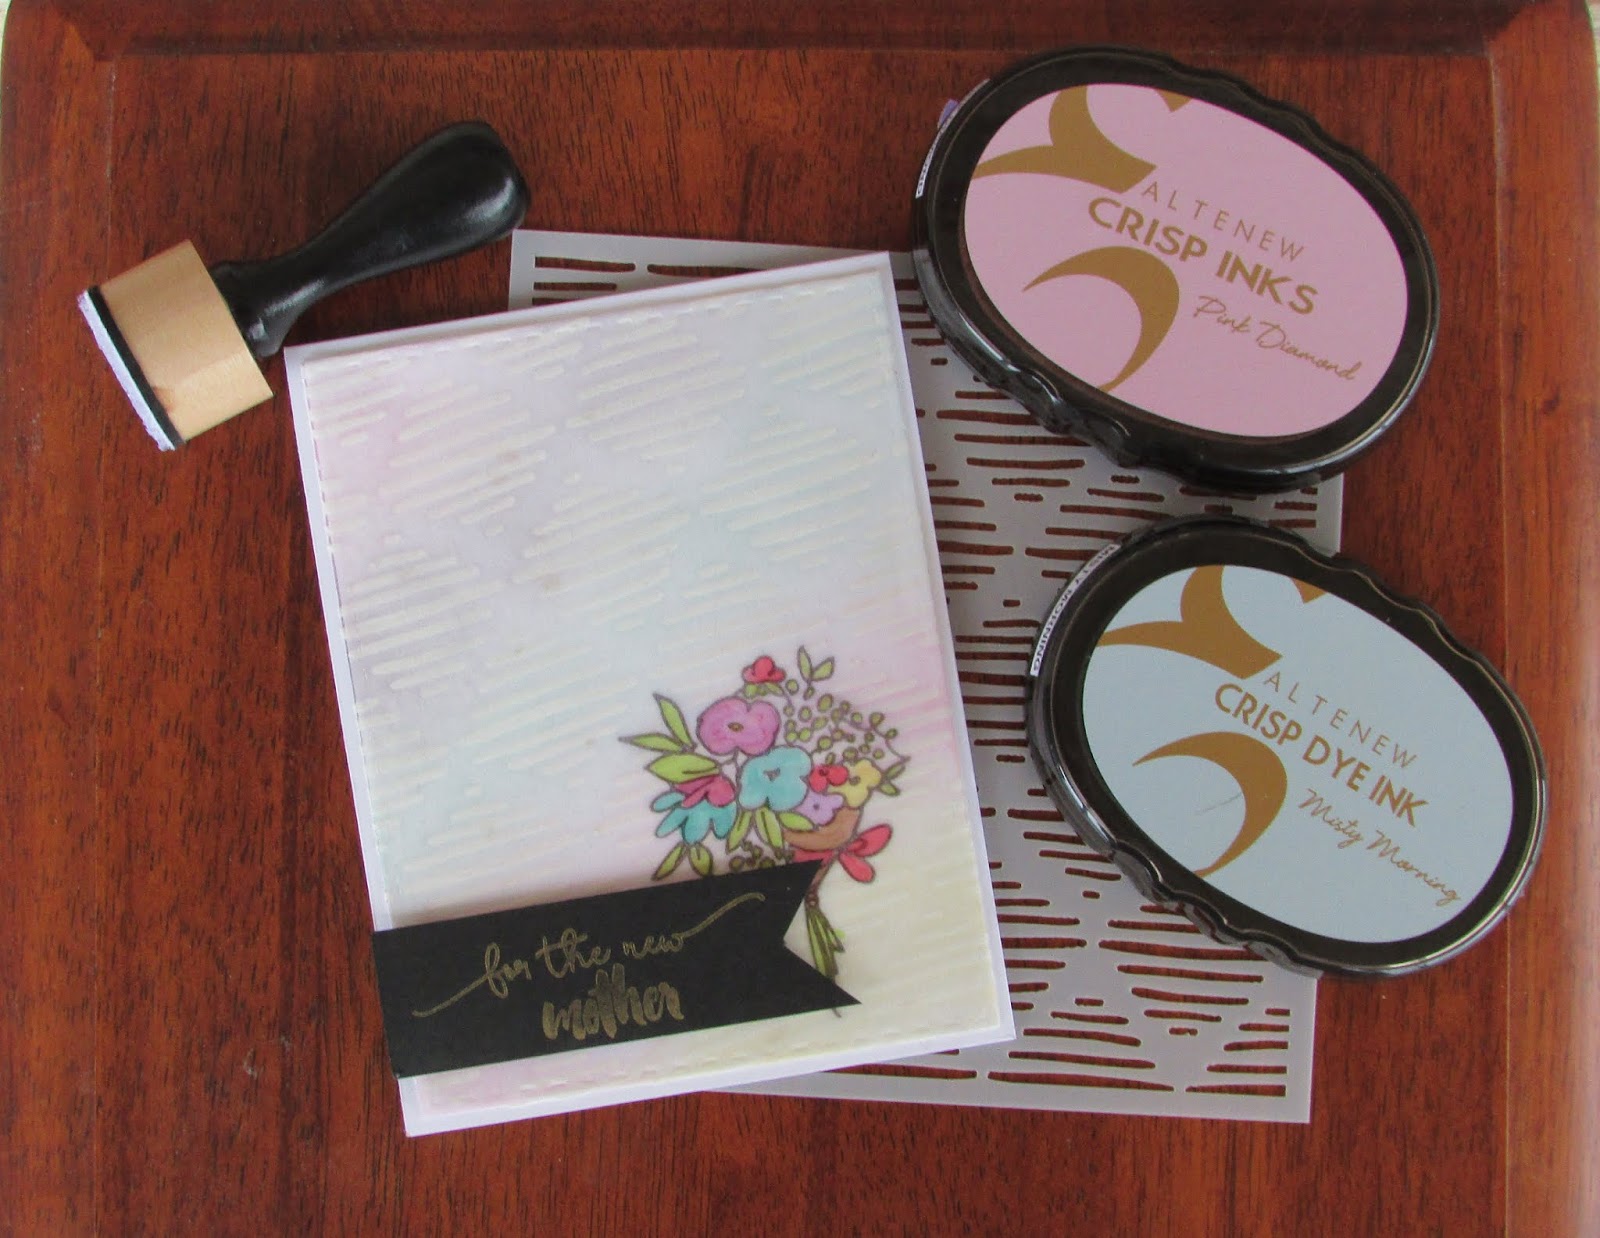
I did make a second card using a different stencil and technique. This one used embossing paste in white. I let it dry while I created the above card. Once it was dry I used four different inks and colored in the background


I stamped the flower image onto vellum and colored it from the back side.  I then used a stitched rectangle die to cut it out and attached it to my embossed background. The vellum helps soften the background just a bit more.


I used antique gold pigment ink and stamped the sentiment onto black cardstock and trimmed it down and attached it to the front.  It took me a few minutes to figure out just where I wanted it to go. 


Thanks for stopping by!!


Saturday, February 16, 2019

Stencil Blending Fun

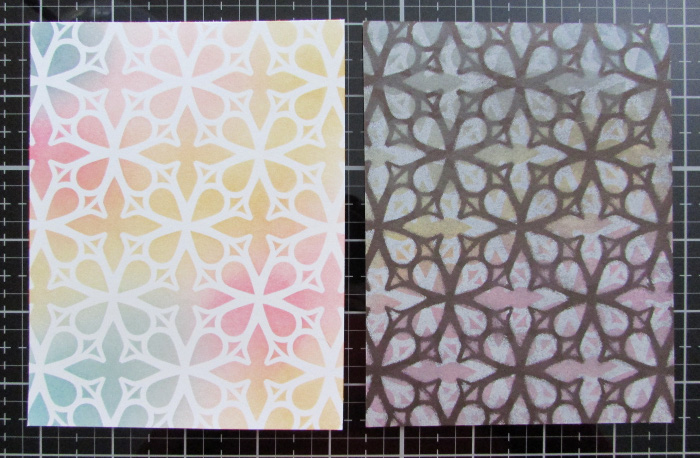
Good morning everyone! I watched a fun tutorial over at Stampnation about stencil blending and couldn't wait to give it a try.  She shows using the same colors on white and dark cardstock.

I do have to say that with the colors I chose I like the white better. I'm just not to fond of the dark one that I made.  I'm going to give it another try with different colors and see how I like it.


THANKS ~ FRESHLY MADE SKETCHES #673

  Hi everyone! Today, I'm sharing a fun card I made using Freshly Made Sketches, sketch #673.  I have been working hard the last few mon...