Showing posts with label level 2. Show all posts

Saturday, June 27, 2020

WOOHOO!!

Hi everyone!!

I leveled up in my Altenew Educator Program! I'm now a level 2!! I am super excited and am moving onto level 3.  This has been such a fun experience for me and I've learned so much!

I can't wait to share with you my projects from level 3 right here on my blog.  I get to pick five classes that I haven't taken yet and show my work. Such a hard choice!!

THANKS FOR VISITING!!

Friday, May 29, 2020

Siblings

I found this picture of my mother-in-law and some of her siblings. I couldn't help but create a layout using it. My husband doesn't really have a lot of layouts for his family so I'm staring with some to get a book ready. 

I created this layout for a Altenew class. It was all about floral's and gathering all the items you'll need before hand so that you can go right into crafting. Here is a pic of my items.


I started by using the mega bloom stencil to create the background of my layout. I used wisteria on the inside of the bloom and added hydrangea to the edges. 


I'm very happy with how the blooms came out. Next time though I'm going to tape around the whole edge. I did get some ink where I didn't want but I was able to cover it up with elements.


I used the watercolor halftone dies and painted fantasy washi tape to create some of the elements on my page. I love that Altenew has washi tape that coordinates with dies. 


I also used the watercolor halftone stamp set to create a couple of smaller solid colored images. 


I wanted a bit more color so I cut out some blooms from the summer garden 6x6 paper pack. I added some of the leaves behind the washi floral's. 


Here is the finished layout. I used mega brush alpha for the title and some sentiments from fancy frames and tabbed stamp sets.


THANKS FOR STOPPING BY!!
Monday, May 25, 2020

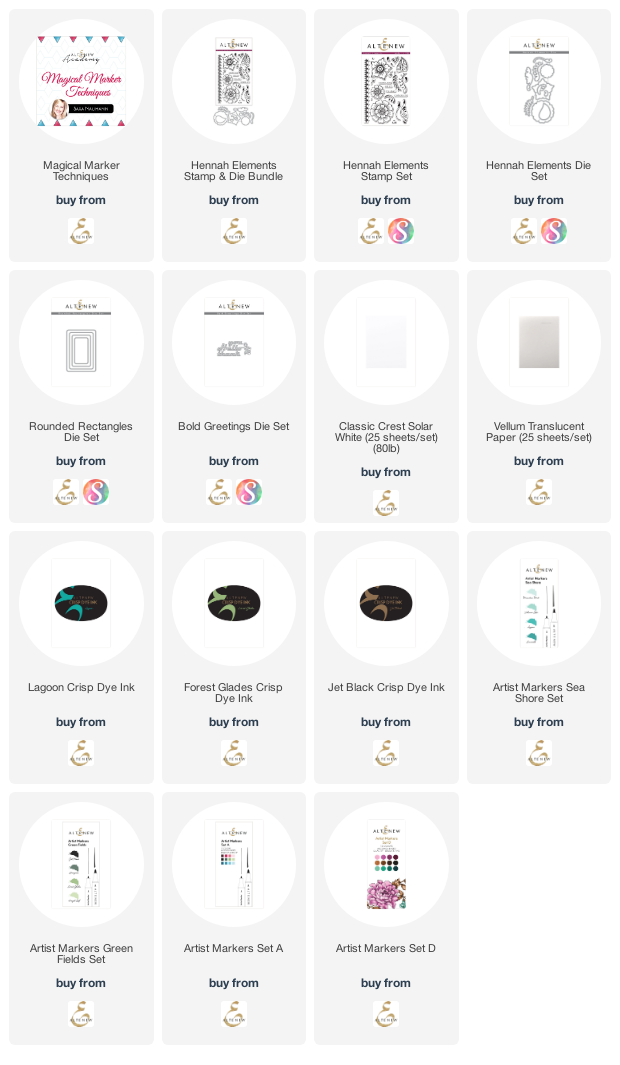
AECP Level 2 Magical Marker Techniques

Whew! I'm finally on my last class for my level 2 certification at Altenew!! It took a bit of time but I'm so happy I did this.  Now I just wait to see what my "final exam" is lol.

For today's card I used alcohol markers and alcohol to create a brayered background.  I was a dork and forgot to take a picture of the panel before adhering my top layer :(.


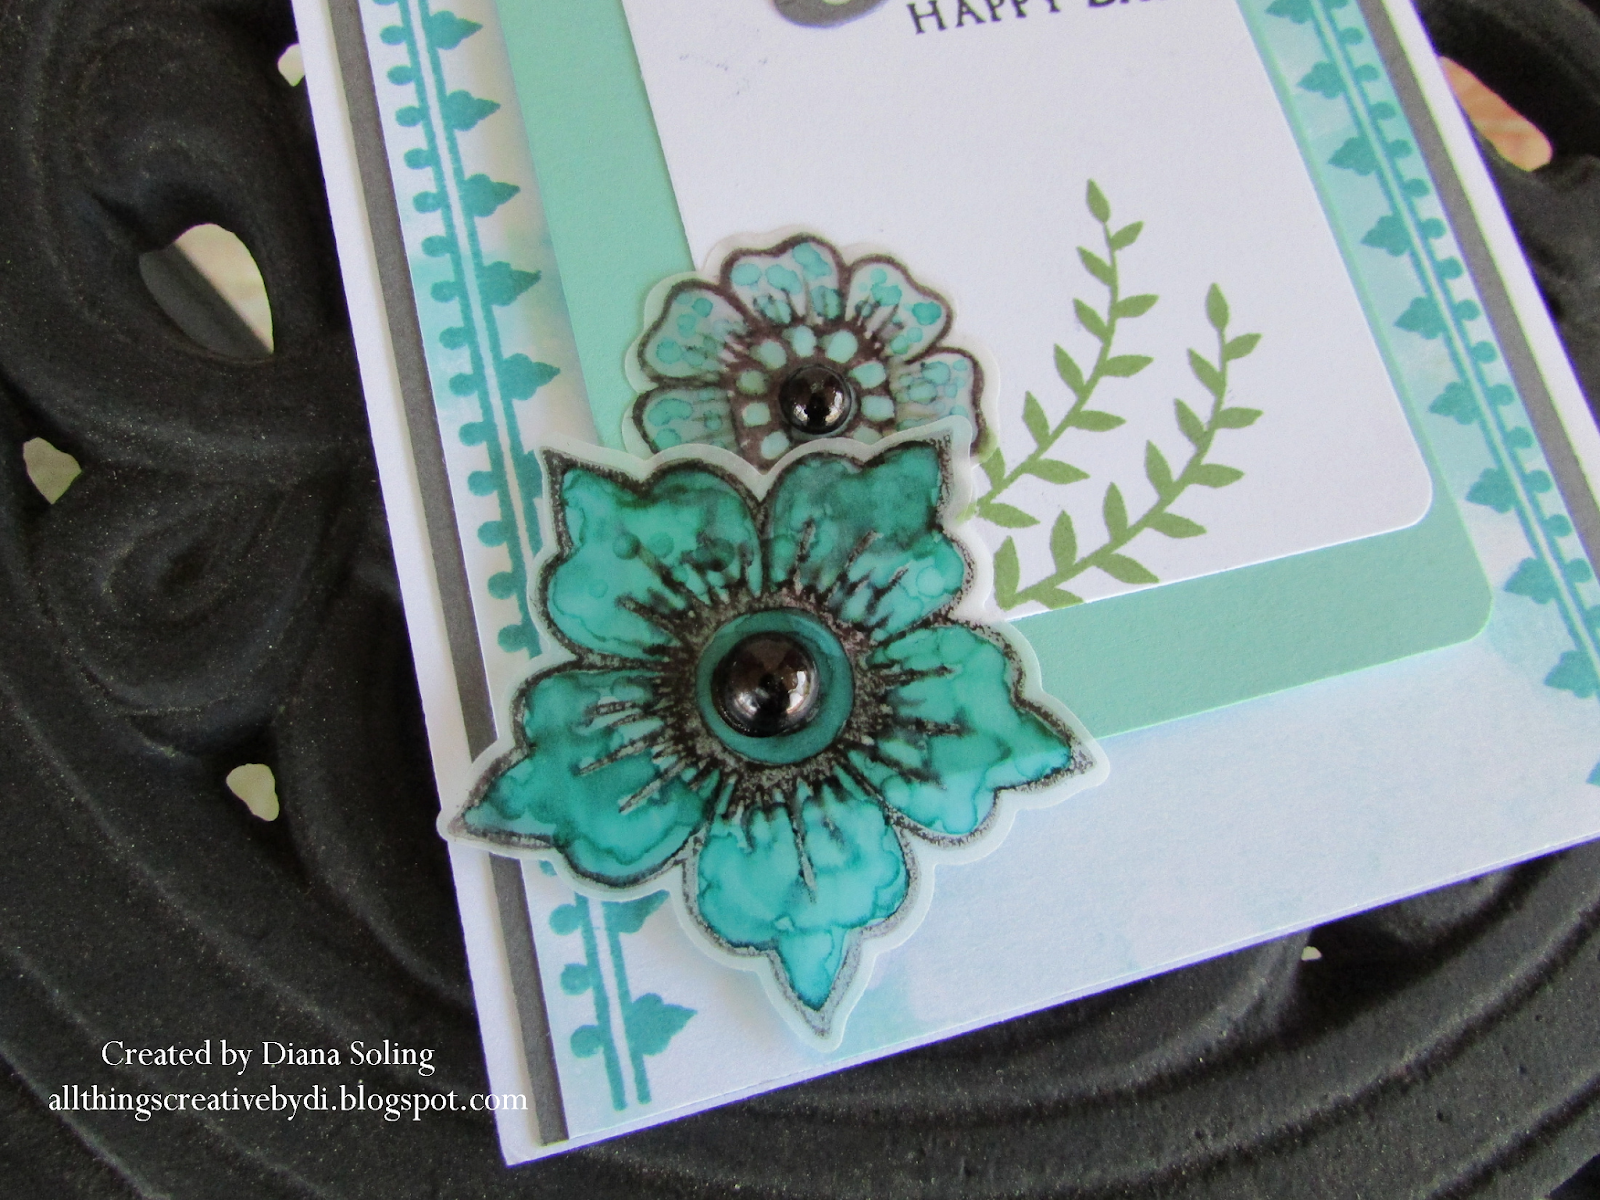
I quite happy with the outcome of this card even though it took a bit of time since the black ink had to dry on the vellum flowers before I could color them. For the center of the flowers I used pearl adhesive elements and colored them black with my black artist marker. 


For the flowers I colored them in using Altenew artist markers B714 for the base color and then B815 around the edges. I also used the B815 to "dot" on color to blend them together and give a more watercolored look to the flowers. 


I decided the main brayered panel needed just a bit more so I took the border strip stamp from Hennah Elements and stamped down both sides using my misti. In this pick you can see the brayered background at the top. 


I created the brayered background by scribbling with the B815 marker onto a piece of plastic packaging and then spritzing it with alcohol. I used 70% alcohol and it seemed to work well. 

THANKS FOR STOPPING BY!!

Tuesday, May 19, 2020

AECP Level 2 Color Your Day

Who loves beautiful flowers? I know I do and this time of year is a great time to watch them bloom and grow. All the beautiful colors they come in and the amazing smells they let out. 

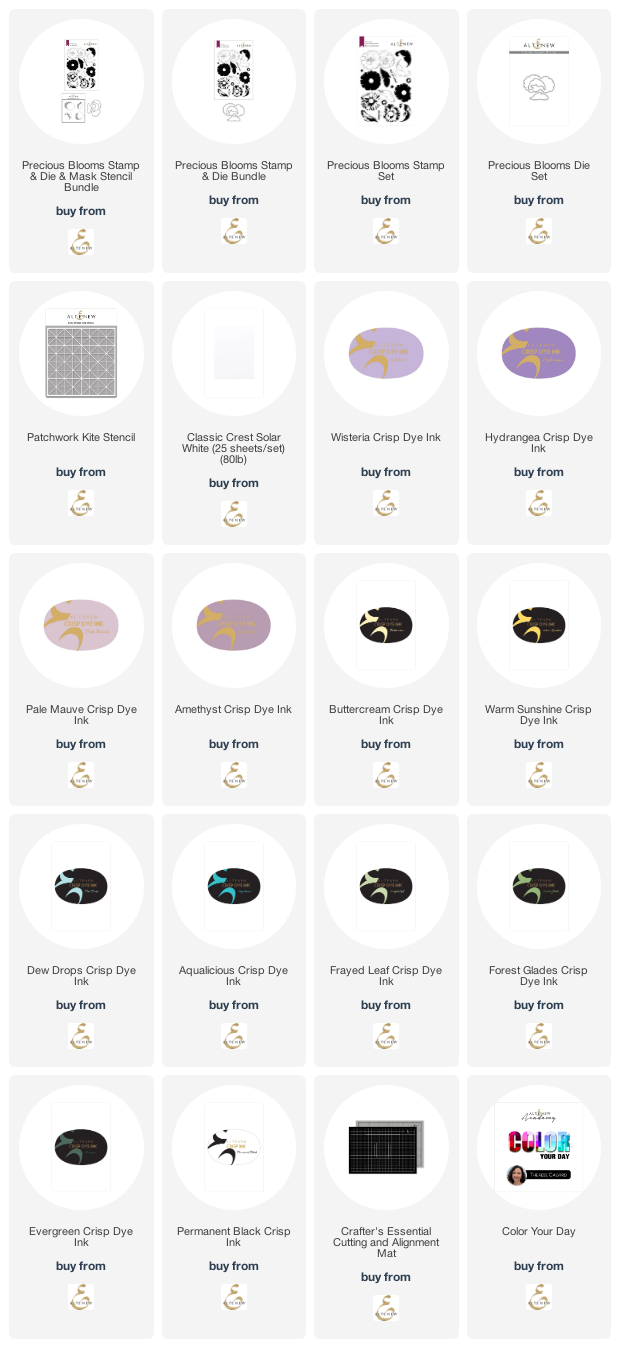
My card today is for the Color Your Day class at Altenew. It's all about picking the right colors to go together by using a color wheel.  For my card I used purple, blue and greens. All close to each other on the color wheel.


I loved creating the background for this using the new patchwork kite stencil, a blending brush and ink. I blended dew drop and aqualicious to create the background. Two of my favorite blues.


I have been in a purple kind of mood lately so I decided on two different purple families to create my flowers. I wasn't sure I was going to add leaves but once I had the flowers cut they needed a little extra color. I adhered the leaves directly to the card and used foam tape to make the flowers stand out.


This background makes me so happy! It's like looking at a bright blue sky! 


THANKS FOR STOPPING BY!!

Wednesday, May 13, 2020

AECP Level 2 Polychromatic

Hi everyone! I'm back with another project for my level 2 Altenew certification. This class is called Polychromatic. I had a bit of hard time coming up with a project for this. It was a great class and very informative but I just couldn't figure out what I wanted to do and witch technique I wanted to showcase.


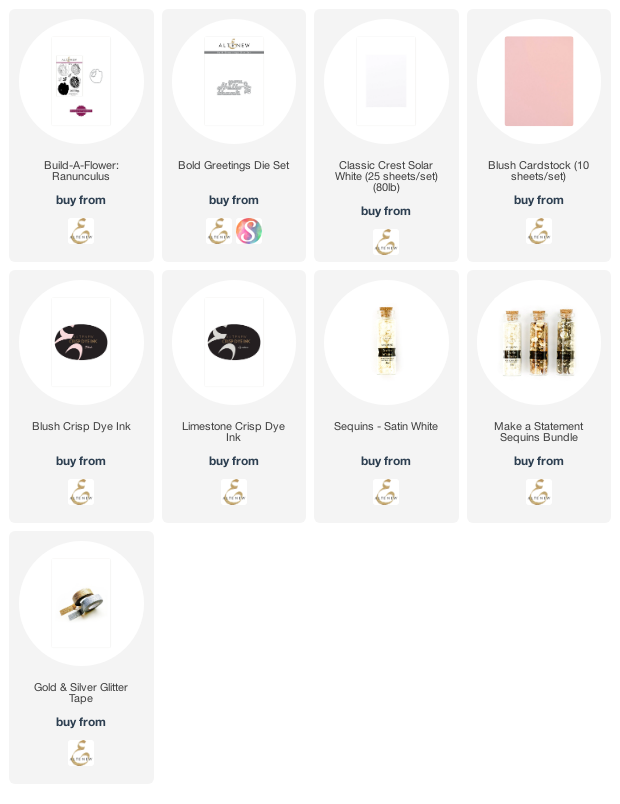
I landed on monochromatic coloring. I stamped the image onto blush cardstock and used blush ink to stamp all the layers. I stamped each layer a few times starting with the base twice and then adding one extra stamp for each layer after that to give some depth to my card.


I then stamped a strip of the blush cardstock with the outline stamp in the blush color as well and adhered it to my card base. I added some silver glitter tape to give some pizzaz. For the white top of the card I stamped the smallest leaf cluster in limestone stamped off once to give just a little hint of shadow.


Once I added the flower to the base with foam tape I die cut the hello from silver cardstock three times and stacked them. I added the stacked sentiment onto the flower and finished off the card with some new Altenew sequins and some studio Katia iridescent bubbles.


THANKS FOR STOPPING BY!!
Saturday, May 9, 2020

AECP Level 2 Creative Watercolor Media


I love, love, love doing wet to wet watercoloring. The effect you get is amazing and it takes no time to get one of a kind images every time. I just finished up my next class for Level 2 certification over at Altenew and this Creative Watercolor Media class was a lot of fun!


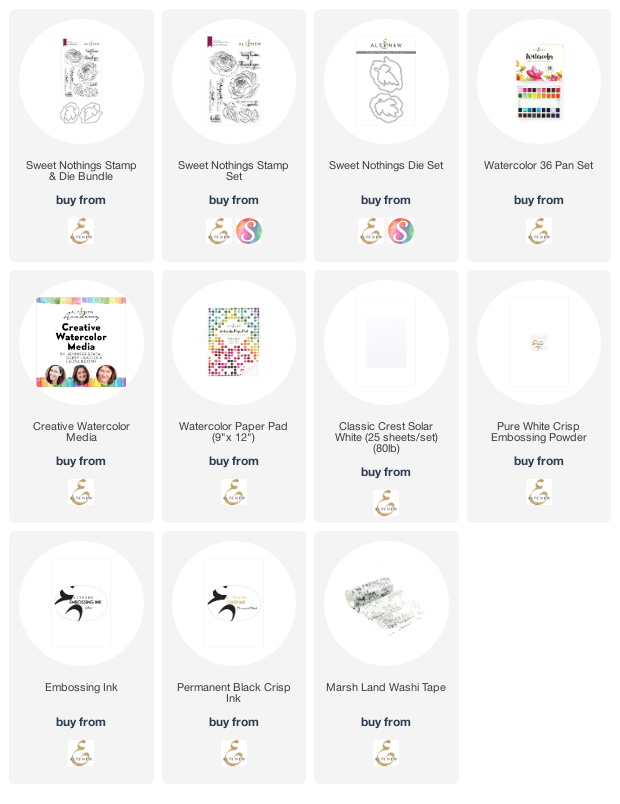
The instructor used re-inkers but I don't have any at the moment so I used my 36 pan watercolor set. I didn't get quite the movement she did but I am very happy with the way these flowers turned out.


She made a beautiful large panel that she cut down into two card fronts. I was trying for that but didn't get the colors to run to well and it left a lot of white space on my watercolor paper. So I decided to die cut them with the matching dies and create my card that way.


I added some left of washi from another project to the left side and then added the flowers and leaves. I did use foam adhesive of the full flower to give a bit more depth. I have quite a few left over flowers and can't wait to give them a try on a layout!


THANKS FOR STOPPING BY!!

Friday, May 8, 2020

AECP Level 2 With a Twist Project


Today I finished up the With A Twist class for my level 2 certification for Altenew. This was a fun class to watch. Therese had so many neat ideas for us that it was so hard to choose one to do.


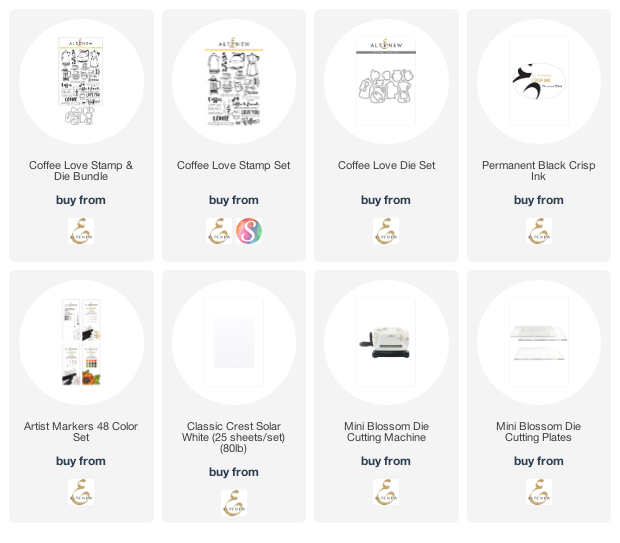
I decided to do the faux embossing technique. This was fun because I got to stamp, color and die cut on this card. The faux embossing is the die cuts adhered to the panel.


I've been looking for a good excuse to pull out this awesome stamp set and use it. I love all things coffee it seems these days and this set is no exception.


I wanted to use this sentiment since I think I'm going to give this card to my hubby on his birthday! He always tells me I love my coffee more lol.


One final close up look at the "embossed" images.

THANKS FOR STOPPING BY!!

Background Magic fun


Hi everyone! Have you ever needed some time to just breathe? I think we all do right now with everything that is going on in the world. For this background class I pulled out all of my Altenew background stamps and ended up on this great set all because I wanted to use the just breathe sentiment.


I started out by embossing the main background stamp on watercolor paper using white embossing powder. After embossing that layer I turned the cardstock one turn and stamped and embossed again.  I like the shadow effect it gave this card. 


I then took my persian blue, forest glades and hydrangea inks and rubbed them onto my glass mat. Then added a spritz of antique silver ink spray and two spritz of water. I then smooched my embossed piece into the colors. 


I wasn't to sure of this at first. The silver startled me by giving the appearance of mud lol. But once I dried it with my heat tool I went back in and smooched again with just the colors and water and I liked it so much better.


I added a sentiment to vellum and used antique silver embossing powder and adhered to my panel. Once finished I adhered my panel to a purple card base and added some sequins. I just couldn't bring myself to cover the background with any stamped images.

THANKS FOR STOPPING BY!!

Tuesday, May 5, 2020

AECP Level 2 In the Mood For Color


Hi everyone! Today I'm sharing my project for the In The Mood For Color Altenew class for my Level 2 certification.  For this class we learned to use color to set a mood on our projects. I chose to use red for love. 


The build a flower set Triumph Tulip was the perfect set. Not just because you can find them in red but it's spring and I LOVE how these are the first flowers we get to enjoy.


I changed my mind on the layout a few times before settling on this. I decided to take one of the smaller leaf images and stamp directly onto the base to give a bit of a border. 


I love how these colors work together to give these realistic looking flowers. I added a bit of dark chocolate for two of them.


THANKS FOR STOPPING BY!!

THANKS ~ FRESHLY MADE SKETCHES #673

  Hi everyone! Today, I'm sharing a fun card I made using Freshly Made Sketches, sketch #673.  I have been working hard the last few mon...