Showing posts with label #dewdroplove. Show all posts

Wednesday, April 14, 2021

PUPPY LOVE


Hi everyone! Welcome back for another challenge at
We have three great sponsors for this weeks challenge:
Prize: 2 digi images of winners choice

Prize: 2 digi images of winners choice

Prize: 2 digi images of winners choice

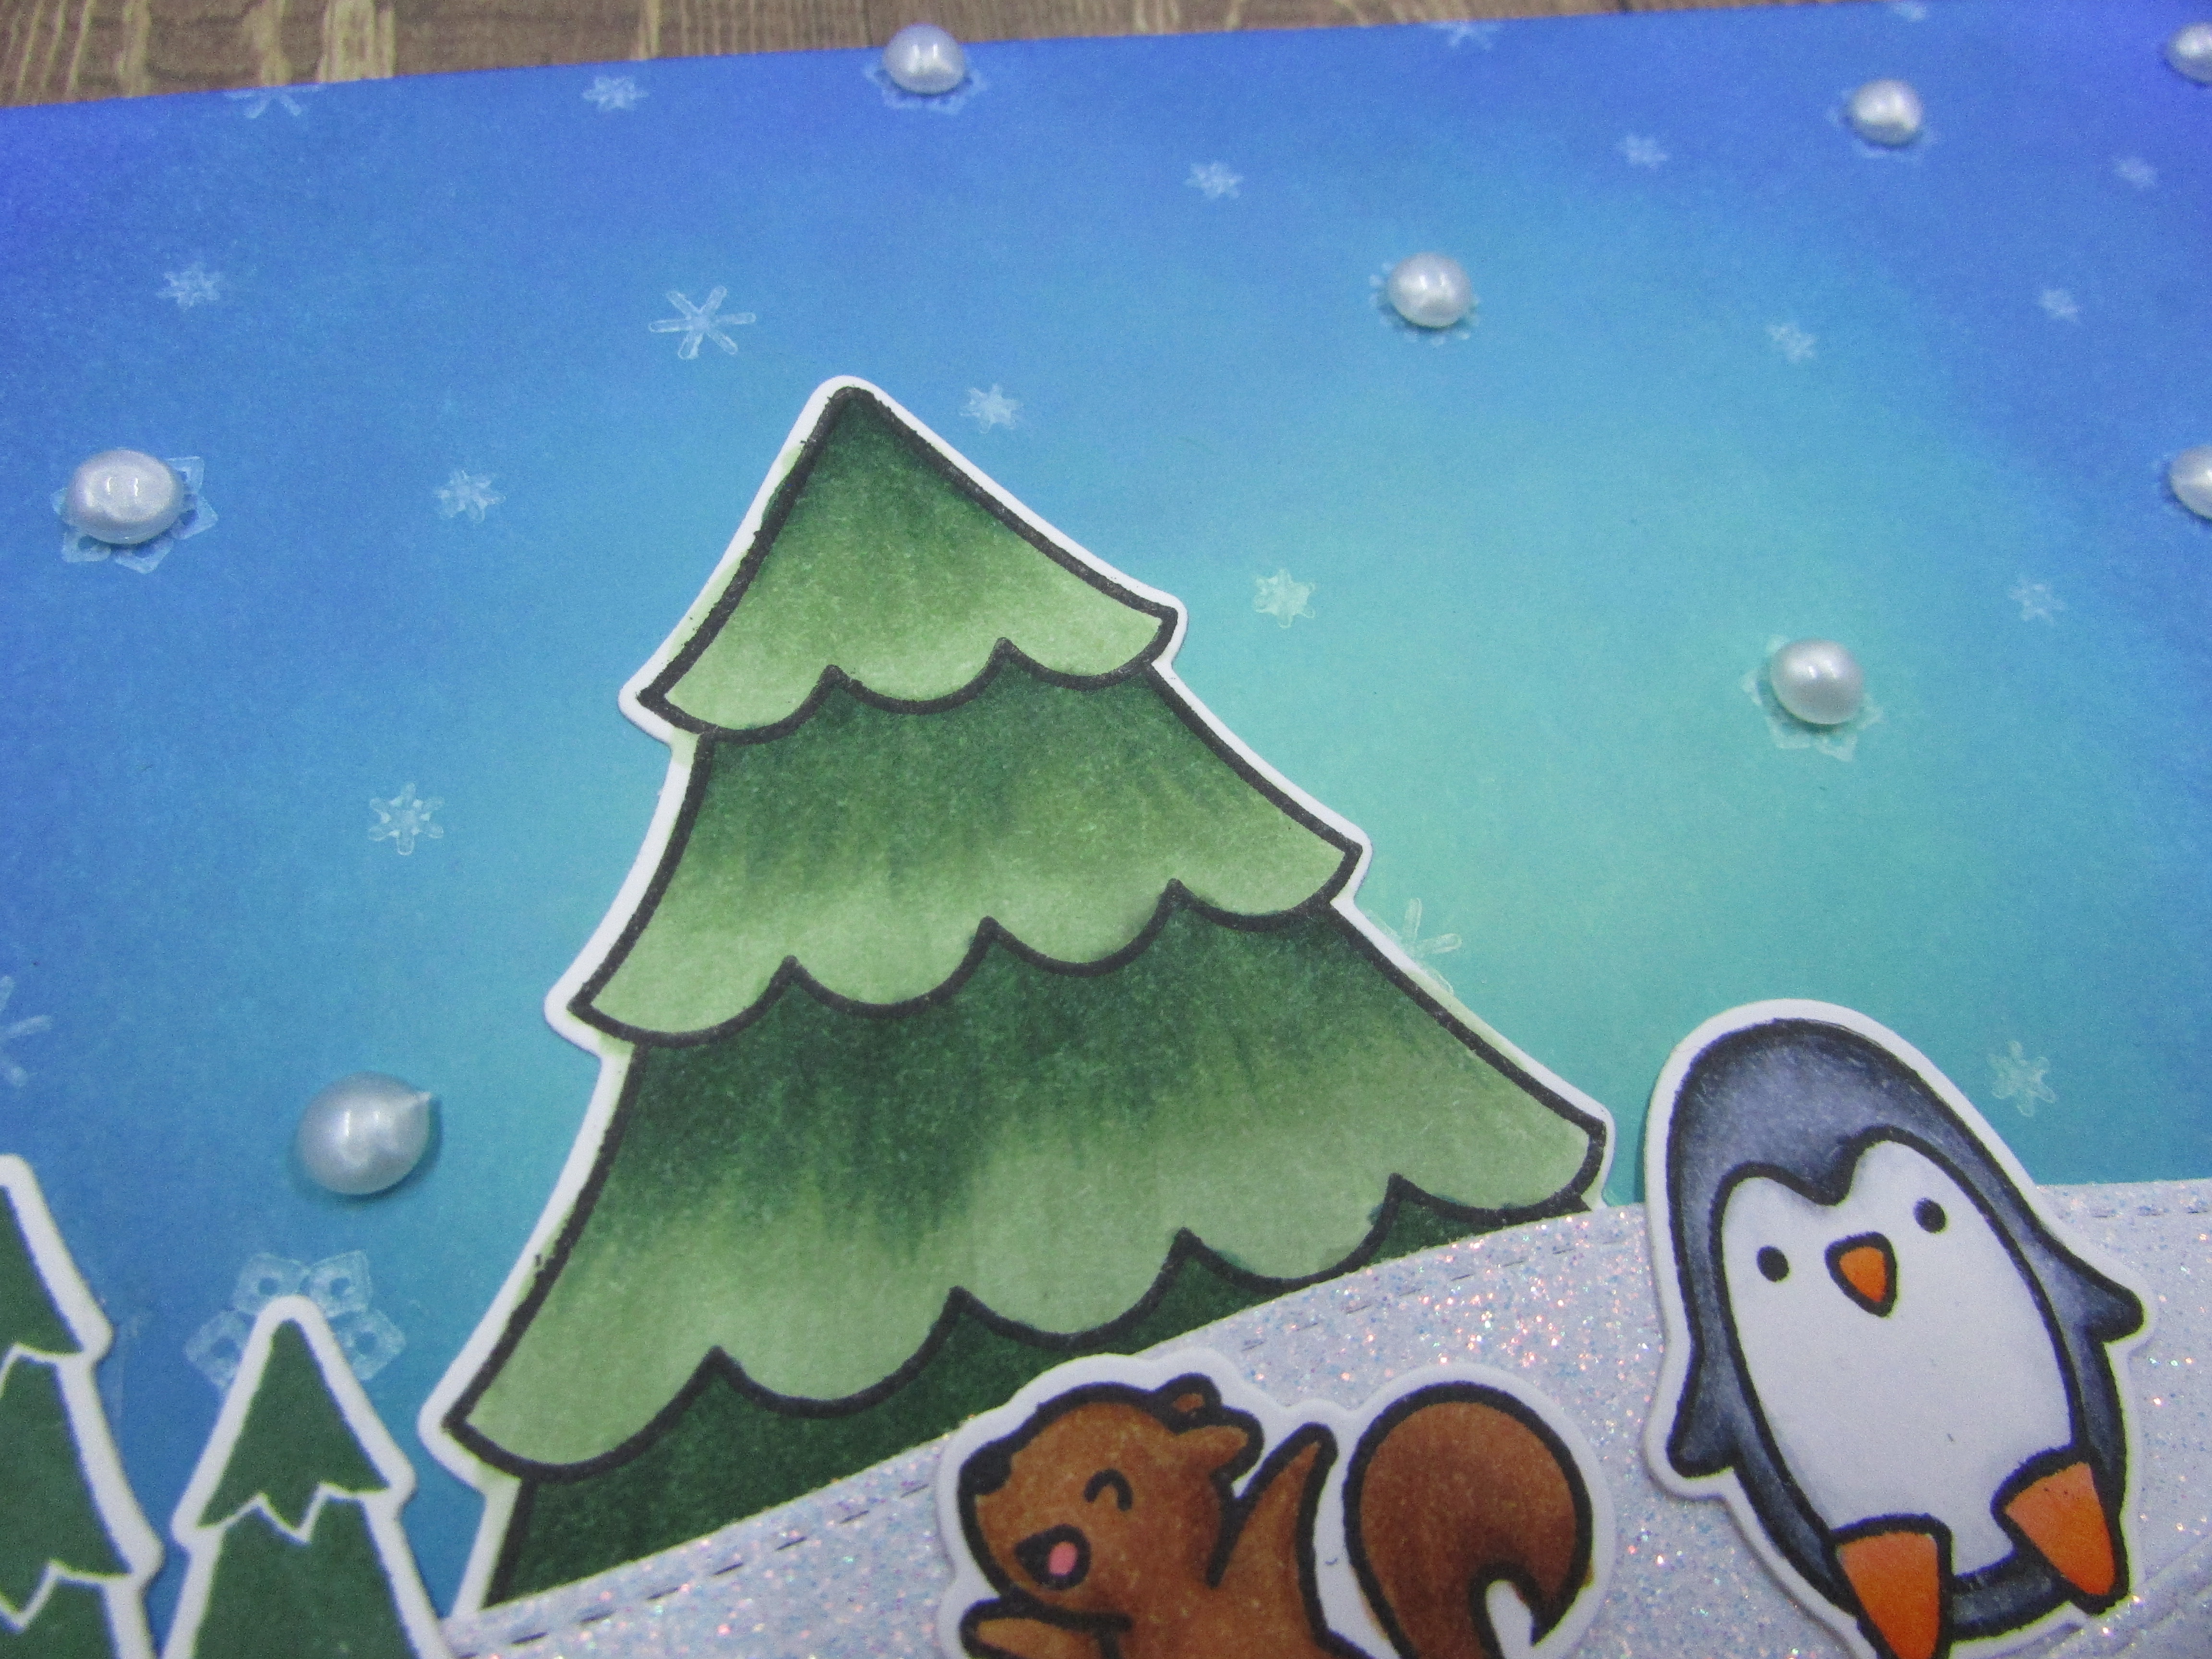
For my project today I got the pleasure to use Woof You by all dressed up. i really loved getting to color this darling pooch. I pulled out a great set of stencils and a stamp set that I received in a kit from Hedgehog Hollow recently.


Using a light blue ink I blended over the stencils to create the fun paw and bone background. I needed a sentiment so I finished it with this cute love sentiment. I added a bit of the light blue to the outer edges of the dog panel to give a bit more depth.


I finished the card with some fun dew drop embellishments from The Robin's Nest. 


Tuesday, January 19, 2021

FLOWERING FRIEND CARD WITH DEW DROPS


Hi everyone, Diana here with you today with a pretty floral card that's perfect to send to that special friend. This card quickly came together and I love how the dew drops blend right in.


I knew I wanted to keep the background white as I was adding a lot of colors. I started with die cutting out the garden trellis and adhering it to my card base. I then stamped all my images and colored them in with my copic markers. 


Once that was finished I used the matching dies and cut all the flowers and leaves out. I then arranged them onto my card front and started adhering them down. I wanted to keep the sentiment simple so a quick friend die from black cardstock was perfect. To finish it off I added several different colors of dew drops!

Supplies:

Other Supplies: garden trellis cover die, simply friend die (altenew), copic markers, long stem flowers stamps/dies (simon says stamp)


Tuesday, January 5, 2021

FUN PENGUIN PLAY ARTWORK


 Hi everyone! Diana here with a fun wintery scene that you can add to the front of a 5x7 card or place in a frame and use as winter decor. 


I had a lot of fun creating this winter scene. I've gotten into Lawn Fawn stamps lately and can't wait to get them out and start coloring them!

 I used cracked pistachio, peackcock feathers, and blueprint sketch distress oxide inks. Using the lightest to darkest I blended them together to get a beautiful night sky for my scene. I love how it created a glow around my tree. 


Once I had the background done I used a variety of small snowflake stamps with pigment white ink on the upper background area and let it dry. While this was drying I stamped and colored all of my images. I then cut some hills out of sparkle cardstock and started creating my scene. 

Once it was all put together I pulled out my black/white/silver dew drops and added some of the white ones to the snowflakes. 


Once it was all put together I pulled out my black/white/silver dew drops and added some of the white ones to the snowflakes. 

Supplies:

Robin's Nest: black/white/silver dew drops 

distress oxide inks, blender brushes, sparkle cardstock, lawn fawn stamps

Tuesday, December 15, 2020

HELLO THOUGHT OF YOU WATERCOLOR BACKGROUND CARD


  Hi everyone! Diana here with you today to share a fun holiday hello card. This card started out as a traditional Christmas card but as I started working on it I knew I wanted a large sentiment so it changes just a bit. 


I started by stamping my desired images with versamark ink onto watercolor paper, then adding platinum embossing powder, and heat setting. then I sprayed my panel liberally with water. 


I used my altenew watercolor brush markers to color in my images first. Spraying the water first helps the ink move more freely on the image. 


 I then watercolored the background to give more texture. I went ahead and added my gold string trim. I did end up with a small splotch but no worries, my sentiment will cover that up. 


For my sentiment I watercolored another piece of paper in the reds I used on my flowers. I then die cut the large hello. 


I then cut two more from white cardstock to give some dimension. This also helps keep the sentiment sturdy. 


Using liquid clue I adhered all three pieces together and adhered them to the front of my card. I stamped a secondary sentiment on white cardstock and die cut it out.


A little closer look at the watercoloring. I am loving the large hello. 


I finished my card by adding Ornament Mini Dew Drops around my sentiment and on the sentiment strip. 


Supplies:


THANKS FOR STOPPING BY!!


Tuesday, November 17, 2020

BEGINING TO LOOK LIKE CHRISTMAS: A DEW DROP CARD

 Hi everyone! I have another fun project to share for


 I pulled out some new stamps and dies and got crafty! I've seen a lot of different snow drift cards and I really wanted to give it a try!


To create this card I started out with slimline snowdrift dies. I put them down on either side of a  sheet of cardstock and cut them out. then I adhered them together at the bottom. Next I took two shades of blue and created the starry night sky.


Using my new stamps and dies from lawn fawn I stamped the two trees, four strands of lights, and three critters (only two made it on the card)


I then colored in the lights and critters and started placing them around on the card. I really liked putting one of the trees behind a drift and having the bear trying to put the star on. I used some dimensional foam on the tree in the front and the cute dear handing the ornament.


I finished the card off with stamping some stars in the sky and then adding in dew drops as ornaments and in the stars. 

SUPPLIES:    
Stamps/Dies: tree trimming friends-lawn fawn, stitched slimline snowdrift dies-MFT
Inks: Pinkfresh studios: evergreen, olive, sapphinre, summer shower, espresso, Altenew: permanent black
Markers: Altenew artist markers
Cardstock: Neenah solar whie 80 lb

THANKS FOR STOPPING BY!!


Tuesday, October 6, 2020

CUTE HALLOWEEN EARRINGS AND BOXES

 Hi everyone! Welcome back! I have another great project for the


I had so much fun creating these earring boxes and earrings. I recently found some earring dies over at Taylored Expressions and couldn't wait to give them a try. And once I decided to make them the boxes using the dew drops just made sense.


I first started by looking up svg files to create the box. I started with the cricut design space but didn't find anything I really liked so I went to trusty google and found a great set of three over at ETSY. 

I took one sheet of patterned paper and cut the svg twice, flipping the paper over for the second one to get the other side as the outer design. 


Once I had my boxes cut I set to work decorating the outside of them. I added some die cut stickers that matched my paper and then took out my dew drops and added them. I used the CITRINE DIMOND DEW DROPS for my first box and ran them down the left hand side to create a nice border. 


For my second box I pulled out my OBSIDAN DIAMOND DEW DROPS and added them to two of the corners in a diamond pattern. 

Once I had the boxes put together I went about die cutting my earrings from different shades of leather and adding them to the hooks. 


I made the witchy pair first and all though I like them I wasn't thrilled with them so I made a second pair that are tear drops and love them!


THANKS FOR STOPPING BY!!


Tuesday, September 1, 2020

IT'S TIME TO PAW-TY!

 Hi everyone! I'm here today to share a fun card I made for


I totally forgot that I needed a project for today and had to quickly come up with something so I wasn't late to the paw-ty! I used two challenges to help me get this card going.

A sketch from Sunday Stamps


Challenge #178
Our theme for the new challenge is

"Cute Critters"

This is what I came up with on the fly...I'm really happy with it. The colors are so bright and I haven't used this stamp set yet so it was great to pull out new stuff and put it to use. 


I used a fun circle card cover plate in a light blue and followed up with a red and green strip and the fun confetti to but over the red. 


I used color pencils in the same colors as the papers to color in the balloons and the pup's accessories. 


THANKS FOR STOPPING BY!!


Tuesday, August 4, 2020

CURIOSITY DISTRESS PANEL FOR ROBIN'S NEST

Hi everyone! I'm here with a fun new project for 


Today I am sharing a mixed media panel that I created using a lot of different distress items as well as Dew Drops.


For a step by step of how this was created visit HERE


THANKS FOR STOPPING BY!!


THANKS ~ FRESHLY MADE SKETCHES #673

  Hi everyone! Today, I'm sharing a fun card I made using Freshly Made Sketches, sketch #673.  I have been working hard the last few mon...