Friday, August 7, 2020

OH MY! AND A LAYOUT CHALLENGE

Hi everyone! Welcome back to another great challenge over at


Today's challenge is a fun sketch challenge inspired by one of our design team members Rainny. 


For my layout I pulled out some old photos my son took of my hubby and youngest son a few years ago. He gave them some funny faces and even had my youngest steaming from his ears lol. I've been wanting to scrap these and was just waiting for the perfect layout. 


I did switch mine up a bit. I wanted my larger pieces to be the pictures and the smaller the title. I mostly used patterned paper. I kept the layout simple as the paper has a lot going on. 


THANKS FOR STOPPING BY!!


SUMMER BANNER USING FOILED PAPER

Hi everyone! I'm so happy to share with you today my first project for a new design team that I am on!!


The projects I'll be sharing with you over the next year is using an amazing product that I was just recently introduced to. FOILED PAPER. I've been having a ton of fun learning how to use this and can't wait to share with all of you.

Today's project is a fun Summer banner. I picked some of the fun and rich colors to create it.


Step 1: Pick out a floral pattern (or other shape), a wreath pattern, and a banner pattern you'd like to using dies, cricut or silhouette software. 

Step 2: Pick the foiled paper and cardstock colors you want to use. 

Step 3: Start cutting your wreath pattern from cardstock. I used two different shades of green for mine.

Step 4: Cut out your floral pattern. I used a pattern from the Silhouette store that already had four sizes. I cut the foiled paper several times to get the different sizes in different colors. 

Step 5: Glue your foiled paper flowers together. I used nuvo deluxe adhesive liquid glue around the centers of the flowers to adhere them together. 

Step 6: Once all your flowers are adhered together. Using your liquid glue adhere one flower bunch to each wreath you assembled. I have three wreath's all together.


Step 7: Using your liquid glue adhere the wreath's to each other. 


This is what it should look like (depending on the shape you made the wreath into. I went in a rainbow shape but you can do straight to ).


Step 8: Cut your banner from cardstock and then back it with foiled paper color of choice. I used a banner from the Cricut store. I searched summer banner and this is the one that came up. 

Step 9: Once your banner is assembled adhere it to the bottom of your wreath's. 


Step 10: Flip over your assembled banner and tape your ribbon to the back as shown. I also cut a large strip to cover the backside to help keep the wreath sturdy. Unfortunately the picture didn't come out. 


Now your banner is ready to hand up!!


SUPPLIES: 

Stampin' Up!~ green cardstock and red ribbon
Rest & Relax, Let's get Tropical!

Hi everyone! Time again for another great challenge at


Today's challenge is TRAVEL. Create a project relating to anythings to do with Travel and share with us over at the blog!!

My project for you today is a tropical themed one. Before all the covid stuff started my hubby and I had planned to go to Mexico in July for our 25th wedding anniversary. Now I'm making projects to give me that tropical feeling lol. 


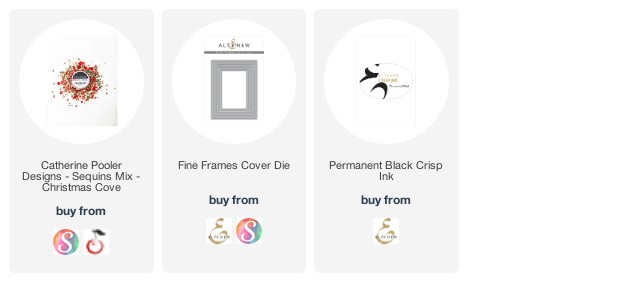
Everything I used on today's card are items that I haven't used yet. I even had to add the stickers to my stamp set so I could use it. I purchased these last year and just never seemed to get around to giving them a try. 


I used a really cool frame die from Altenew called fine frames. It cuts out a bunch of different sizes. I used the largest frame on my card base and using adhesive backed foam I added the panel in the center. 


Using the masking technique I was able to get my cluster in the lower right hand corner. After I adhered it down I wished I'd have done a cluster in the upper left corner as well so the sentiment could sit in the middle. Oh well, next time. 


I added some sequins to give a bit of sparkle to my card. I dropped some on the card and adhered them the way they fell. I like that it gives it a more organic look. 

Now it's your turn! Join us with your travel related projects.

THANKS FOR STOPPING BY!!!

Wednesday, August 5, 2020

Eat Cake & Celebrate

Hi everyone! Welcome to Challenge #477 at 

As always ~ Anything goes

We have two great sponsors for this weeks challenge


 Prize: Two digi images of winners choice


For my project I made a wedding card using All Dressed Up's THE FIRST DANCE digi stamp. 


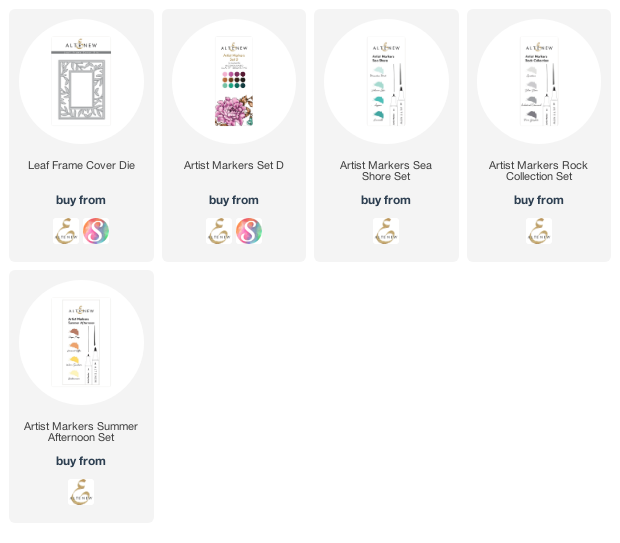
I colored my image in using Altenew's artist markers. Once I had the image colored I used cover die and embossed instead of cutting. I used an exacto knife to cut out the center frame and adhered it over my image. 


At first I outlined the embossed images. The ink ran a bit so I decided to color in the areas I'd just outlined. I like the way it gives a bit more depth to the card and helps the image pop. 


I finished with a sentiment strip I had previously cut out but never used and some of The Robin's Nest  dew drops in BELGIAN CHOCOLATE

I'm entering this in these challenges:

Mix It Up: AG w/embossing


Now it's your turn. Get creating and head on over and share with us for your chance to win one of these great prizes!!

THANKS FOR STOPPING BY!!

Tuesday, August 4, 2020

SEQUIN STORAGE VIDEO

Hi everyone! I'm hear today to share a new video for storing my sequin mixes. Before I found these great storage containers I had a messy drawer full of jars and bags. Taking these to crops always meant a huge mess and lots of added storage to carry them in.

I have the tall Alex drawer units from Ikea and this is how I stored my sequin mixes. These are just my Catherine Pooler sequins. In the back of the drawer are more containers!


Here is the video sharing how I condensed that drawer into those containers


And this is how it looks once I got them all put into my storage solution! I love this and can't wait to take these along on crops. Not to mention being able to have them out on my craft table without the mess!!


I labeled all the containers with the names of the mixes if I knew what they were. 


THANKS FOR STOPPING BY!!


CURIOSITY DISTRESS PANEL FOR ROBIN'S NEST

Hi everyone! I'm here with a fun new project for 


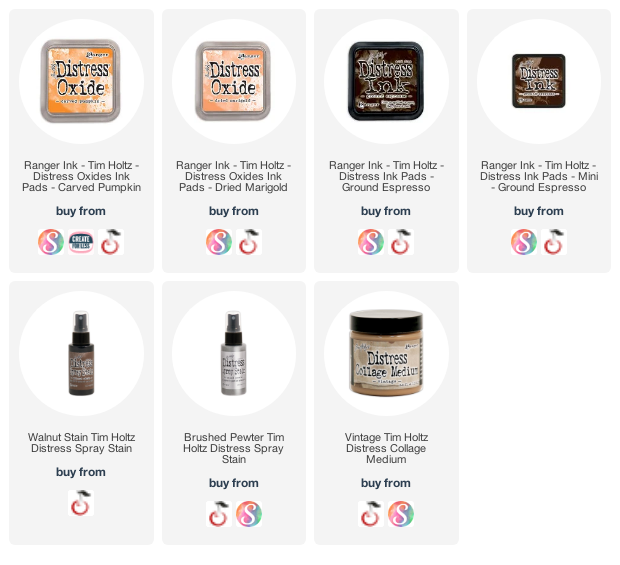
Today I am sharing a mixed media panel that I created using a lot of different distress items as well as Dew Drops.


For a step by step of how this was created visit HERE


THANKS FOR STOPPING BY!!


Saturday, August 1, 2020

HI! SWEET GIRL

Hi everyone! Welcome back to another great challenge over at


Theme is: ANYTHING GOES!

Our sponsors for this challenge are:


Prize: 3 digi images of winners choice


Here is my finished project using SLINKY GIRL from My Besties.  She was fun to color. I used some die cut flowers I made for another project that didn't get used and I love how they frame the image. 


She has such a cute expression and those bright pink lips make here so much fun. 


A little closer look at the placement of the leaves and the canvas stamped background.


Sometimes when I craft I made a few extra items to keep on my desk for future projects. These flowers have been on my desk for about two months now and I had no idea where this card was headed so it seemed a perfect fit. 


THANKS FOR STOPPING BY!!


THANKS ~ FRESHLY MADE SKETCHES #673

  Hi everyone! Today, I'm sharing a fun card I made using Freshly Made Sketches, sketch #673.  I have been working hard the last few mon...