Sunday, June 27, 2021

LAWN FAWN CHALLENGE #103 LITTLE THINGS


 Hi everyone! Today I'm sharing a fun card for the latest Lawn Fawn challenge.

(click photo to go to challenge)

I decided to make a Christmas card lol. I was looking through my tiny images and the tiny Christmas and tiny gingerbread called out. I haven't used these two sets yet, so why not!


I cut out the foursquare backdrop out of white cardstock. I used crackling campfire and firebrick to create the main piece. For each little square I used salvaged patina, speckled egg, kitched flamingo, and rustic wilderness distress oxide inks. 


 After adhering the little square backgrounds in I sprayed the whole panel with water and blotted it off with a paper towel. Once it dried I was able to add my colored images. 


For the "floors" I cut out another foursquare panel. Using just the inside pieces I cut the bottom using the hill from sandy beach accent dies. I colored them each in and adhered them to the panel. 


I finished the card with some Christmas colored twine. I really enjoyed playing along!

THANKS FOR STOPING BY!!

Saturday, June 26, 2021

FUN WITH ALTENEW WASHI AND SOME CLASS CARDS

Hi everyone! Back today with my second class for my level 3 Altenew Academy finished! I had so much fun watching and using my washi in different/fun ways!


I created along with Alexandra and was able to make four cards. Two of them I have fully finished and I'll be sharing those with you today.


This is from the first lesson and came together quickly. I used three different washi tapes and moved them around on the panel creating this fun pattern. 


Adding in the gold washi really gave my card some flash and it goes perfectly with the gold sequins from Altenew!

I wanted to give coloring on the washi a try and I really liked it. I need to check out the website to se if there are other white and black washi's to color!


I used all of the new alcohol markers that they came out with a few months ago. I haven't used them yet and this was the perfect project. 


I also used the first technique to add a border of color around the edges. Just enough to help the top layer pop. Next time I'll have to remember not to do the whole panel to save some washi. 


Thanks for stopping by!!

Sunday, June 20, 2021


Hi everyone! Diana here today sharing a fun junk journal page. I've had this Dina Wakely journal form a while now and wasn't sure what I wanted to do with it. I had it and some Rinea foil out on my table and thought why not!

I started by adding some clear gesso to the page to help the different mediums stick and to protect the back side of the journal page. 

Once I spread that over the page and let it dry I pulled out the colors of foil from the misfits pack and started to tear strips.

Over the top of each layer of foil I added I used distress collage medium to adhere them to the page.

Once I had all the foiled pieces where I wanted I started adhering down some tissue paper saying squares. I did trim some down as I didn't want them to completely cover the foiled areas 

I really like the idea of mixed media projects but never seem to know where to go with them. I just started adding different things like spray inks and embossing glaze to add dimension and color without adding tons of bulk. I used a number stencil and ink spray for my next step.

I then added some distress embossing glaze to the wet sprayed areas and embossed them. Being careful not to burn the tissue paper or foiled areas.

I absolutely love how it turned out! I can't wait to start using other products that I have to add to this journal book!


Supplies:

Rinea Foil: misfits pack

Other supplies: gesso, collage medium, distress embossing powder, ink spray, splat box

Monday, June 7, 2021

FATHER'S DAY APRON CARD


Hi everyone! Diana here to share a fun card using Rinea earth tones variety pack and Honey Bee stamps and dies.. I was in need of a Father's Day card, so I made this fun BBQ apron card. 

I started by die cutting the apron pieces from Rinea foiled paper and the accessories from white cardstock. 

I then adhered all the pieces to the background cardstock panel that I stamped in two different shades of green/blue and inked the edges with the darker of the two.

I then started coloring all of my accessories with my copic markers. For the utensils I used the same three shades of grey. I used two shades of brown for the bristles. (I now realize I should have moved my glass mat).

I wanted to add some additional color so I added a catsup and mustard bottle. 

Next I stamped, heat embossed, and die cut the main sentiment for my card.

Finally it's time to put the whole card together!

Here's the completed card! 

Supplies: 

Rinea: Earth Tones Variety Pack

Other supplies:

Honeybee: apron die, apron bbq dies, kiss the cook stamps/dies

Sunday, June 6, 2021

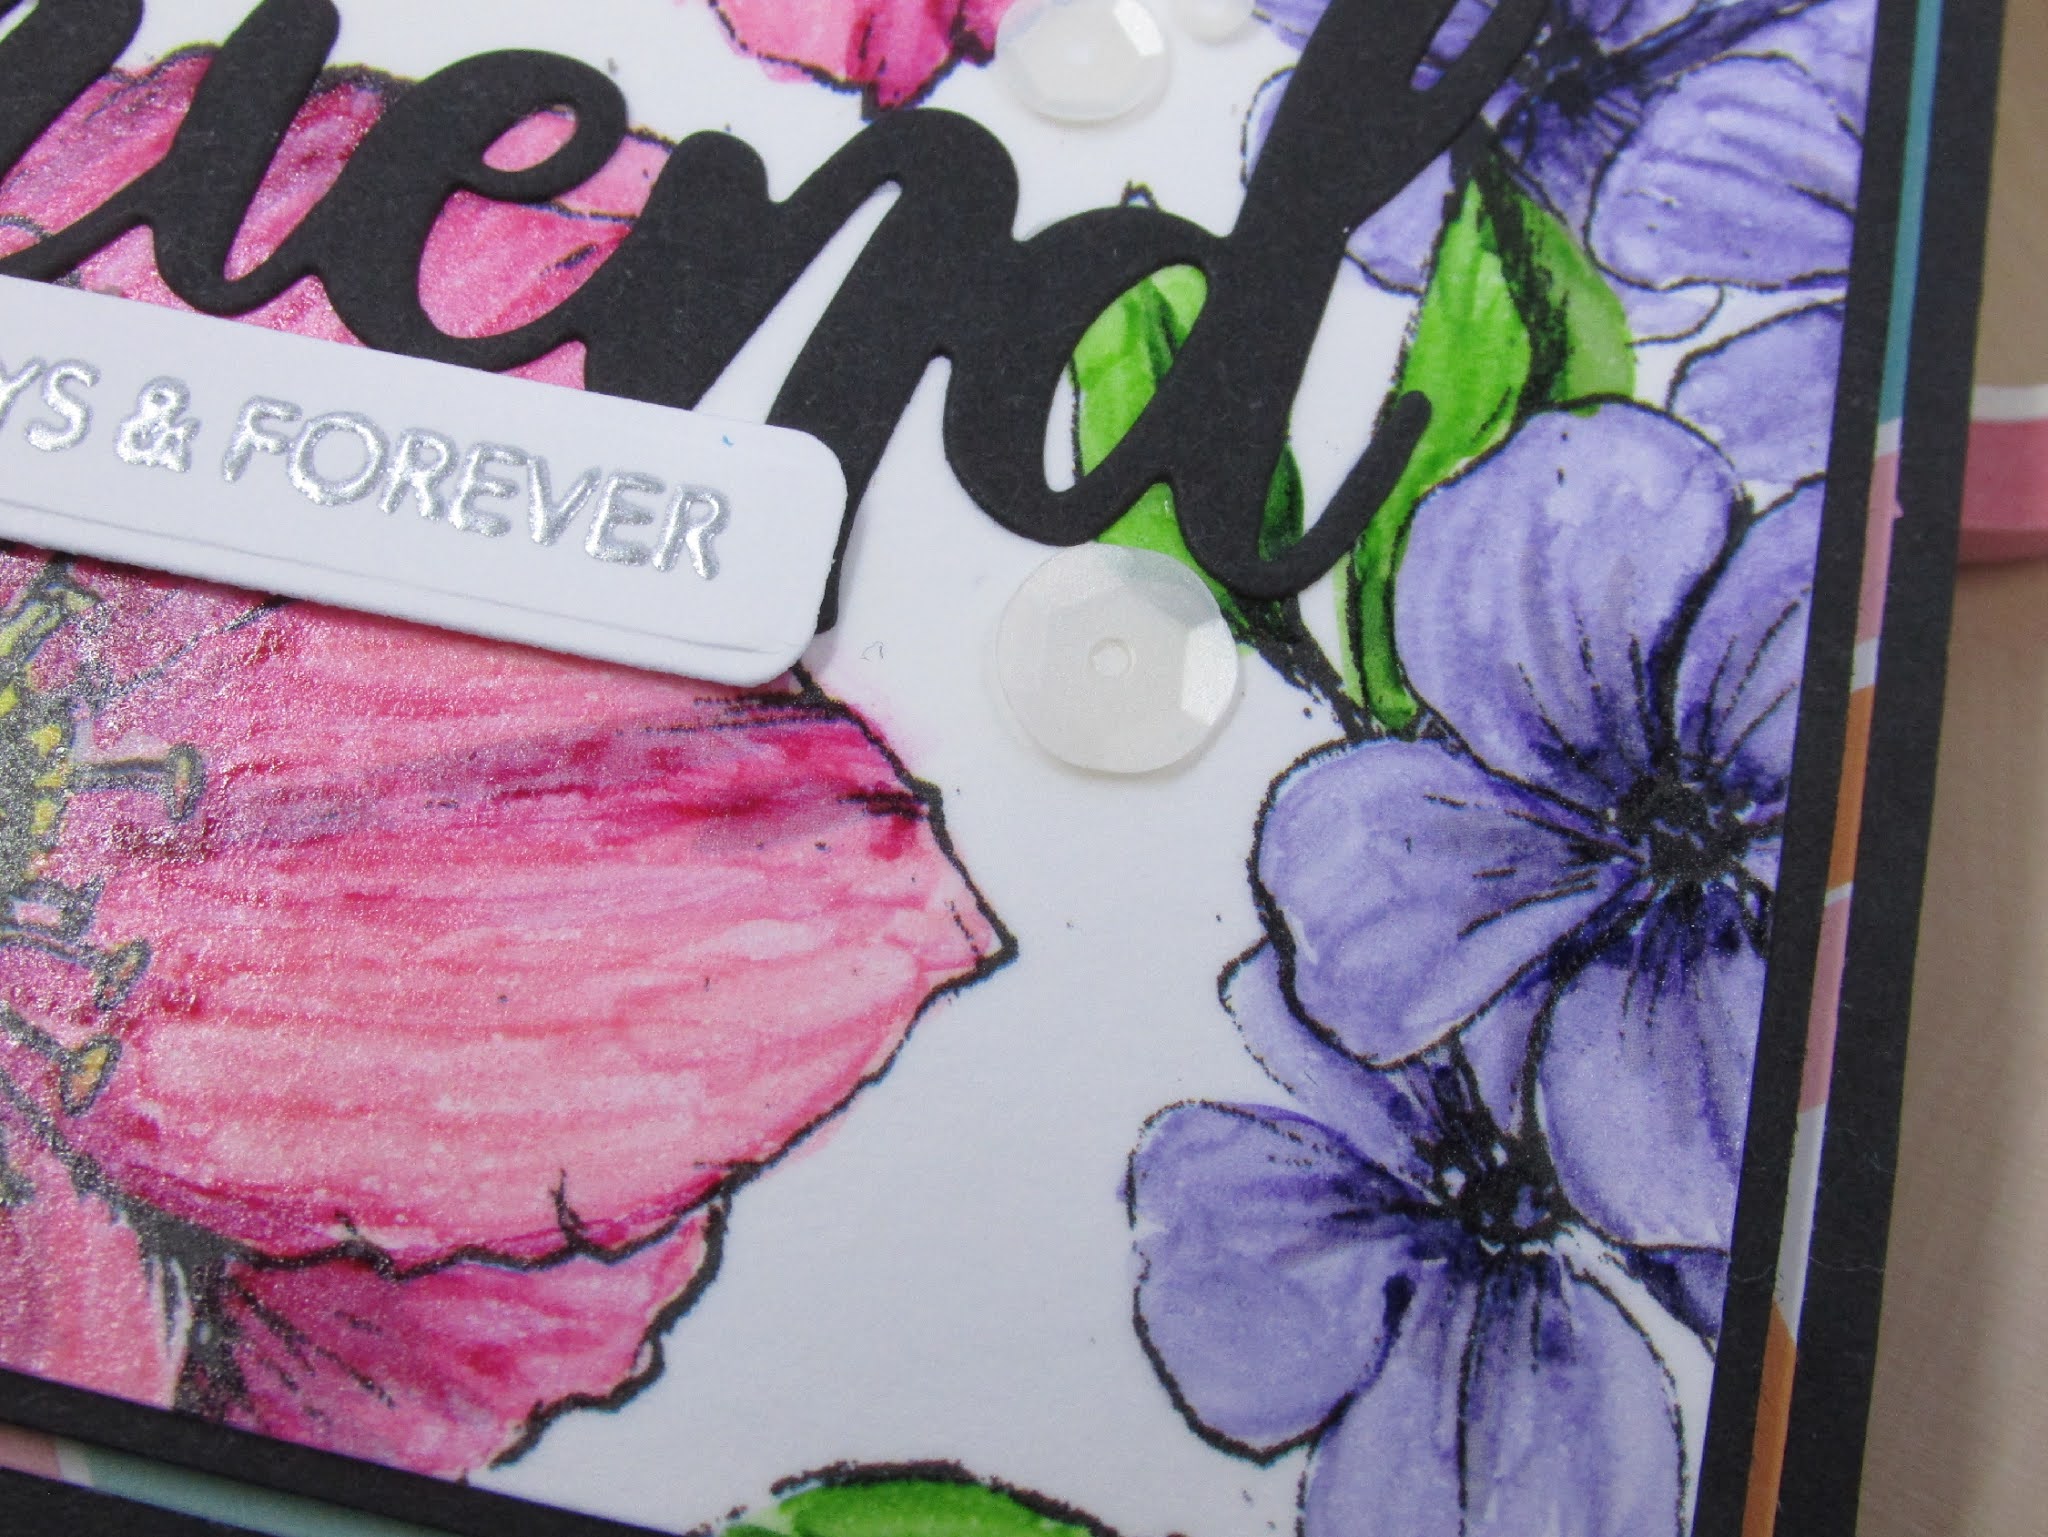
MISS YOU FRIEND

 Hi everyone! I was watching today's Altenew Sketch Starters video with Nicole and couldn't wait to give it a try. I kept my card pretty close to how she did hers with a bit of a change. Here's the video. 


I started with using the canyon clay ink cube to make colored paper on the bottom half of the panel. I did start off by taping off the top to keep the color from going where it wasn't wanted. 


I used the feathered leaves stencil and embossing paste to finish off the bottom. While it dried I stamped out the images from Sweet Flowers using the new quite reflections ink cubes. Using the coordinating dies I cut out the images.


I didn't want to leave the top just white so I pulled out the gold string washi tape and covered the upper right corner then added a strip of gold foil .5" washi to lay in between the top and bottom corners. This adds some much need bling to the card. 


Using the mahogany bark ink cube I did more direct to paper and die cut out friend. Then I put it on my embossing ink pad and added translucent pearl glitter. Finishing it off with the miss you banner. 

THANKS FOR STOPPING BY!!

Saturday, June 5, 2021

AECP Level 3 First Class Cards in Motion

 Hi everyone! I am back working on my AECP classes to finish up level 3! I am so excited to finish this last level and, hopefully, become certified

This is the first of the final five classes 


I really enjoyed this one. So many fun ways to add motion to your cards without having to have all the special dies. I decided to create my card with the day 7 inspiration of combining two days of class into one card.


It starts by making a fun shaker element on the front. When I started creating this I wasn't sure how it was going to work. But the end result is amazing.


Here's a video of the spinner mechanism


I can't wait to make more cards using the other techniques in this class.

THANKS FOR STOPPING BY!!!

Sunday, May 23, 2021

HELLO HAPPY MAIL


Hi everyone! I've been MIA lately. Between starting a new job and going back to school things have been getting away from me. Crafting has taken a back seat to all the homework lol.

I recently joined the Honey Bee Buzzworthy Challenge group on Facebook and thought this challenge looked like fun.


These colors are so bright and cheerful. I can't believe Summer has finally started making an appearance! It has been such a cool spring, I'm glad to finally have some warmer weather.

I decided to use hugs enclosed and love enclosed stamps and dies. 


I purchased both these stamps and dies back when they were released but never got around to playing with them. I was originally going to color ALL the envelopes on the background but gave up after two. 


As I started coloring I knew I wanted to add more dimension so I stamped, colored, and then die cut out different envelopes. Using the envelope die I created the one with the hello stamped on the front. 


Since I stamped the sentiment at the same time I needed to give it some color on the outer edges so it would "pop" a bit. Using a copic marker I edged the sentiment and then used foam to give some lift. m


I almost forgot the had the little happy mail accents. They added just the right amount of sass!

THANKS FOR STOPPING BY!


Wednesday, April 14, 2021

PUPPY LOVE


Hi everyone! Welcome back for another challenge at
We have three great sponsors for this weeks challenge:
Prize: 2 digi images of winners choice

Prize: 2 digi images of winners choice

Prize: 2 digi images of winners choice

For my project today I got the pleasure to use Woof You by all dressed up. i really loved getting to color this darling pooch. I pulled out a great set of stencils and a stamp set that I received in a kit from Hedgehog Hollow recently.


Using a light blue ink I blended over the stencils to create the fun paw and bone background. I needed a sentiment so I finished it with this cute love sentiment. I added a bit of the light blue to the outer edges of the dog panel to give a bit more depth.


I finished the card with some fun dew drop embellishments from The Robin's Nest. 


THANKS ~ FRESHLY MADE SKETCHES #673

  Hi everyone! Today, I'm sharing a fun card I made using Freshly Made Sketches, sketch #673.  I have been working hard the last few mon...