Showing posts with label my time to craft. Show all posts

Friday, January 8, 2021

THANKS FOR THE LIFT

 Hi everyone! Welcome to the first challenge of 2021 at


The theme for today's challenge is THANK YOU!


I searched through all of my stamps and sentiments to see what would be a good image for this first card of the year. When I came across the Up Up and Away stamps and dies from Honey Bee I knew it was perfect. 


What a great sentiment to start 2021 off with! I used tumbled glass and broken china distress oxide inks to create the blue ski. I wasn't sure I was going to add clouds but once it was finished it needed something to break up the blue. 


to add a bit of sparkle I used frosted lace stickles on the clouds and a bit on the heart banner. For the sentiment I used Blown Away stamp set by Honey Bee Stamps and embossed with super fine detail embossing powder on black cardstock. 


Supplies:
Honey Bee Stamps:
Up Up and Away stamp set
Up Up and Away die set
Blown away stamp set

Ranger:
Super Fine Detail embossing power
Frosted Lace stickles
tumbled glass distress oxide ink
broken china distress oxide ink


Tuesday, January 5, 2021

SENDING ALL THE LOVE

 Hi everyone! Back with another fun challenge over at


Today's challenge is: LOVE 

I had so much fun creating this card! I made two fun backgrounds by mixing some distress inks. This one really seems to glow in the center and I thought it was perfect for a heart card. 


Originally I was going to cut two detailed hearts from the gradiant washi tape I pulled out but it just didn't work. So instead I cut around the outer edge of the heart and then added a paper cut detailed heart inside.  To add a bit more of the gradiant color I created a sentiment strip across the bottom. 


As I use my distress inks more and more I am getting more comfortable with using them and love how my projects turn out. 


Friday, December 11, 2020

MONOCHROMATIC MERRY CHRISTMAS

 Hi everyone! Welcome to another fun challenge over at


Today's challenge is: Monochromatic Christmas

For my card today I decided to use Catherine Pooler's Sage ink and embossing powder. 

This card is created using only white cardstock. For the colored panel I used the sage ink pad and ran it over the edges before adhering down my top panel. 


Using two strips of double sided adhesive in two different sizes I created the embossed glitter strips under my tree. 


Per my usual style I didn't think about the sentiment until AFTER my card was all adhered together lol. I seem to do this every single time. I put the panel into my misti and then layed out my sentiment. Using lawn fawn jet black ink I was able to get a nice crisp sentiment.


Here's a closer look of the embossed glitter strips. I haven't used her chunky glitter before and I really like it. 

Supplies:

Catherine Pooler:

Festive trimmings stamp set, festive trimmings dies, wanderlust & bundled up embossing trio, sage ink pad

Lawn Fawn: 

jet black ink pad


THANKS FOR STOPPING BY!!


Friday, November 27, 2020

WHAT MILK?

 Hi everyone! Back again with another fun challenge over at


This weeks challenge is: Christmas Animals

For my card I used this cute image from the Tim Holtz Stamptember 2020 stamp set. This is the first time I brought this out and love, love, love how this card turned out. 


I started out by by using distress oxide in four different colors and blending them together to create the colorful background.


Once I blended I used my distress water bottle and added drops to the background and dried them up with my tim holtz heat gun. I did this step several times to get the look I wanted. 


Once the background dried I used the multi snowflake background stamp in archival black so that it wouldn't wipe off and added red glitter stickles in the center of all the flakes that are visible. 


I used the Tim Holtz snow globe die with the base and cloud to great my snow globe. Using a light blue distress oxide I created the light color inside the globe and used a tad darker blue on the clouds. 


THANKS FOR STOPPING BY!!

Friday, November 13, 2020

GOOD LUCK

 Hi everyone! I have a fun card to share today for my design team project over at


Our theme this challenge is GOOD LUCK 

As I was coming up with my card I realized I don't have a single stamp, sticker or stencil that says good luck! How crazy. I did realize I have way to many birthday stamps though lol.


I looked through the cricut design studio and found this cut file. I thought the script worked great with the overall feel of the girly feeling. 


At first I wasn't to sure that I liked this card. I really wanted to use this new cover plate die! Once I added the sequins it all fell together. 


Supplies:

Close to my heart: olive branch background thin cuts, bloom with grace paper pack & stickers, 

Friday, October 16, 2020

TRICK OR TREAT SHAKER

 Hi everyone! Welcome back. I have another share for a challenge over at


The challenge: Halloween or cats

For my card I decided on a slimline shaker Halloween card. I've been really enjoying creating this new size card and with the help of some dies you can make them into multiple window shakers. 


I used a fun kit called GOT CANDY? from Close To My Heart. 


The only thing I used that wasn't part of this kit was the dies to create the front shaker panel. 


At first I wanted to stamp images and color them in and then I remembered the kit came with a sticker sheet and these pumpkins fit in great with the background paper I used. 


I took one of the sentiment strips and cut it to create the sentiment so that it would fit. To get the card base attached to the shaker I left the shaker window piece upside down and adhered the card base that way. 


THANKS FOR STOPPING BY!!


Friday, October 2, 2020

THANK YOU

 Hi everyone! Welcome to another great challenge over at 


Our challenge today is: AUTUMN COLORS

I recently signed up to be a Close To My Heart Maker and couldn't wait for this challenge to use some of the amazing new fall products that just came out. I'm all about this time of year and adding in sunflowers makes it even better for me.  


I colored my flowers using a watercolor brush pen and ink pads. I haven't done this in so long and was so happy to see them turn out.


When I started thinking about this card I knew I wanted to use a square in the center to put my sentiment on and placing flowers around it. I added some pretty sequins to give just a bit of sparkle. 


Now it's your turn. Get crafting and don't forget to share with us over on the blog. 

THANKS FOR STOPPING BY!!


Wednesday, September 16, 2020

A LITTLE POTTER MAGIC

 Hi everyone! Welcome back to another challenge over at

Today's challenge:

INSPIRED BY HARRY POTTER

This was a lot of fun. When I saw this as our next design challenge I couldn't wait to start scouring the internet for all things potter. I found some really fun stuff!

Once I saw these two cute stamp set from PAPER NEST DOLLS I new I needed both (lol that's what I tell myself when I buy things). 

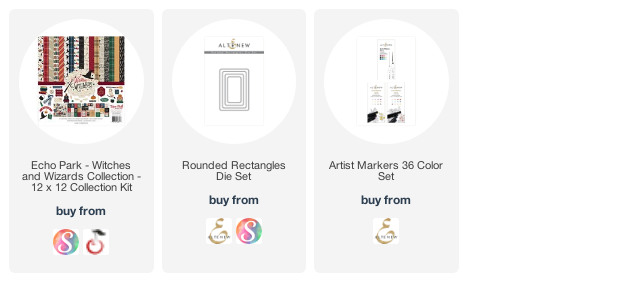
This is what I came up with. I colored both images with my Altenew Artist Markers and love how they turned out. 

I do have to say that I like the Harry card a bit more. In person the hat on Hermione's card looked okay but seeing them in these pictures makes me rethink it a bit. It feels like it's just floating there.


I decided to keep the same layout for both cards to make it easier to cut the images. I used a rectangle die for both the main image and the patterned panel behind both. 


Now it's your turn to play. Get crafty and share with us over on the My Time To Craft Blog!

THANKS FOR STOPPING BY!!

Wednesday, July 8, 2020

Celebrate Mouse

Hi Everyone! Welcome back for another challenge at


Today's challenge is Christmas in July.

I recently purchased this digi stamp from Digi Doodles Digi Stamps. He's such a cutie!!


I knew I wanted to color him in and it did take two tries as I was heavy handed the first time and kept going outside the lines. 


I wanted to ground him so I added some brown to give him the look of standing on the floor. 
Now it's your turn. Create something Christmasy and upload to the blog.


I'm entering this card into the following challenges:
The Crafting Challenge: bright colors
Mix It Up Challenge Blog: anything goes w/open technique option
Morgan's Art World: anything goes


THANKS FOR STOPPING BY!!

Friday, June 12, 2020

WAY TOO SWEET

Hi everyone! Welcome to another great challenge at
 

Today's challenge is SUMMER (beach, sand, ice cream etc)

I had a lot of fun creating my project. I used some bright summery colors and, of course, ice cream!!


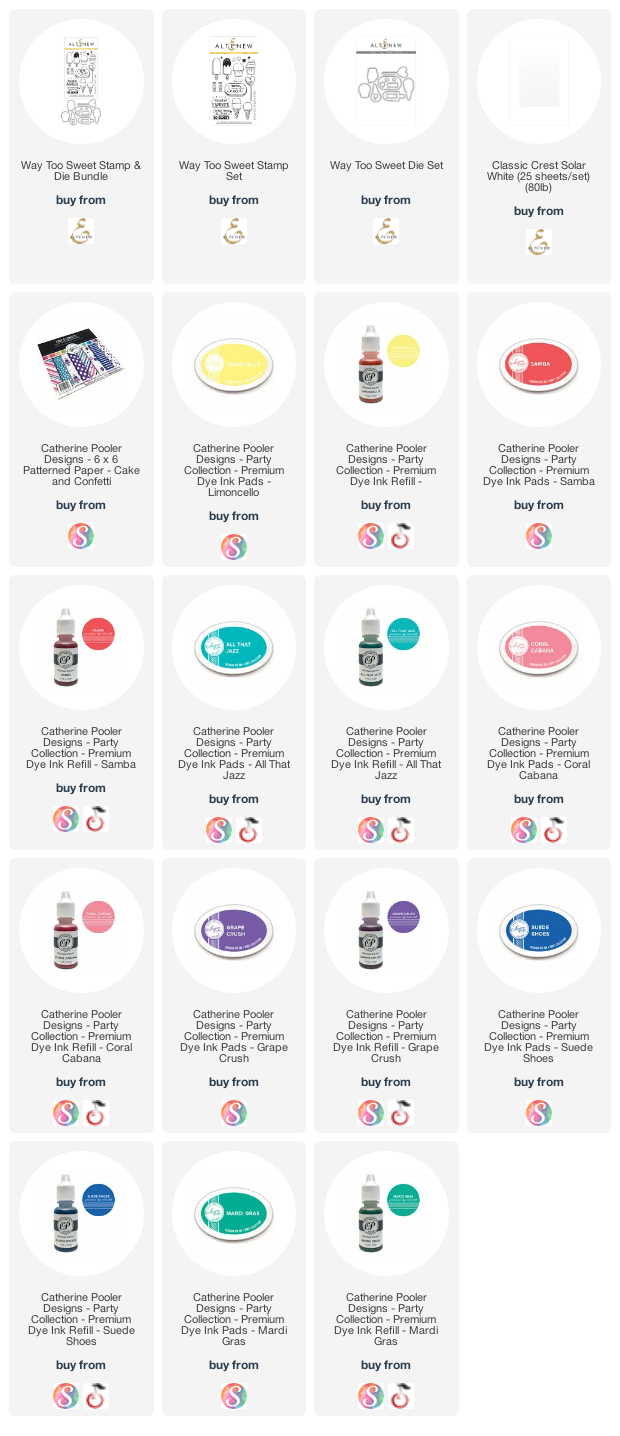
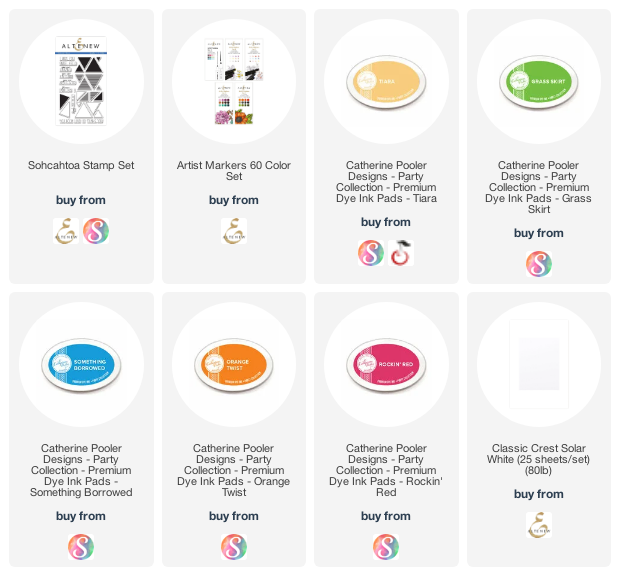
I used one of my favorite techniques to create the yellow triangle and pennant, direct to paper inking. This is a great way to get matching colors. They will always match what your creating and with the Catherine Pooler ink's you get amazing coverage.


This challenge was perfect for this stamp set. This is my second card for this lol. The first one got "destroyed" when I dropped my inked stamp by accident. Has that ever happened to you?


Now it's your turn. Create a summer project and share with us over on the blog!

THANKS FOR STOPPING BY!!

Friday, May 29, 2020

Book Lovers...

Hi everyone! Welcome to challenge #433 at


Today's challenge is to use stencils on your project. 

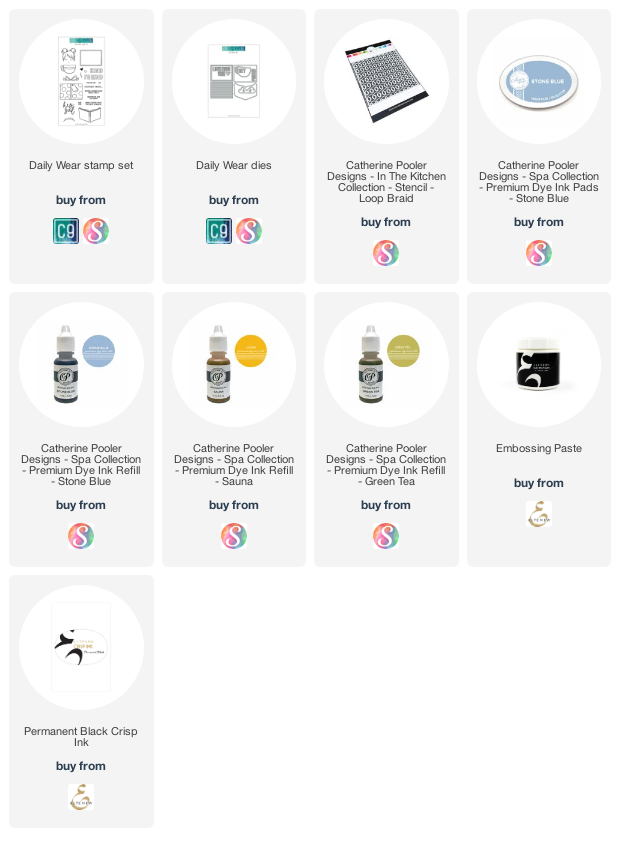
For my card today I chose to do embossing paste with ink refills to create my stenciled background. 


I put some embossing paste onto a acrylic block and added two drops of ink refill and mixed them together. I did this for all three colors.


I then spread it onto the stencil in sections and blended them together just a little to give a seamless effect.


I set the panel aside to dry naturally (took about an hour). You can dry with a heat tool right away if you'd like but the paste will puff up (also a neat technique).  I started coloring my images while it dried. 


For the blue panel I took my ink pad and did direct to paper to get a matching "cardstock". I love this because you don't need tons of cardstock. All you need is an ink pad and some white cardstock and you have colored cardstock at your fingertips. 


Now it's your turn! Create a project using a stencil and upload to the blog.

THANKS FOR STOPPING BY!!


THANKS ~ FRESHLY MADE SKETCHES #673

  Hi everyone! Today, I'm sharing a fun card I made using Freshly Made Sketches, sketch #673.  I have been working hard the last few mon...