Sunday, May 31, 2020

Hap-Hap-Happy Christmas

Today I have a card to share that I created for two challenges. 


I haven't used this this stamp set by Kindred Stamps called Christmas Chaos. This was perfect for the guyz challenge. 


For the Christmas challenge I embossed the boy, sentiment and the dear behind him. I also used the direct to paper inking for the green circle and the red paper. 


I used a mini tree punch from Stampin' Up! for the three trees at the corner. 


I am loving how happy this little guy is. He makes me smile each time I look at him. 


THANKS FOR STOPPING BY!!

I'm Being Watched...

Ever had the feeling like your being watched? It's a daily occurrence in my house. Our doggies just love "watching" us!

Today I'm sharing a design team project for 
The challenge is to use 3 squares, 2 circles and 1 triangle in your design!

This is what I came up with.  These pictures were taken during my first round of stay at home order. I was working in my craft room and felt something behind me lol. 


I really enjoyed making this layout. It took me a couple of days to decide what I was going to use to for the shapes. I decided on 3 square photos, 2 die cut color wheels and small triangle stickers as accents.


I wanted to use the title I'm being watched but I also really liked the smile die cut in this kit. So decided to use the smile as my secondary title and add it to my picture to help it pop more. 


I laid out the three square photos in succession to show the progression of him getting closer and closer lol.  He's such a stalker!!


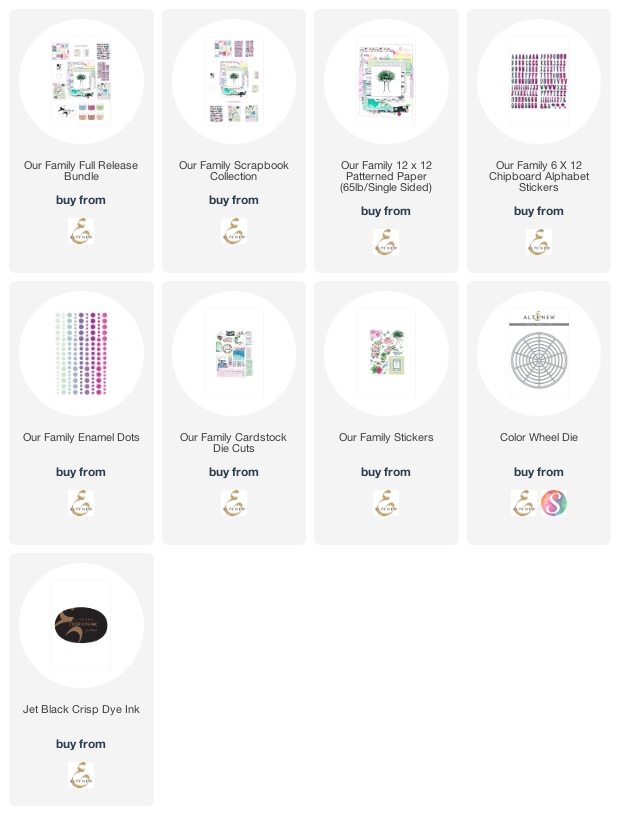
I've been wanting to use this color wheel die for a while and didn't have an idea for it. I was happy to see this challenge as it was the first thing to pop into my head to use. 


Now it's your turn! Give this a try and upload to the blog!

THANKS FOR STOPPING BY!!!

Friday, May 29, 2020

Siblings

I found this picture of my mother-in-law and some of her siblings. I couldn't help but create a layout using it. My husband doesn't really have a lot of layouts for his family so I'm staring with some to get a book ready. 

I created this layout for a Altenew class. It was all about floral's and gathering all the items you'll need before hand so that you can go right into crafting. Here is a pic of my items.


I started by using the mega bloom stencil to create the background of my layout. I used wisteria on the inside of the bloom and added hydrangea to the edges. 


I'm very happy with how the blooms came out. Next time though I'm going to tape around the whole edge. I did get some ink where I didn't want but I was able to cover it up with elements.


I used the watercolor halftone dies and painted fantasy washi tape to create some of the elements on my page. I love that Altenew has washi tape that coordinates with dies. 


I also used the watercolor halftone stamp set to create a couple of smaller solid colored images. 


I wanted a bit more color so I cut out some blooms from the summer garden 6x6 paper pack. I added some of the leaves behind the washi floral's. 


Here is the finished layout. I used mega brush alpha for the title and some sentiments from fancy frames and tabbed stamp sets.


THANKS FOR STOPPING BY!!

Book Lovers...

Hi everyone! Welcome to challenge #433 at


Today's challenge is to use stencils on your project. 

For my card today I chose to do embossing paste with ink refills to create my stenciled background. 


I put some embossing paste onto a acrylic block and added two drops of ink refill and mixed them together. I did this for all three colors.


I then spread it onto the stencil in sections and blended them together just a little to give a seamless effect.


I set the panel aside to dry naturally (took about an hour). You can dry with a heat tool right away if you'd like but the paste will puff up (also a neat technique).  I started coloring my images while it dried. 


For the blue panel I took my ink pad and did direct to paper to get a matching "cardstock". I love this because you don't need tons of cardstock. All you need is an ink pad and some white cardstock and you have colored cardstock at your fingertips. 


Now it's your turn! Create a project using a stencil and upload to the blog.

THANKS FOR STOPPING BY!!


Wednesday, May 27, 2020

Hello Ambrose


Hi everyone! Welcome back for my second challenge at

We have some great sponsors for this challenge!


I created my project using Ambrose King of  the Waves digital image from Dr. Digi's House of Stamps.  I had a lot of fun coloring in this guy. I love the look on his face! He's so happy to be out in the sun with his ice cream.


Here are a couple of close up's.


I added some light grey coloring to his hair and beard and used a alcohol blender pen to blend into the white. 


I am entering this into 
Cute as a Button~Anything Goes
Pammie's Inky Pinkies~Anythings Goes


THANKS FOR STOPPING BY!!!


Capture Today

Good morning! I'm here today with a layout using a monogram letter with flowers. This was a lot of work but so worth it when done. It took me about 4 hours all together to complete (which is way more time than I usually spend on a two page layout). I'm also using the challenge over at


I spent most of my time stamping and die cutting all these amazing flowers. I also fussy cut some from a paper pack. I like how they added some softness to the brighter flowers. 


I decided to add some die cut vellum flowers as overlays for a few of the stamped images to soften up the brightness. I wish I'd thought of it before I glued everything together lol, I would have added more. 


Here's a closer look at some of the flowers and leaves. I used both stamped and fussy cut images to add some texture. 


For the center of the larger greyish/black flowers I used white pearls and colored them in using Altenew's artist marker Y608 (autumn blaze).


I chose a couple of different photos of myself to make sure I make it into my own albums! How many times do we take photos of everyone we love and forget about ourselves? 


I did add some clear gesso behind where the D was going so I could use watercolors. I wanted some color behind the letter and my photos to help them "pop". 


I am entering this layout into 

Challenge YOUself #77~About MOM!!


THANKS FOR STOPPING BY!!

Monday, May 25, 2020

AECP Level 2 Magical Marker Techniques

Whew! I'm finally on my last class for my level 2 certification at Altenew!! It took a bit of time but I'm so happy I did this.  Now I just wait to see what my "final exam" is lol.

For today's card I used alcohol markers and alcohol to create a brayered background.  I was a dork and forgot to take a picture of the panel before adhering my top layer :(.


I quite happy with the outcome of this card even though it took a bit of time since the black ink had to dry on the vellum flowers before I could color them. For the center of the flowers I used pearl adhesive elements and colored them black with my black artist marker. 


For the flowers I colored them in using Altenew artist markers B714 for the base color and then B815 around the edges. I also used the B815 to "dot" on color to blend them together and give a more watercolored look to the flowers. 


I decided the main brayered panel needed just a bit more so I took the border strip stamp from Hennah Elements and stamped down both sides using my misti. In this pick you can see the brayered background at the top. 


I created the brayered background by scribbling with the B815 marker onto a piece of plastic packaging and then spritzing it with alcohol. I used 70% alcohol and it seemed to work well. 

THANKS FOR STOPPING BY!!

THANKS ~ FRESHLY MADE SKETCHES #673

  Hi everyone! Today, I'm sharing a fun card I made using Freshly Made Sketches, sketch #673.  I have been working hard the last few mon...