Saturday, April 4, 2020

Congratulations


I had a lot of fun making this card. I must confess that I stamped it with two different sets. The first set just didn't work well for me. I couldn't figure out the coloring and I changed sets. 

I decided on wallpaper art stamp set. I used my misti to create the bunch of flowers and the masks for the stamp set so I could make them look like an arrangement. I'm still new to the artist markers so don't look to closely at the coloring (lol). Pictured are the marker colors I used. 


Here is a closer look at my card. The dimension is crazy high. I've never layered nesting dies but I will most definitely be doing it again. I can't wait to give my circles and squares a try!


And a better view of all the dimension. So cool. I added some sequins at the end to give a little sparkle. 


Supplies: Altenew unless otherwise stated
(below are affiliate links at no cost to you)
CS: Neenah white cardstock
ACCESS: tinseltown sequins-Catherine Pooler

Thank You


I got a little crafty this morning and made another card for the Altenew Class Laying Dies 3D & More. This is such a fun class and I've learned a lot of new ways to use the dies I already have in my stash.


I used the Thank you die to create my main focal point for this card. I cut it from white cardstock twice and before adhering them together I added zig two way clue to the bottom half and added gold foil. Once I did that the top looked a little bare so I sponged on some minty morning ink to help it pop more. 


I was having a hard time figuring out where I wanted the sentiment to go and the cute flowers I stamped and die cut. I finally decided on the lower right hand corner but then needed something to help "fill" the rest of the space (I had WAY to much white space). So I added some gold splatter.


I decided to add a bit more bling by using gold glitter washi tape on the one edge and cutting my top panel just a little shorter. I love how this turned out. This is one technique I never would have thought to do to a die!


Supplies: Altenew unless otherwise stated
(below includes affiliate links at no cost to you)

Thanks for stopping by!!

Friday, April 3, 2020

You Are So Special


I've been working on getting old photos out of my mom's magnetic albums for a few months now (and I still have more to go) but I couldn't resist making a layout using her Senior year school photo. This is one of my favorite photos of her.

I kept the background and embellishments pretty simple and monocromatic. I like that it accentuates the black and white of the photo but doesn't wash it out. I started with the dotted washi tape and laid it horizontally across my page. I cut the delicate mandala die in half and put it under the photo. I did use some dark grey ink and sponged over the cardstock as the grey I used just seemed to light. 


I stamped the flowers and leaves with jet black in with the stamping off technique. I only used one color for those and got beautiful layered flowers. I added the two purple flowers to give a bit of pop and it was my mom's favorite color so it seemed fitting. 


Here's a closer look at one of my clusters. I did go back in and sponge some of that dark grey on the opposite corners. I felt there was to much white and needed to darken it up a bit. 


And one final look at the other cluster. I used a simple sentiment as my title for the page and added some round accents to give a little bit more narration. 


Supplies: All Supplies are by Altenew unless otherwise stated. 
(these contain affiliate links at no cost to you)

CS: white and light grey (source unknown)
ACCESS: tinseltown sequins-Catherine Pooler Designs

Thursday, April 2, 2020

Text Me Anytime

Who's in the mood for flowers? I know I am! It's finally starting to warm up a bit and the smell of fresh air leads to beautiful flowers everywhere. 

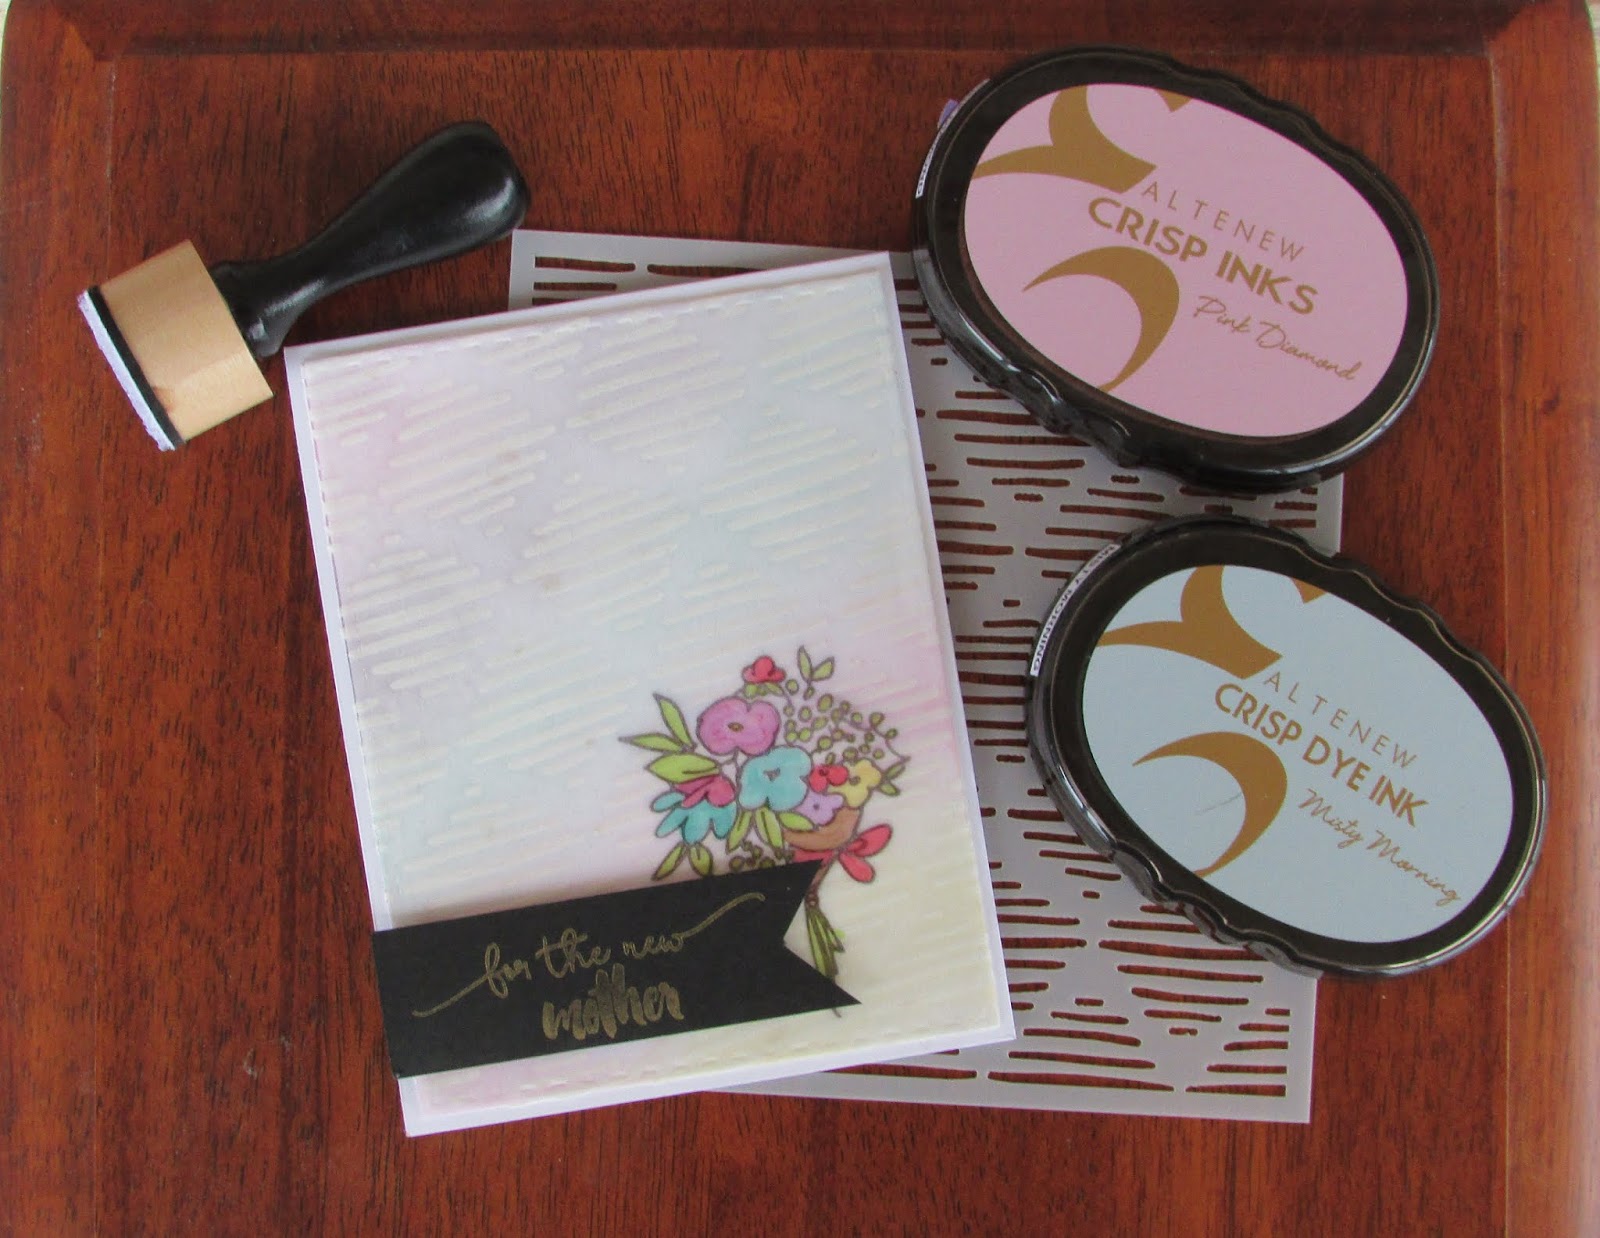
My card today is for my last class of Level 1 for my Altenew Educator Program.  Irresistible Inking Techniques was a lot of fun. There were some things I knew and things I never thought to do.

For instance, in the card below, I used a larger rectangle stamping block and inked it up. I then stamped it onto my cardstock to create the muted background behind my floral image. I stamped the floral image from Sweet Nothings stamp set and then used the flower mask so I could stamp the leaves. 


I used pink diamond ink for the background and then colored the flower ink with a watercolor brush and pinkalicious ink. I used frayed leaf for the leaves. I mounted the image on black and then white cardstock. The green cardstock I made using the frayed leaf inkpad and direct to paper inking. I achieved matching cardstock. 


I hope you'll spend some time getting crafty and give this technique a try.  I'd love to see what you come up with.

Thanks for stopping by!!

Wednesday, April 1, 2020

Hello Inlaid die Cutting


Today I finished up my Easy Die Cutting Class over at Altenew and loved all the different techniques. I love die cutting but I seem to always forget to drag out my dies and use them.  I used to feel like it was to much work to cut them up.  

I didn't mean to make two of almost the same card but the first one (the one standing up) somehow ended up with some black marks from my die cutting pad that I just had to make a "clean" card. I figured I might as well change the second one up just a bit. 


I used the same two sets for both but just changed out the images.  I used Bells and Bows stamps/dies and halftone hello stamps/dies.  The inks I used are crimson, velvet, warm sunshine and jet black. I did add some sequins to the second card.


Here is a closer look at the inlaid hello on both cards.


Hope you enjoyed these cards today. Thanks for stopping by!!


Tuesday, March 31, 2020

Happy Holidays

I know it's the end of March but I just couldn't help but make a Christmas card. I kid you not, as I was taking the photos I was singing Christmas carols lol. It truly is my favorite time of the year and any excuse to create a holiday card I'm on it.

This is for the Seasonal Scene Building class over at Altenew. The only set I really had that would make a great scene was the Retro Ornaments.  I've had this set for a while but I never get tired of using it.


I used the Nesting Frames Dies to create the framed scene. I cut out three frames and glued them together and then added in a base piece that I sponged frayed leaf color onto and then stamped the branches in evergreen.  I then drew in strings to make them "hang".


This class had a bunch of great ideas for making different scenes and I can't wait to dig through the rest of my stamps and dies to see what other kinds of scenes I can make up.  Make sure to come back soon to see what I come up with.

Thanks for stopping by!


Stencil Cards


Who has tons of stencils in their stash? I do!! I have so many that it was actually hard to choose some for these projects. I love stencils but I tend to forget to use them.  With this stencil class on Altenew called Celebration Stencil Techniques it gave me some great new ideas.

My first card is a stencil overlaying a watercolor background. I had a lot of fun making this one. Just adding the watercolor using two inkpads was so cool. I never thought to use ink pads! This picture shows the watercolor background getting the stencil inked over it. 


I really like how the watercolor shows through the inked stencil image and gives just a bit more depth to my finished card. I colored the images with my artist markers ink similar and contrasting colors so they'd really pop off the card. 


Here's a closer look. I added a sentiment to vellum in embossing ink and then embossed with white embossing powder. This has been one of my new favorite techniques. 


I did make a second card using a different stencil and technique. This one used embossing paste in white. I let it dry while I created the above card. Once it was dry I used four different inks and colored in the background


I stamped the flower image onto vellum and colored it from the back side.  I then used a stitched rectangle die to cut it out and attached it to my embossed background. The vellum helps soften the background just a bit more.


I used antique gold pigment ink and stamped the sentiment onto black cardstock and trimmed it down and attached it to the front.  It took me a few minutes to figure out just where I wanted it to go. 


Thanks for stopping by!!


So Grateful


I am having so much fun learning to watercolor.  I have always steered clear of it thinking it was just to much to learn.  I've recently discovered I love it!


I made this for the Let it Shine class I just finished. I didn't realize just how quick and easy it is to add just a touch a glamor to my projects and how much of the supplies I have just sitting in my craft room waiting to be used. 


The shine I added to this card is home made glitter paper. I have so much loose glitter that it just seemed fitting to create custom paper. I used a larger piece as my layer under my watercolor image and then cut out the hello from the left over pieces. I then cut the hello again in black to give the sentiment a little pop.


I hope this picture gives you a good idea of the shimmer. It's so pretty in real time.  


Thanks for stopping by!


Sunday, March 29, 2020

March 2020 Altenew Inspiration Challenge


I spent some time today doing some more work with my mom's old photos. I found the March 202 Inspiration Challenge over at the Altenew Blog and thought I'd give it a go.  The colors are perfect for spring and go well with my black and white photo.

I wish I had some succulent stamps, as I would have loved to incorporate them into the design.  


Here is my finished layout.  I used clear gesso in the middle so I could stencil and paint without warping my cardstock. This is the first time I tried this and am pretty happy with it.  I knew I wanted to use the sentiment from the Bloom & Grow stamp set as a title. My mom and her siblings were very close and stayed close for quite a long time. 


I used Delicate Tiles to create the half border on the left hand bottom edge and then cut strips from the Reflection paper pack to give a little separation.  The woodgrain pattern really helps break up all the blues. I added some splatter using the silver spray. I made a mess when I started adding them lol. 


Here is a closer look at the painted dahlia made using the new Bursting Dahlia stencil from Altenew. I don't even mind that the blue paint "bled" a little. It helps make it look more watercolored.  I used silver encore ink to stamp the sentiment on black cardstock and then fussy cut it out and added pop dots.


THANKS FOR STOPPING BY!!!

Saturday, March 28, 2020

For the Guys Birthday Card

Another Altenew Class under my belt for the Educator Program. This class was all about the guys. I'm a huge fan of flowers and girly stuff so making male themed cards is a bit of a task for me.  Even though I have two sons and only one daughter even my scrapbook pages go more towards the female way lol.

This class was great as it showed me how to use my stamps in different ways and put things together that I wouldn't have thought to do before.  My first card has unique color combos and nice big Happy.

The inks I used were orange cream, velvet, ultramarine, limeade, mountain mist, wisteria, blush, marigold and jet black.


Here's a closer look at the different panels and the added dimension. I did a size card that I haven't done before (4x4) so it gives me another chance to make an envelope. 


I used the new Tartan stamp set to create the four different panels and Garden Sunset for the sentiment.  I'm really liking how this turned out!


Friday, March 27, 2020

Easy Ink Blending Cards


My next card is for the Altenew Easy Ink Blending Card Technique Class. I really enjoyed this one. I love ink blending and how it looks and I learned some new ways to make it look more seamless and it flows together so much better. 

I ended up making two almost identical cards because I forgot to stamp the first one on watercolor cardstock so I could do some "fake" water coloring. That's okay though, I have two cards to send out now instead of one and it really didn't take much more time.

This first picture is of both cards. The one on the left is the "watercolor" card and the one on the right is regular ink blending. The watercolor card blended more smoothly together and when I added the spray of water The Altenew inks I used blended together even more.  I then stamped some of each color onto my media mat and using a paint brush I added just a tad more color to the dry cardstock. 


Here is a closer picture of each of the cards.  To give some dimension I used some cardstock that I couldn't use as part of a project and layered them behind my panels. This gave some great depth and I didn't have to waste the useless cardstock. 


I used the Larkspur stamp set as my main focal point and stamped them with embossing ink and embossed with white embossing power. I stamped each flower individually so that I could over lap them a bit. I also used halftone hello for both sentiments.  The inks I used were fresh lemon, frayed leaf, aqualicious, hydrangea and jet black. 


THANKS ~ FRESHLY MADE SKETCHES #673

  Hi everyone! Today, I'm sharing a fun card I made using Freshly Made Sketches, sketch #673.  I have been working hard the last few mon...